
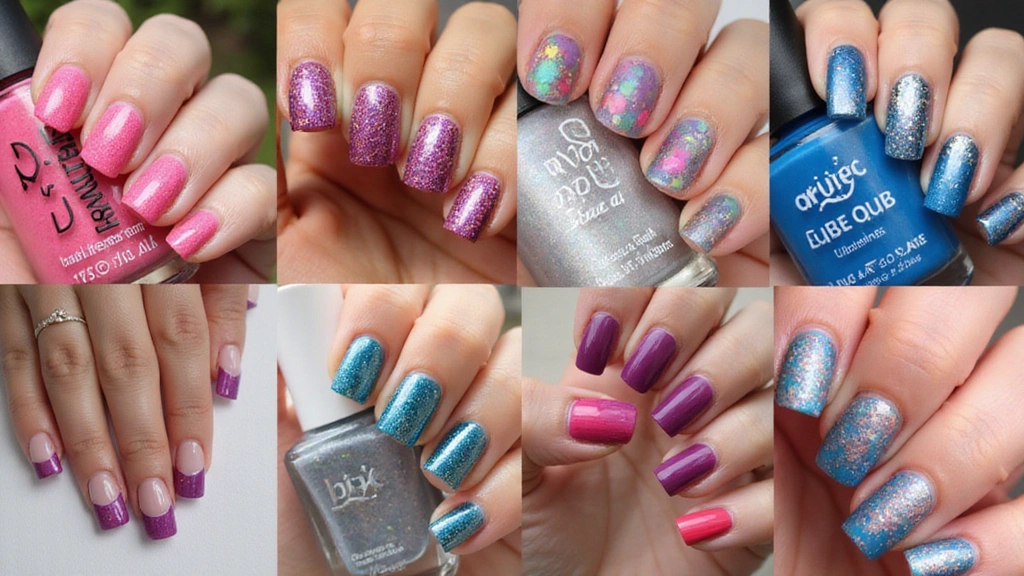
Nail art isn’t just a trend; it’s a way to express your unique personality and creativity!
From elegant minimalism to bold designs, there’s something for everyone in the world of nail art. This guide will take you through 10 amazing nail art techniques that are sure to turn heads and get you compliments. Get ready to elevate your nail game to new heights!
Let’s dive into these advanced and unique techniques that will set you apart and showcase your individuality.
1. Ombre Nails

Ombre nails effortlessly blend two or more colors, creating a stunning gradient effect that enhances any outfit.
This technique allows you to play with color combinations, from soft pastels to bold neons. Start by applying a base color, then use a makeup sponge to dab and blend the second color, starting from the tips down to the base of your nails. The key is to work quickly while the polish is wet, achieving that smooth transition.
for Ombre Success:
– Use a base coat to prevent stains.
– Choose colors that complement but also contrast for a dynamic look.
– Seal with a glossy top coat for that polished finish.
Ombre is perfect for any occasion, making your nails the focal point of your look!
2. Geometric Nail Art

Geometric nail art is all about clean lines and shapes, creating an eye-catching and modern look.
Using tape or nail stencils, you can craft triangles, stripes, and even intricate patterns that pop against your base color. This technique allows for endless creativity; you can mix and match different colors and patterns on each nail for a unique style. A little patience goes a long way, as precision is key.
Must-try Suggestions:
– Combine matte and glossy finishes for depth.
– Use contrasting or monochromatic colors for impact.
– Don’t rush; take your time to ensure those lines are crisp.
Geometric designs are perfect for those who love a chic, sophisticated aesthetic!
3. Water Marble Technique

Get ready for a magical experience with water marble nails!
This technique uses water and nail polish to create mesmerizing swirls and designs. Start by filling a bowl with water and dropping different colors of polish on the surface. Use a toothpick to swirl the colors together, then dip your nail to pick up the design. It may take some practice, but the results are truly worth it!
for Water Marble Success:
– Use room temperature water for best results.
– Try using tape around your nails to keep clean.
– Experiment with different color combinations to find your favorite.
Water marbling is a whirlwind of creativity, and each set of nails will be one-of-a-kind!
4. Stamping Nail Art

Stamping nail art is a fun way to create intricate designs without the need for advanced painting skills!
Using a stamping plate, you can select designs and transfer them onto your nails with a special stamping tool. This method allows for detailed patterns that are difficult to achieve by hand, making it accessible for beginners. The variety of designs available is endless, from florals to intricate lace!
Suggestions for Stamping:
– Make sure your base color is dry before stamping.
– Use a quick-drying top coat to prevent smudging.
– Clean your stamping tools regularly for crisp designs.
With stamping, you’ll be able to showcase complex designs that look professionally done with minimal effort!
5. Negative Space Nails

Negative space nails emphasize the natural nail, creating a chic, minimalist look.
This technique highlights the bare nail alongside colorful polish, making it a unique way to express your style. You can create various designs using tape to section off parts of your nail. Try combining different colors with the negative space for a fresh, modern vibe.
Creative Ideas:
– Use neutral tones with bold colors for contrast.
– Experiment with shapes and lines for added interest.
– Add jewels or stickers to enhance your design.
Negative space nails are perfect for those who appreciate simplicity while still wanting to stand out!
6. Floral Nail Art

Floral designs are timeless and can be recreated in so many ways!
Whether you choose delicate daisies or bold roses, this technique brings a touch of nature to your nails. Use a fine brush to paint each petal or try nail stickers for an easier option. Combining different floral patterns on each nail can create a garden-inspired look that’s perfect for any season.
for Floral Designs:
– Use a light base color to make flowers pop.
– Try dotting tools for easy flower centers.
– Get creative with colors—don’t shy away from bright, bold hues.
Floral nail art allows for personal expression while adding a whimsical touch to your style!
7. 3D Nail Art

Step it up with 3D nail art that adds depth and dimension!
Using embellishments like gems, beads, or even nail tape, you can create stunning designs that literally pop off your nails. This technique is perfect for special occasions or when you want to feel extra glamorous. To apply, simply use clear nail glue to attach the embellishments securely.
3D Nail Art Suggestions:
– Mix different textures for a unique look.
– Keep the base simple to let the 3D elements shine.
– Secure everything with a top coat to keep it intact.
3D nail art is bold and eye-catching, ensuring all eyes are on your hands!
8. Glitter & Metallic Nails

Bring some sparkle into your life with glitter and metallic nails!
Whether you opt for a full glitter manicure or just accent nails, this technique can elevate any look. Glitter can be added in layers or used as a top coat over a solid color. Metallics, on the other hand, give a sleek, modern vibe that’s perfect for night outs or parties.
Glitter & Metallic Tips:
– Use a good base coat to prevent staining from glitter.
– Apply glitter while the polish is still wet for even distribution.
– Pair metallic shades with matte colors for a stunning contrast.
With glitter and metallic finishes, your nails will twinkle and shine, making them hard to ignore!
9. Seasonal Nail Art

Celebrate the seasons with themed nail art that reflects the beauty of each time of year!
From fall leaves and winter snowflakes to spring blossoms and summer sunsets, seasonal designs can add an exciting touch to your nails. Create your own designs using nail polish, or use nail decals to simplify the process. This technique lets you share your spirit and creativity year-round.
Seasonal Nail Art Ideas:
– Fall: Use oranges and browns for leaf designs.
– Winter: Create snowflakes with white polish.
– Spring: Try pastel florals or bunnies.
– Summer: Incorporate bright colors and palm tree designs.
Seasonal nail art is a joyful way to celebrate the world around us!
10. Custom Nail Art

For the ultimate in personalization, custom nail art is where it’s at!
Whether it’s a favorite quote, your pet’s face, or a cherished symbol, custom designs make your nails truly yours. You can sketch out your ideas and work with a nail artist or try it yourself if you’re feeling confident. The limit is your imagination! Be sure to have the right tools and practice on a nail wheel first.
Custom Nail Art Tips:
– Choose simple designs for beginners.
– Use a steady hand and fine brushes for details.
– Don’t be afraid to express yourself!
With custom nail art, your nails become a canvas, showcasing the things that matter most to you!
Conclusion

Nail art is a fantastic way to express yourself and show off your creativity!
With these advanced and unique techniques, you’re sure to turn heads and make a statement wherever you go. Don’t hesitate to experiment and find your signature style—your nails are the perfect canvas for art!
So grab those polishes and let your imagination run wild!

