
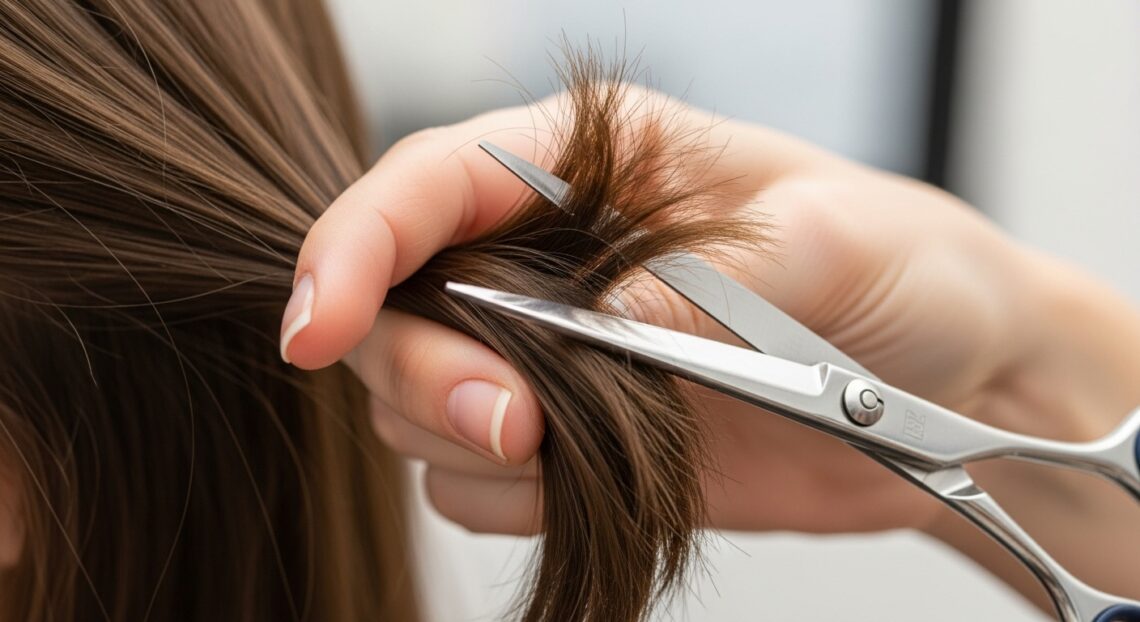
Layers. The very word can strike a mix of excitement and fear into the heart of any at-home hairstylist. We’ve all seen the stunning, face-framing, volume-boosting results on Pinterest and dreamed of achieving that salon-worthy look. But we’ve also heard the horror stories of uneven chunks and unintended mullets. What if we told you that creating beautiful, layered hair is not only possible from the comfort of your bathroom but can also be broken down into manageable, foolproof techniques?
This guide is here to demystify the process. We’re moving beyond vague advice and into the realm of actionable, step-by-step methods for creating layered cuts on short, medium, and long hair. Forget the fear; it’s time to embrace your inner stylist. Grab your shears, and let’s transform your hair into a dimensional, bouncy masterpiece.
Layered Hair 101: Understanding the Basics
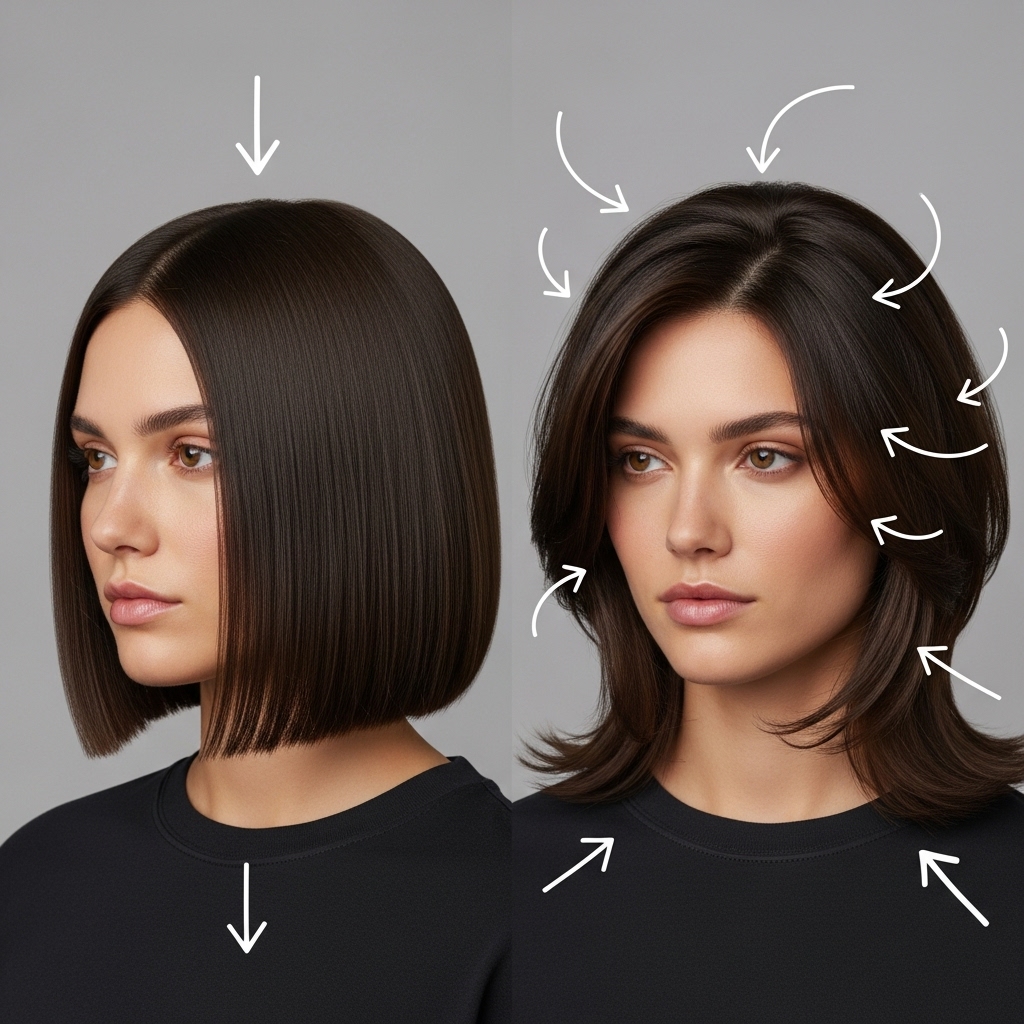
Before you make the first snip, it’s crucial to understand what layers are and what they do. At its core, a layered haircut involves cutting hair at different lengths throughout the head. Instead of one blunt line (like a classic bob), the hair falls in graduated levels. This technique is used to add volume, movement, and shape to your hair. It can help reduce bulk in thick hair, create the illusion of fullness in fine hair, and accentuate your facial features.
There are two main types of layers to know. Face-framing layers are shorter pieces cut around the face to draw attention to your eyes and cheekbones. Interior layers are cut throughout the rest of your hair to build body and texture. The key to a successful DIY layered cut is blending. The goal is a seamless transition between the different lengths, not a stark, stair-step effect.
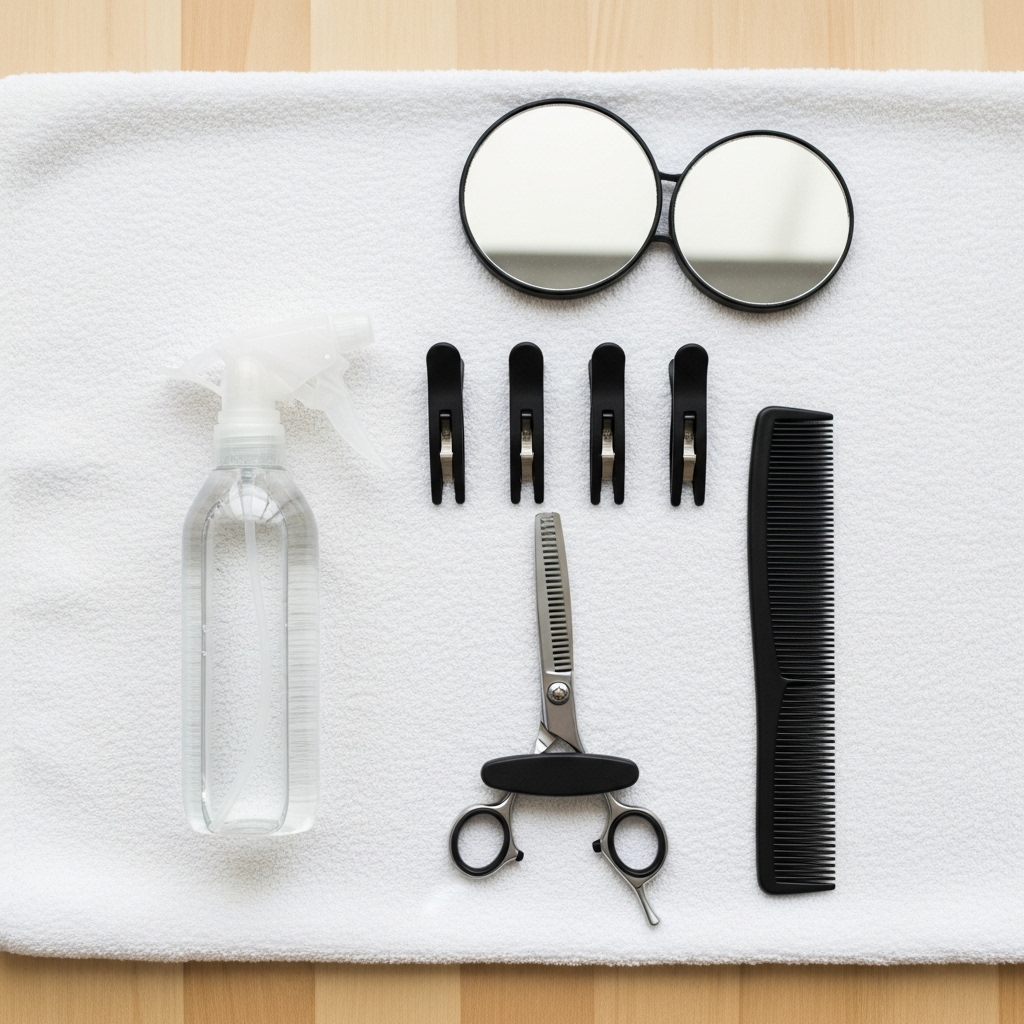
Tool Up: Your At-Home Hairdressing Kit
You wouldn’t paint a masterpiece with a rusty brush, and you shouldn’t cut your hair with the same scissors you use to open Amazon packages. The right tools are non-negotiable for a clean, healthy cut.
Hair Shears: This is your most important investment. Professional hair shears are sharp enough to make a clean cut without fraying the ends. Kitchen or office scissors will crush and damage the hair shaft, leading to split ends. A pair of affordable, dedicated hair shears from a beauty supply store is perfect.
Fine-Tooth Comb: You need a comb with both wide and fine teeth to section hair neatly and precisely.
Hair Clips: Sectioning clips (or even clean butterfly clips) are essential for keeping hair organized and out of the way while you work on one section at a time.
Spray Bottle: Damp hair is much easier to cut evenly than sopping wet or completely dry hair. A fine-mist spray bottle will be your best friend.
Two Mirrors: One for the front view and one for the back. A handheld mirror will allow you to check the back of your head against a wall-mounted mirror.
The Ponytail Method: The Easiest Layering Technique for Long Hair
If you’re new to the world of DIY layers, the Ponytail Method is your gateway cut. It’s surprisingly simple, effective, and minimizes the risk of major mistakes. This method is ideal for creating soft, shag-like layers throughout long hair, adding tons of movement and a lived-in texture.
Step-by-Step Guide:
1. Start with damp, detangled hair. Comb it through thoroughly to remove any knots.
2. Bend over at the waist and flip your hair forward, so it’s hanging down towards the floor.
3. Gather all your hair into a high ponytail, positioned directly on the top of your head (aim for the center of your crown). The higher the ponytail, the shorter and more dramatic your layers will be. For softer layers, place the ponytail slightly lower.
4. Secure the ponytail with a hair tie. Now, carefully slide the hair tie forward towards your forehead until the very ends of your ponytail are poking out. You want to cut the hair that extends past the hair tie.
5. Hold the ponytail steady and snip off the ends. How much you cut is up to you, but 1-2 inches is a safe starting point. For a more layered look, you can make small vertical snips into the ends instead of one straight-across cut.
6. Take the ponytail down, stand up straight, and shake out your hair. You’ll be greeted with soft, face-framing layers that are shorter in the front and longer in the back.
Pro Tip: If you want more layers, create two ponytails. Make one high on the crown and one at the nape of your neck. Cut a small amount from the high ponytail and a smaller amount (or none) from the lower one. This creates two distinct levels of layers.

The Twist and Snip: Textured Layers for Medium-Length Hair
For those with shoulder-length or collarbone-length hair, the Twist and Snip method is a game-changer. It’s perfect for creating choppy, textured layers that add body and a modern, effortless vibe to a blunt bob or lob (long bob). This technique helps to blend the layers seamlessly, avoiding any harsh lines.
Step-by-Step Guide:
1. Work with dry or mostly dry hair. This technique is easier to control when you can see the hair’s natural fall.
2. Section your hair. Part it down the middle and clip one side away.
3. On the unclipped side, take a section of hair from the top layer (about two inches back from your hairline). Twist this section tightly towards your face.
4. As you twist, shorter pieces will naturally start to poke out. These are the pieces you’ll cut. Hold the twist securely and, using the tips of your shears, carefully snip the pieces that are sticking out. Don’t cut the main twist itself! Just the random bits poking through.
5. Work your way around your head, taking new sections, twisting, and snipping the escaped pieces. Focus on the areas where you want the most texture—around the face and at the crown.
6. Once you’re done, run your fingers through your hair. You’ll notice instant texture and piece-y layers that look professionally done.
Pro Tip: The tighter you twist, the more shorter pieces will pop out, resulting in more dramatic layers. For a subtler effect, make a looser twist.

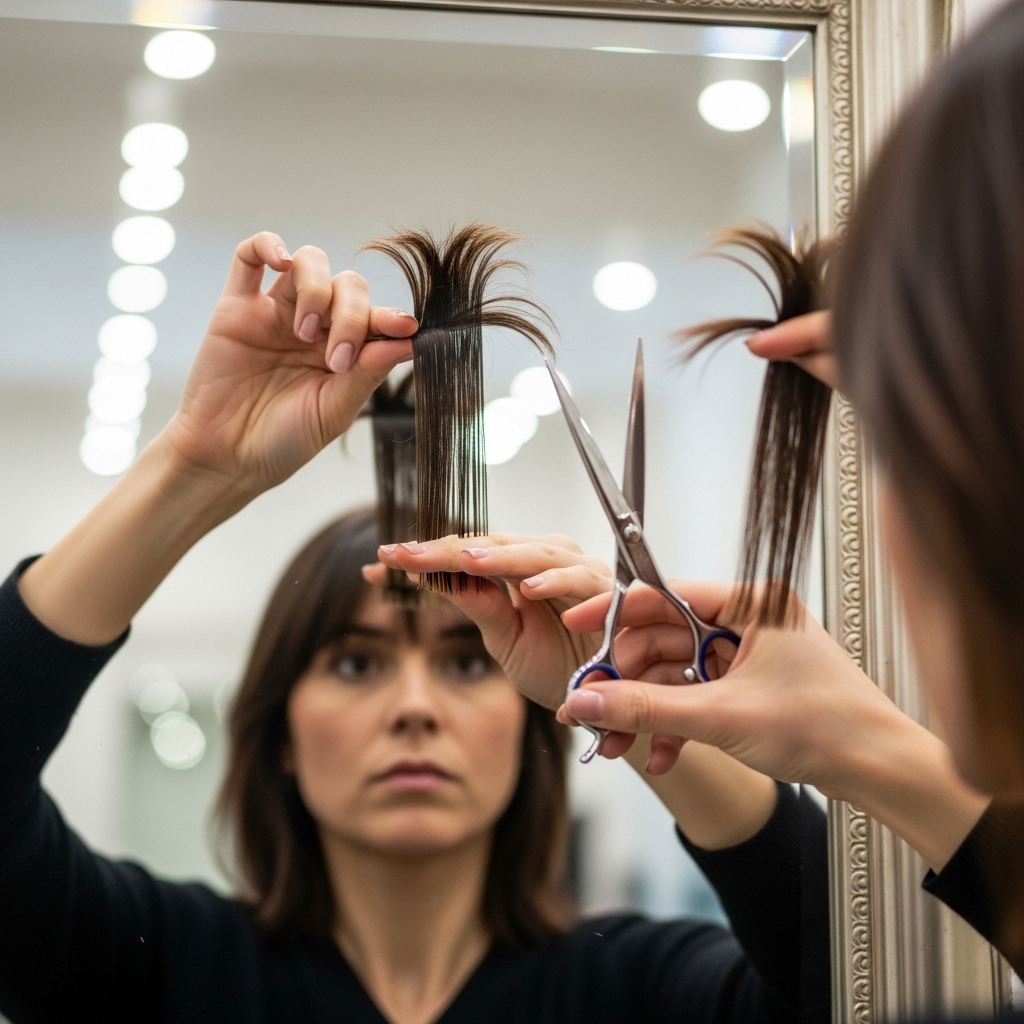
Face-Framing Layers: The Instant Lift for Any Length
Sometimes, you don’t need a full head of layers; you just want to brighten up your face. Face-framing layers are the perfect solution and one of the easiest techniques to master. This method works on short, medium, and long hair and delivers a huge impact for very little effort.
Step-by-Step Guide:
1. Identify the section you want to frame your face. This is typically a two-inch wide section that starts at your part and goes down to the front of your ears on both sides.
2. Separate this front section from the rest of your hair and clip the back hair out of the way.
3. Comb the front section forward so it falls over your face.
4. Decide on your desired length. A good rule of thumb is to cut so the shortest layer hits somewhere between your chin and collarbone.
5. Instead of cutting straight across, hold your shears vertically. Point-cut into the ends of your hair by making small, vertical snips. This creates a soft, feathered edge that blends perfectly. Start longer than you think—you can always cut more.
6. To create a seamless blend, take a small, horizontal section from the hair just behind your face-framing piece. Hold this new section between your fingers with the face-framing piece you just cut, and point-cut the ends together. This marries the two sections.
7. Repeat on the other side, using the first side as a length guide to ensure symmetry.
Maintaining Your Masterpiece: Post-Cut Care
Congratulations, you’ve successfully given yourself a layered haircut! Now, let’s make sure it stays looking fabulous. Layered hair thrives on texture and health, so your styling routine might need a slight adjustment.
Invest in a good texturizing spray or sea salt spray. These products are perfect for enhancing the separation and piece-y look of your new layers. Apply to damp or dry hair and scrunch upwards for defined texture.
When blow-drying, use a round brush to lift the roots of your top layers. This will maximize the volume-creating potential of your cut. For a quick fix, a few velcro rollers at the crown while you do your makeup can add incredible bounce.
Most importantly, keep your shears sharp and consider getting a professional trim every 4-6 months to maintain the shape and health of your ends. Your future, well-layered self will thank you.

You’ve Got This!
Layered hair is no longer a salon-exclusive secret. With the right tools, a bit of patience, and these step-by-step techniques, you have everything you need to refresh your look and add dynamic movement to your hair. Remember, hair grows back, but the confidence you gain from mastering a new skill is permanent. Start with the ponytail method if you’re a beginner, and work your way up to the more detailed techniques. Your ultimate layered cut is waiting—and you’re the one who can create it.

