
You know the look. It’s the hair that swishes with silent confidence, catching the light with every turn. It’s full of body, impossibly smooth, and radiates a just-left-the-salon glow. Dubbed the “Rich Girl” blowout, this hairstyle is less about bank accounts and more about an aura of polished, effortless luxury. It’s the signature style of celebrities and style icons, often assumed to require a weekly appointment and a hefty budget. But what if you could bottle that magic?

What Exactly Is the “Rich Girl” Blowout?
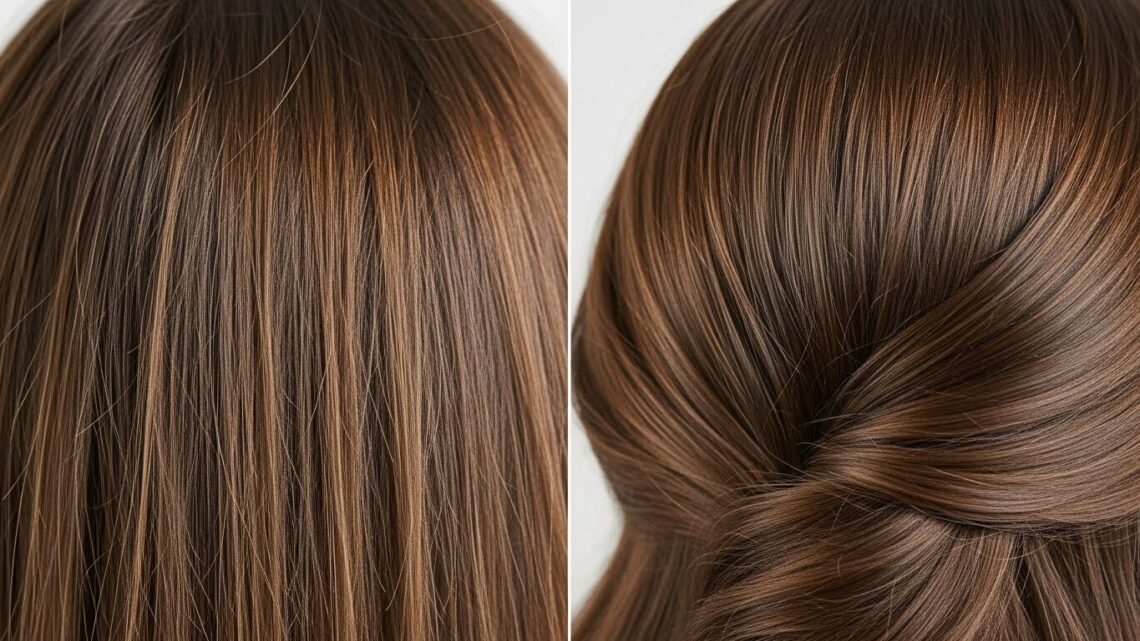
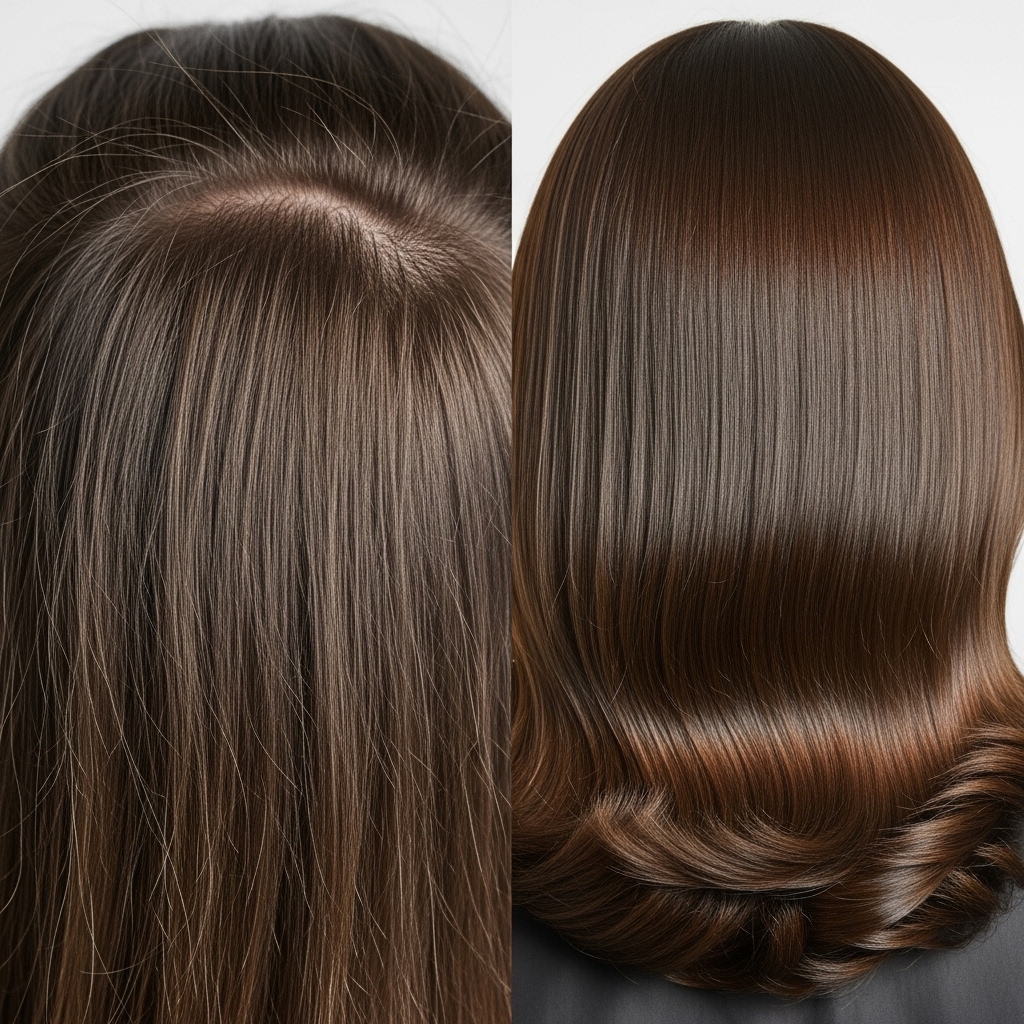
Before we dive into the how, let’s define the what. The Rich Girl blowout isn’t just straight hair. It’s a multidimensional style characterized by several key elements. First, there’s the root lift—volume that starts at the crown and gives the hair a lifted, not flat, appearance. Next is the sleek smoothness along the lengths, free of frizz or flyaways, creating a glass-like surface. Then, there’s the inward or outward curve at the ends, a soft bend that adds bounce and shape without looking like a tight curl. Finally, it’s all tied together with an unparalleled shine, the kind that looks healthy and expensive.
This look implies health, care, and attention to detail. It’s not overly styled, yet it’s undeniably intentional. The goal is to mimic the work of a top-tier stylist: hair that moves as one cohesive, beautiful unit.
Pre-Game: The Non-Negotiable Prep Work
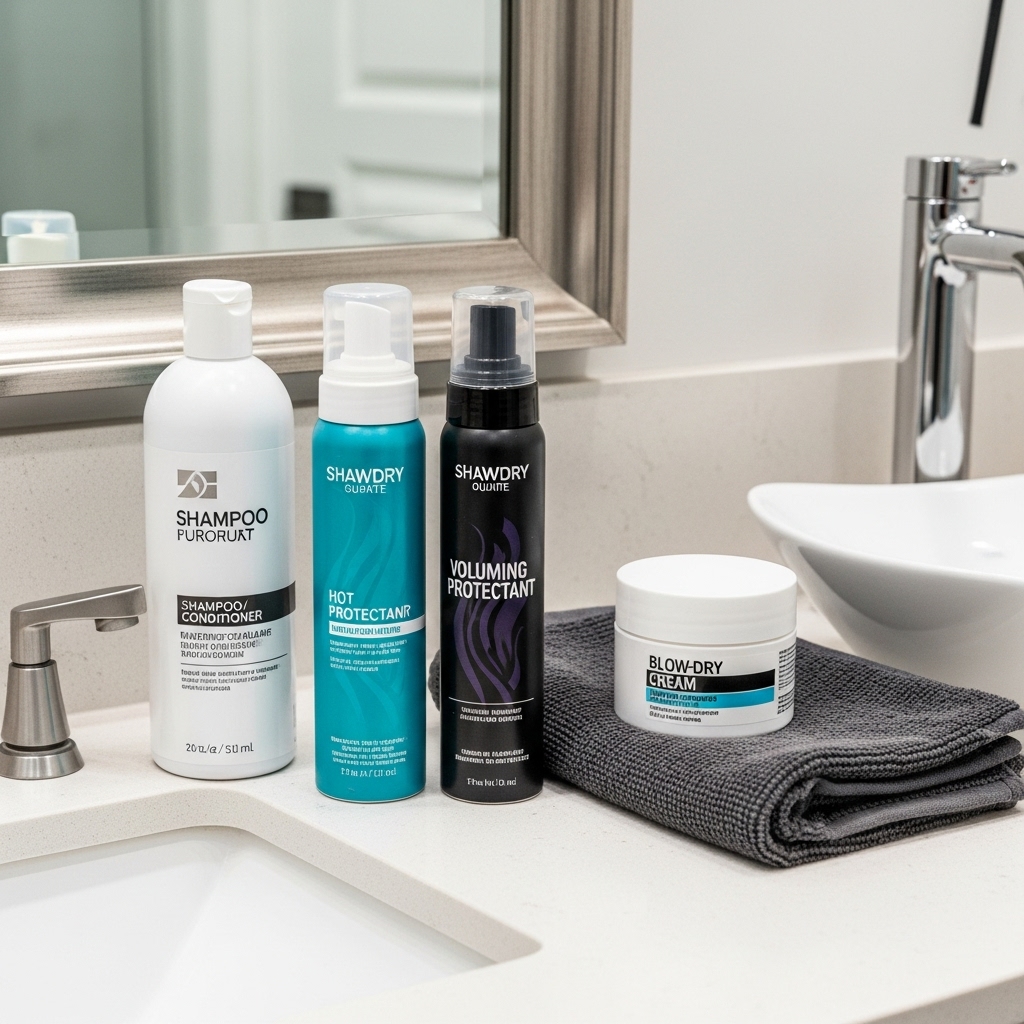
Salon results begin long before the hairdryer is turned on. Preparation is everything, and skipping these steps is the fastest way to a flat, frizzy finish. Start in the shower with a thorough wash. Use a clarifying shampoo once a week to remove product buildup that can weigh hair down. For daily washes, opt for a volumizing or smoothing shampoo and conditioner tailored to your hair type. A pro tip: apply conditioner mainly from the mid-lengths to ends, avoiding the roots to preserve that all-important lift.
Once out of the shower, gently squeeze excess water from your hair with a microfiber towel—never rub, as this causes frizz. While your hair is still very damp, it’s time for product. This is your foundation. Apply a heat protectant spray religiously; it is the armor that shields your strands from damage. Follow with a volumizing mousse or root-lift spray at the crown, and a blow-dry cream or smoothing serum through the lengths. These products work together to provide hold, protection, and a smooth canvas for styling.
Tool Time: Investing in Your Hair’s Best Friends
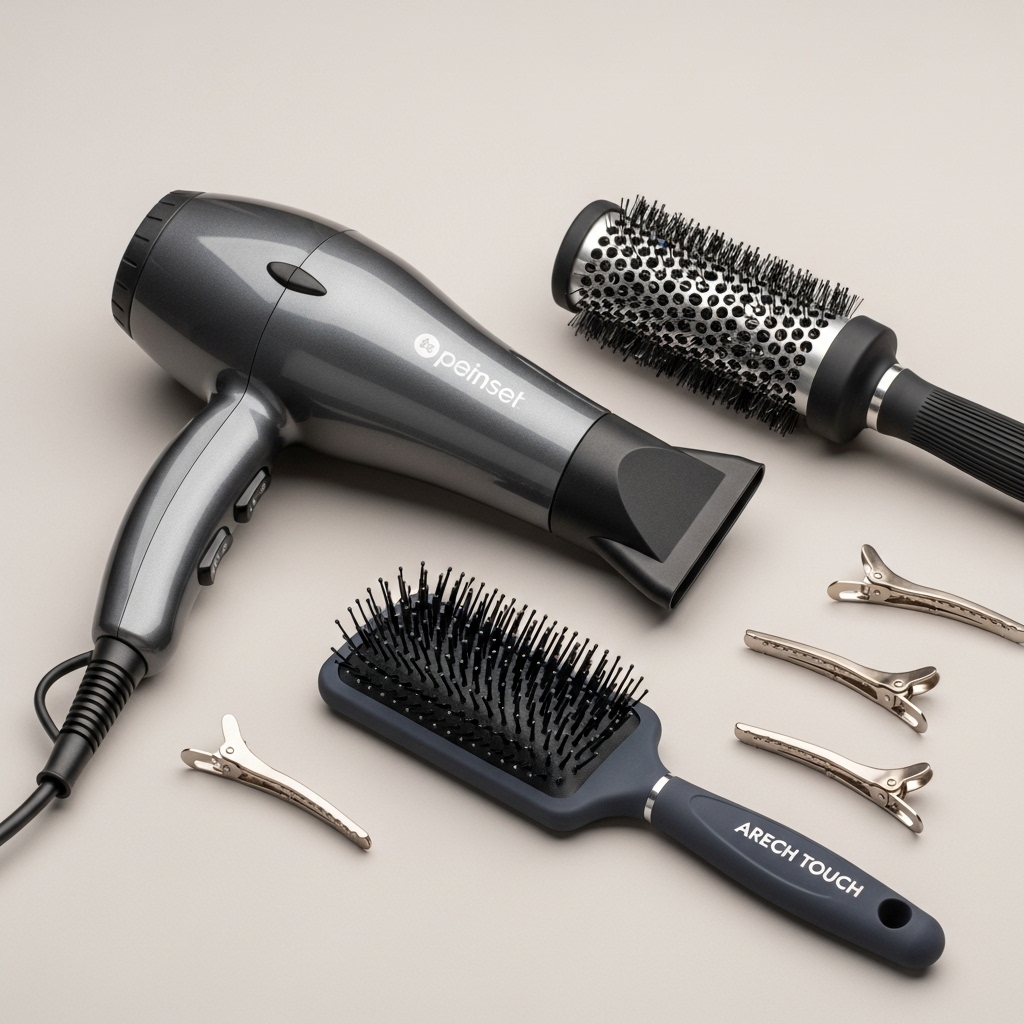
You don’t need a salon-grade budget, but the right tools are non-negotiable. The star of the show is your hair dryer. Look for one with high wattage (1800+), multiple heat/speed settings, and a cool shot button. The cool shot is crucial for setting your style and boosting shine. Next, the brush. For the classic smooth blowout, a large, round ceramic brush is ideal. The size will give you volume and a soft curve. For thicker, harder-to-straighten hair, a paddle brush with ionic or ceramic bristles can help smooth larger sections quickly. Finally, have sectioning clips ready. Dividing your hair is the secret to a meticulous, salon-style finish.
The Step-by-Step Blowout Technique
Now, for the main event. Follow these steps in order for the best results.
Step 1: Rough Dry
Start by removing about 80% of the moisture from your hair. Flip your head upside down and use your dryer on medium heat and high speed, moving it constantly. Focus on the roots to build initial volume. Don’t worry about style yet—just get your hair to a damp, not wet, state.
Step 2: Section and Conquer
Divide your hair into four quadrants: split down the middle from forehead to nape, and then from ear to ear across the crown. Clip up the top sections. You will always work on the bottom sections first, moving upwards. This ensures every layer gets attention.
Step 3: The Round Brush Method
Take a horizontal subsection from your nape area, about 1-2 inches thick. Place your round brush under the hair, close to the roots. Point the dryer nozzle down the hair shaft (from roots to ends), following the brush. This direction seals the cuticle for maximum shine. As you pull the brush through, rotate it inward towards your face for a soft, face-framing curve. Hold the heat for a few seconds, then hit the cool shot button while the hair is still wrapped on the brush. This “sets” the style. Repeat throughout all sections, working your way up and forward.
Step 4: The Crown Lift
For the crown—the epicenter of volume—take vertical sections. Direct the hair slightly forward or backward (opposite its natural fall) as you dry to create lift right at the root. Use the cool shot to lock in that lift.

The Finishing Touches: Where the Magic Happens
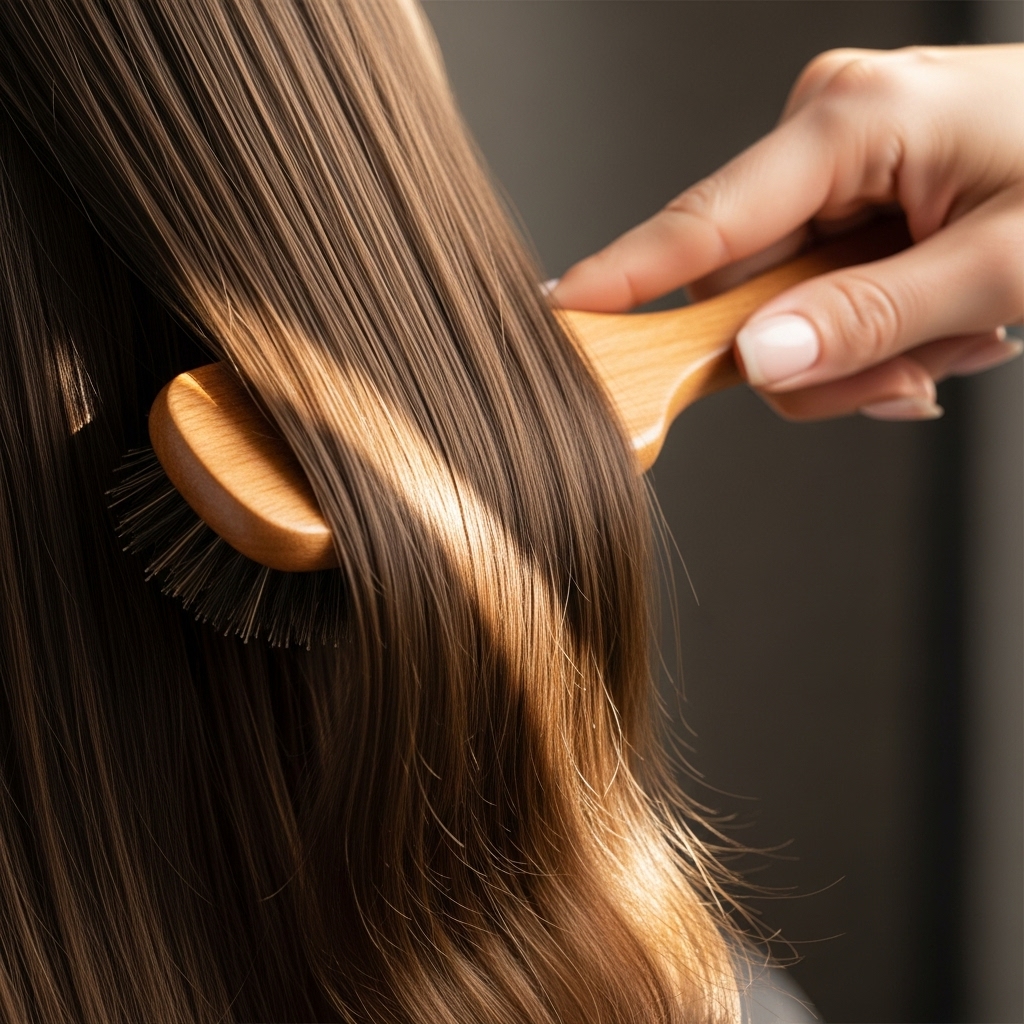
Once your hair is completely dry and smooth, it’s time for the polish. First, run a pure boar bristle brush through your hair. This distributes your scalp’s natural oils from root to tip, enhancing shine and smoothing the very top layer of hair. Next, if you have any stubborn flyaways, take a tiny drop of hair serum or even a clean toothbrush spritzed with hairspray to gently tame them.
For extra longevity and shine, give your entire head a blast of the cool shot again. Finally, a light mist of flexible-hold hairspray from a distance will hold the style without making it stiff or crunchy. The goal is touchable, movable hair that still holds its shape.
Making Your Blowout Last for Days
A true Rich Girl blowout is an investment in time, so make it last. At night, sleep on a silk or satin pillowcase to reduce friction and prevent frizz. You can also loosely gather your hair into a high, loose ponytail on top of your head (a “pineapple”) with a silk scrunchie. On day two and three, revive roots with a dry shampoo—it absorbs oil and adds texture and lift. For any areas that have lost their curve, use a large-barrel curling iron to touch up the ends, rolling them in the same direction as your initial blowout.

Conclusion: Your Passport to Polished Hair
Achieving the iconic Rich Girl blowout at home is a skill, and like any skill, it gets easier and faster with practice. It’s about understanding the why behind each step: prepping to protect, sectioning to control, directing heat to smooth, and cooling to set. This guide provides the blueprint. Now, it’s your turn to play stylist. Embrace the process, invest in a few key products and tools, and prepare to fall in love with your own hair’s potential. That luxurious, confident, salon-fresh feeling is now officially within reach—no appointment necessary.


Your style is so unique compared to many other people. Thank you for publishing when you have the opportunity,Guess I will just make this bookmarked.2