
Are you tired of spending a fortune on expensive hair treatments that promise miracles but deliver mediocre results? What if we told you that you could create a powerful hair repair kit at home for less than $10? Yes, you read that right! With a few simple, natural ingredients, you can restore your hair’s shine, strength, and moisture without breaking the bank.
In this guide, we’ll walk you through a budget-friendly DIY hair repair kit that’s easy to make, effective, and free from harsh chemicals. Whether your hair is damaged from heat styling, coloring, or environmental stressors, this homemade solution will help bring it back to life. Let’s dive in!

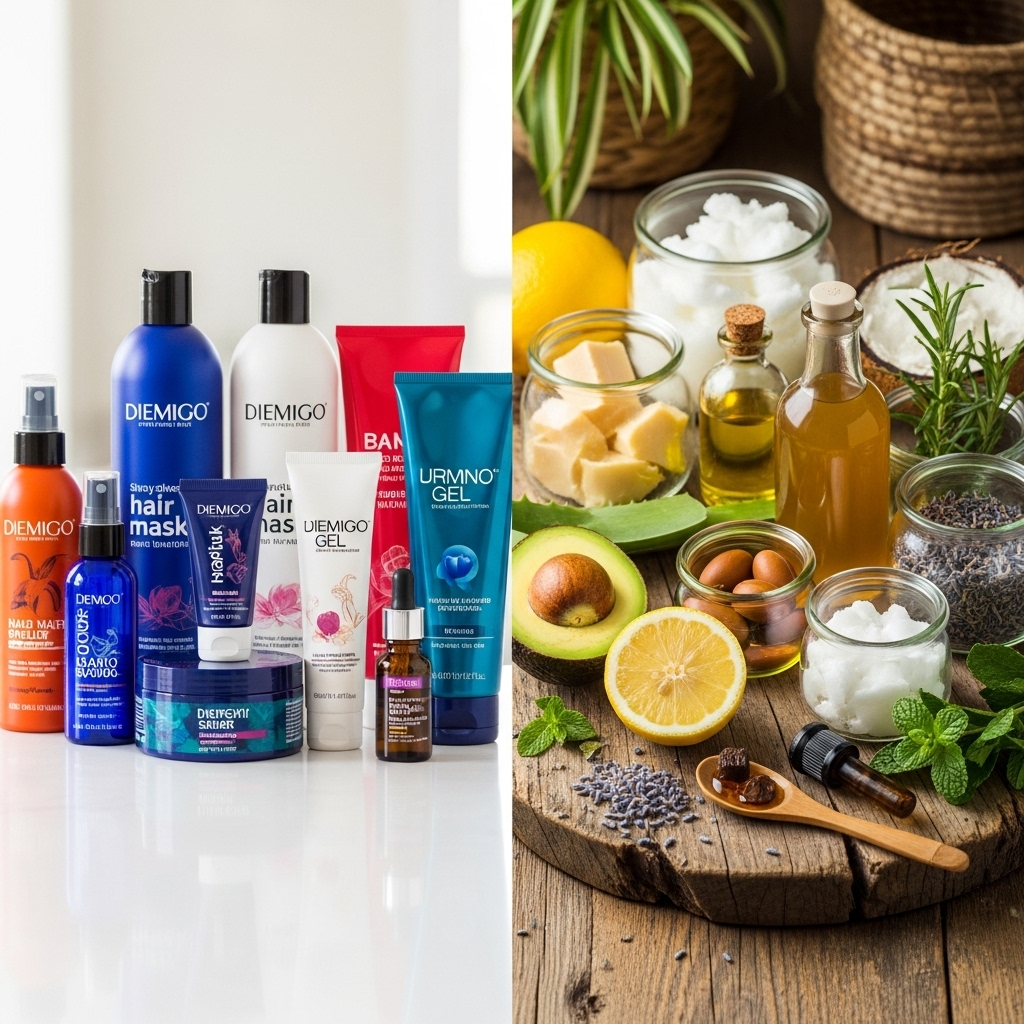
Why DIY Hair Repair Works Better Than Store-Bought Products
Commercial hair treatments often contain silicones, sulfates, and synthetic fragrances that provide temporary fixes but can cause long-term damage. On the other hand, natural ingredients work in harmony with your hair’s structure, delivering deep nourishment without harmful side effects.
Here’s why a DIY hair repair kit is a game-changer:
- Cost-effective: No need to splurge on high-end products.
- Customizable: Adjust ingredients based on your hair type and needs.
- Chemical-free: Avoid harsh additives that strip natural oils.
- Eco-friendly: Reduce plastic waste from product packaging.
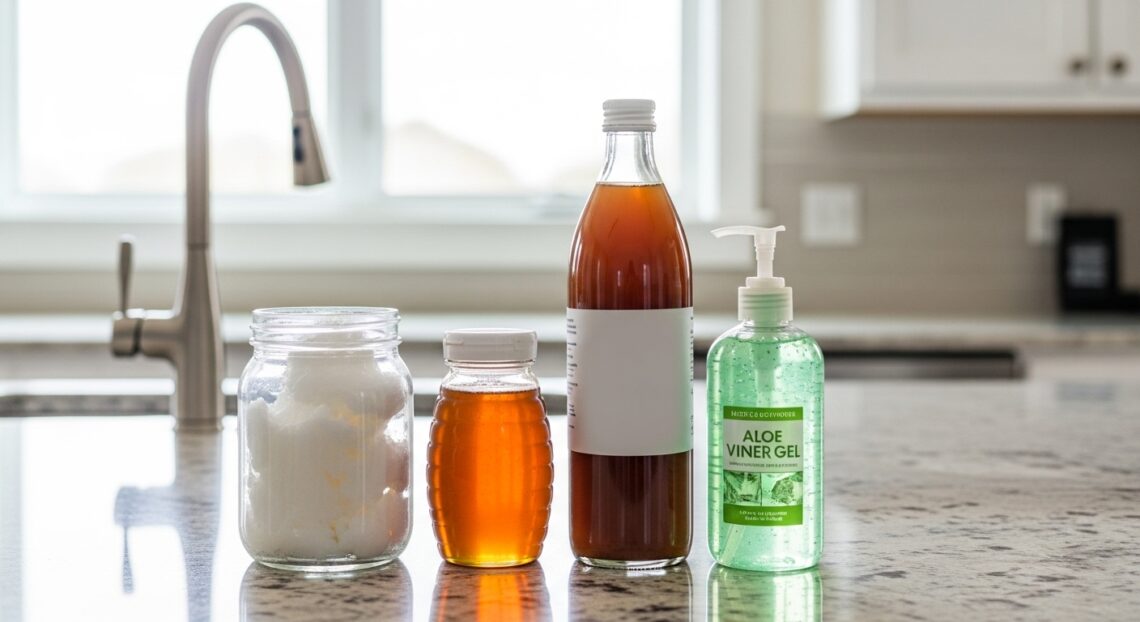
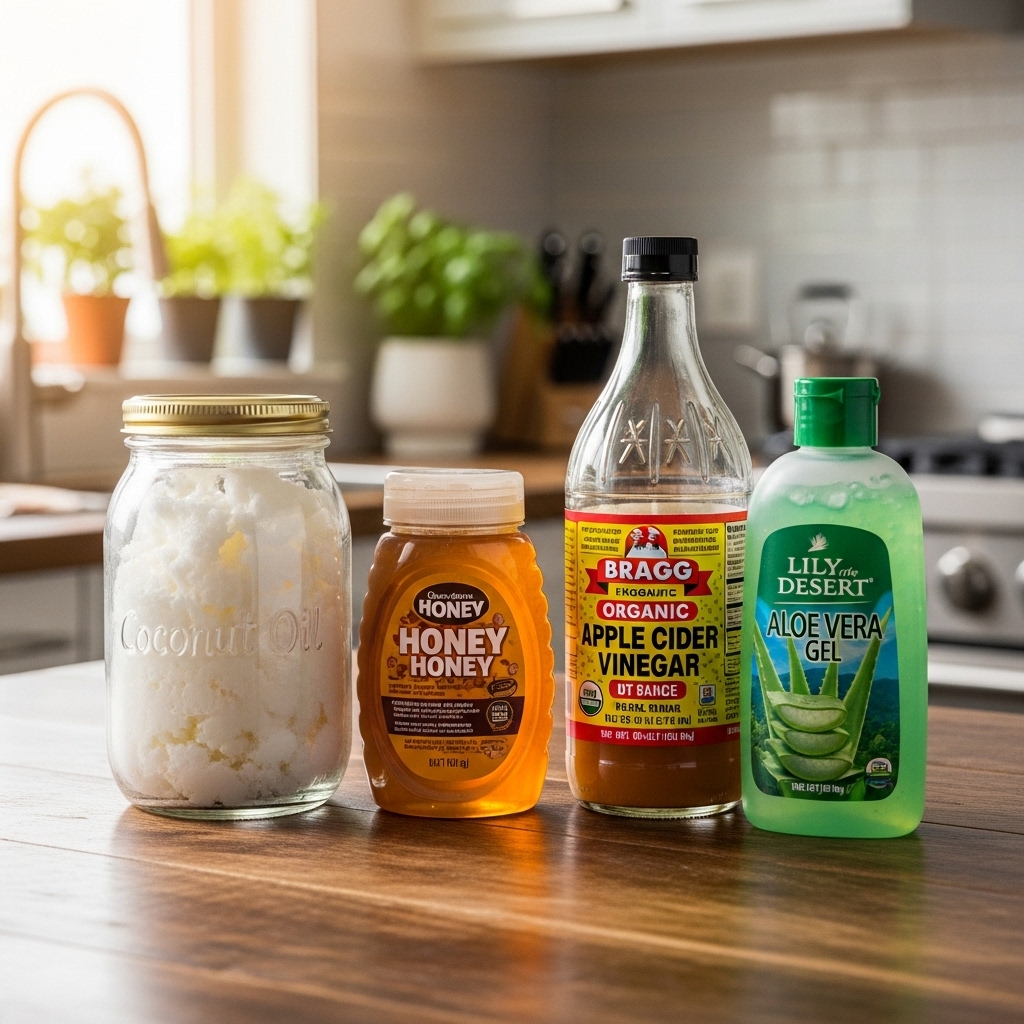
Essential Ingredients for Your $10 Hair Repair Kit
You don’t need fancy products to revive damaged hair. Here are the key ingredients you’ll need, all of which can be found at your local grocery store or online for under $10:
1. Coconut Oil
This powerhouse oil penetrates the hair shaft, reducing protein loss and preventing breakage. It’s rich in fatty acids that add moisture and shine.
2. Honey
A natural humectant, honey locks in moisture and adds softness. It also has antibacterial properties that promote a healthy scalp.
3. Apple Cider Vinegar
An excellent clarifying agent, ACV removes buildup, balances pH, and enhances shine.
4. Aloe Vera Gel
Known for its soothing properties, aloe vera reduces scalp irritation and strengthens hair follicles.
5. Eggs (Optional)
Packed with protein, eggs help repair damaged strands and add volume.
Step-by-Step DIY Hair Repair Treatments
Now that you’ve gathered your ingredients, let’s put them to work! Here are three easy treatments you can make at home.
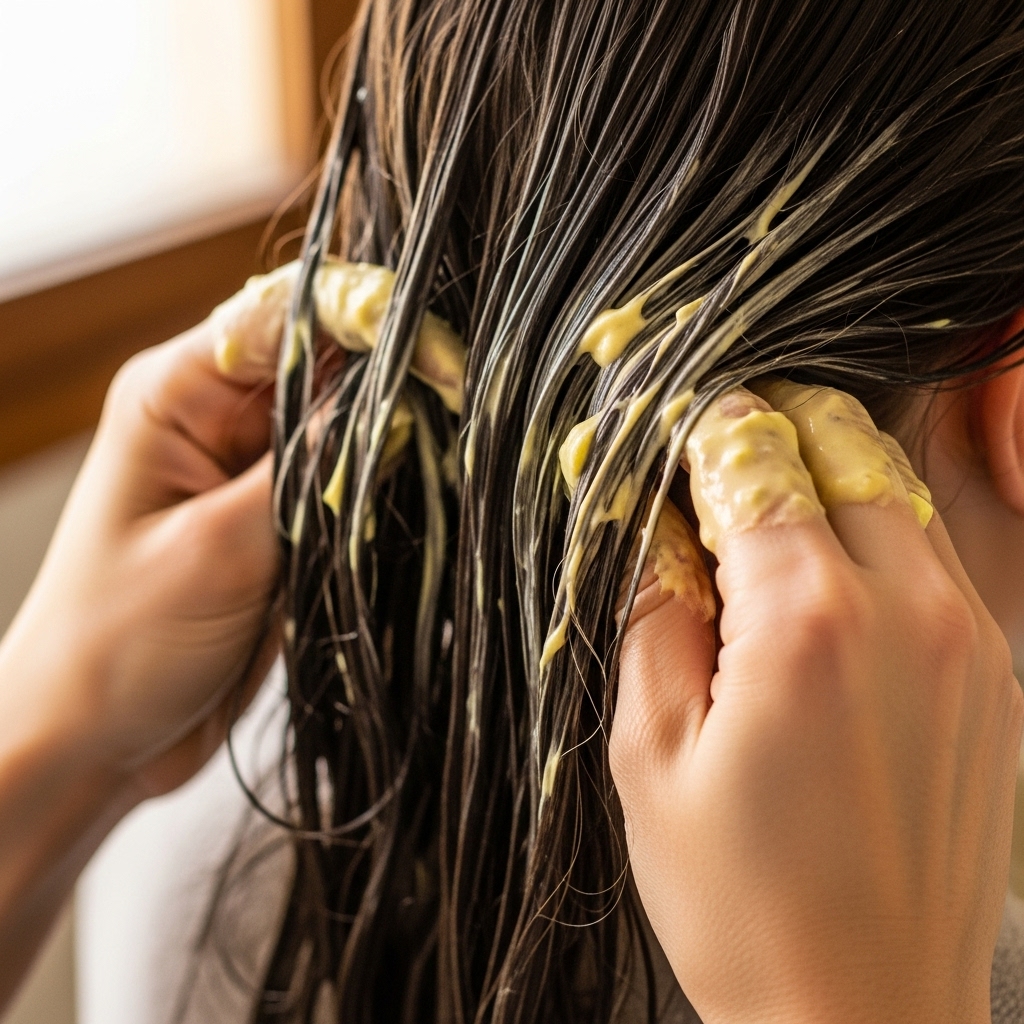
1. Deep Conditioning Mask
Ingredients: 2 tbsp coconut oil, 1 tbsp honey, 1 tbsp aloe vera gel
Instructions: Mix all ingredients in a bowl. Apply to damp hair, focusing on the ends. Cover with a shower cap and leave for 30 minutes before rinsing with lukewarm water.
2. Clarifying Rinse
Ingredients: 1 cup water, 2 tbsp apple cider vinegar
Instructions: Mix and pour over hair after shampooing. Leave for 2-3 minutes, then rinse thoroughly. This removes residue and boosts shine.
3. Protein Treatment (For Extremely Damaged Hair)
Ingredients: 1 egg, 1 tbsp coconut oil, 1 tbsp honey
Instructions: Whisk the egg and mix with other ingredients. Apply to hair, leave for 20 minutes, then rinse with cool water (to avoid cooking the egg!).
How Often Should You Use These Treatments?
For best results, follow this schedule:
- Deep Conditioning Mask: 1-2 times per week
- Clarifying Rinse: Once every 2 weeks
- Protein Treatment: Once a month (overuse can cause brittleness)
Listen to your hair—if it feels dry or weighed down, adjust the frequency accordingly.

Bonus Tips for Maximizing Hair Repair
To get the most out of your DIY hair repair kit, follow these extra tips:
- Use lukewarm water: Hot water can strip natural oils.
- Sleep on silk: A silk pillowcase reduces friction and breakage.
- Trim regularly: Get rid of split ends every 6-8 weeks.
- Limit heat styling: Let your hair air-dry when possible.

Final Thoughts
Who knew that a $10 DIY hair repair kit could outperform expensive salon treatments? By using natural ingredients, you’re not only saving money but also giving your hair the pure, chemical-free care it deserves. Whether you’re dealing with dryness, frizz, or breakage, these simple recipes can help restore your locks to their healthiest state.

