
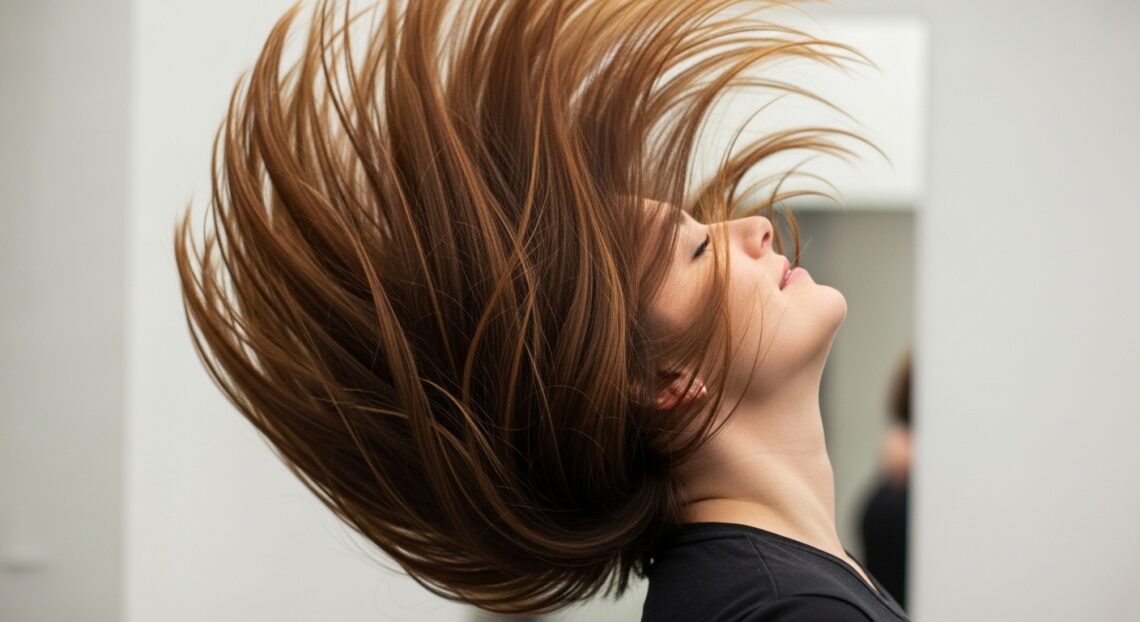
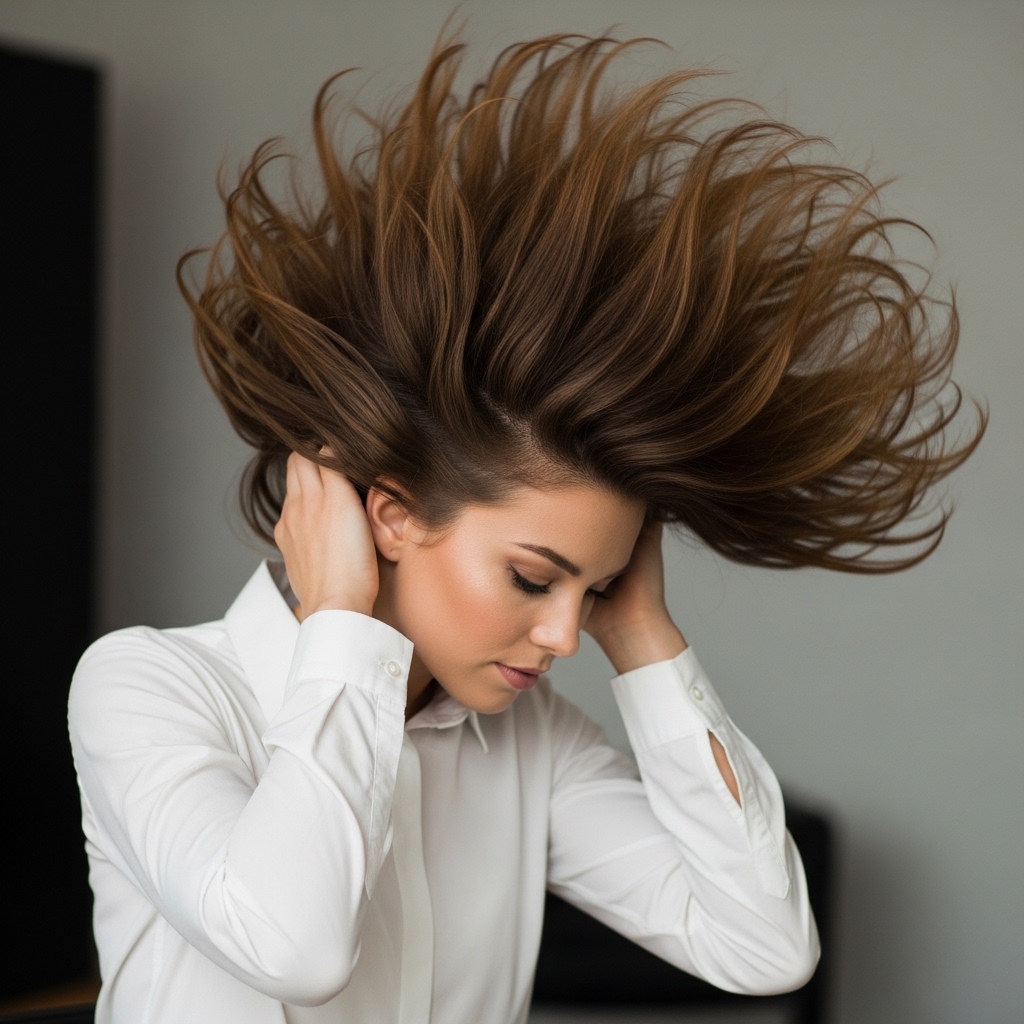
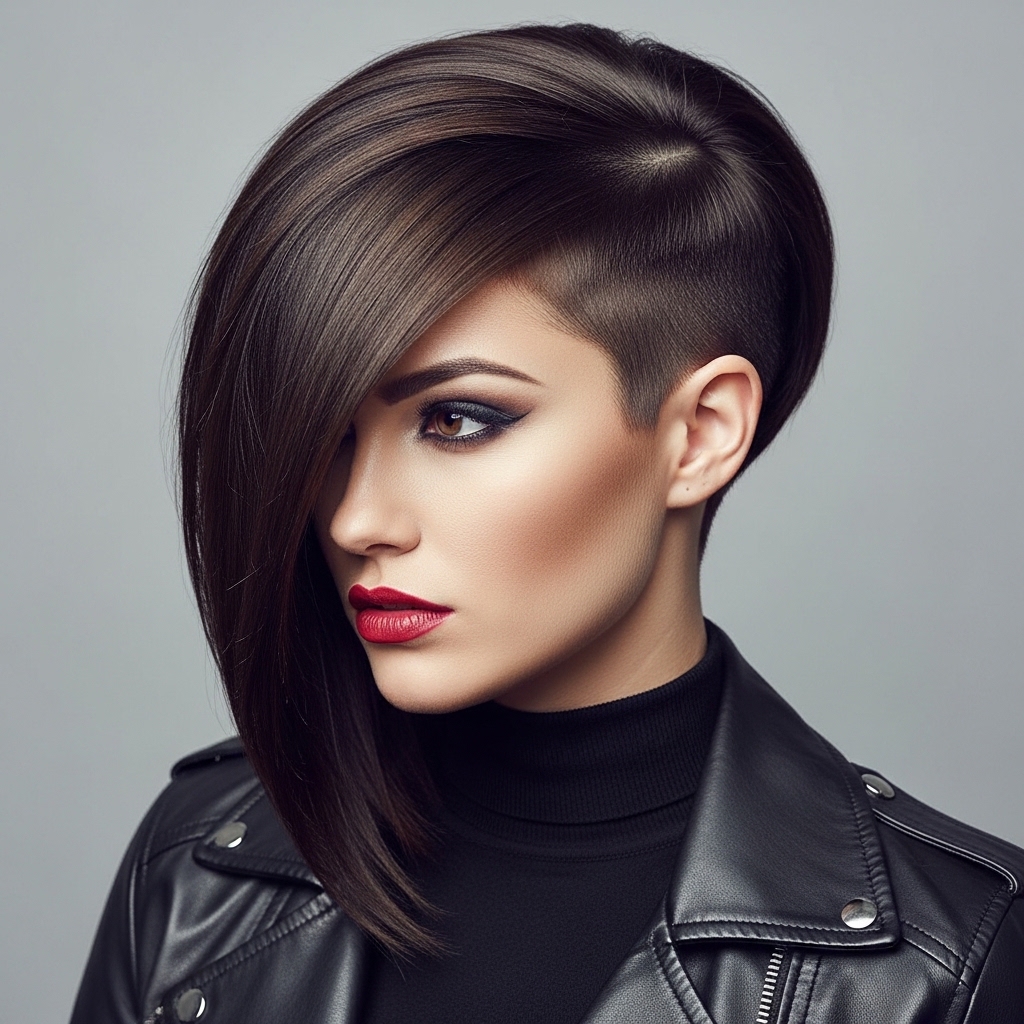
Hey you. I see you scrolling through those endless 2026 hairstyles mood boards, landing on that perfect, bouncy, rounded lob and thinking… “I could never.” Especially with all this thick hair of mine. It would just be a triangle, right?
I get it. As someone with a head full of hair, I used to think certain cuts were off-limits. But let me tell you, this rounded lob is a total game-changer for us thick-haired girls. It’s that perfect blend of old money hair polish and effortless, lived-in movement.
This isn’t about fighting your texture. It’s about working with it to get that chic, face-framing shape with serious bounce. Grab your favorite tools and let’s break it down, step-by-step. You’ll be shocked at how easy it is to get that salon-perfect swing at home.
Why This Rounded Lob Loves Thick Hair
Thick hair is a blessing for this cut. You have the density to really support the shape and create that iconic, bouncy swing that finer hair dreams of. The weight of your hair actually helps the layers settle into a beautiful, rounded silhouette.
This cut removes bulk in all the right places—think underneath and through the ends—without thinning out your volume. The result is a lightweight, manageable style that still feels full and luxurious. It’s the ultimate quiet luxury bob: expensive-looking, healthy, and incredibly easy to wear.
Tools You Absolutely Need to Get Started
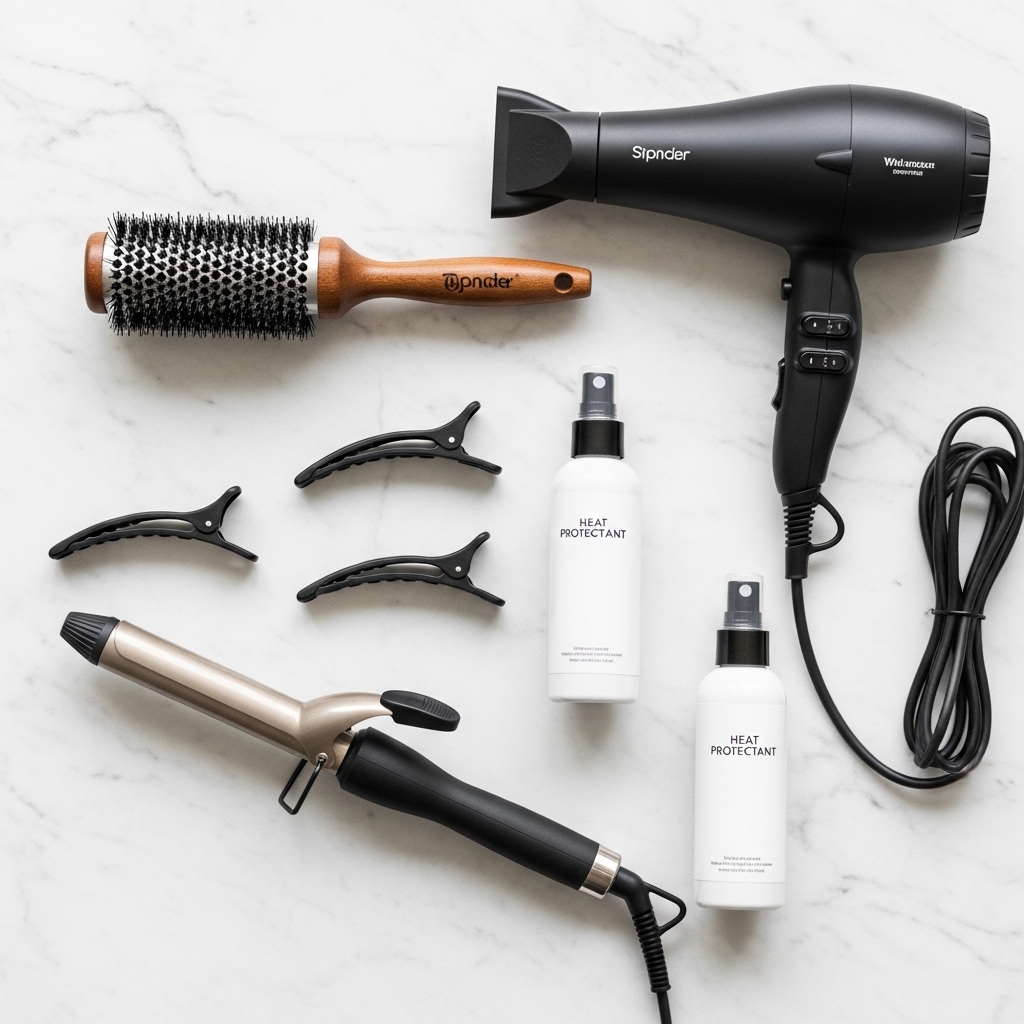
You can’t build a house without a hammer, and you can’t build bounce without the right tools. Don’t worry, nothing too crazy. First, a powerful hair dryer. Thick hair needs the airflow.
Next, a large, vented round brush (the bigger the barrel, the softer the wave). A 1-inch curling iron for polishing. Strong sectioning clips. And never, ever skip a heat protectant spray. Trust me, your future self will thank you.
Step 1: The Perfect Wash & Prep Routine
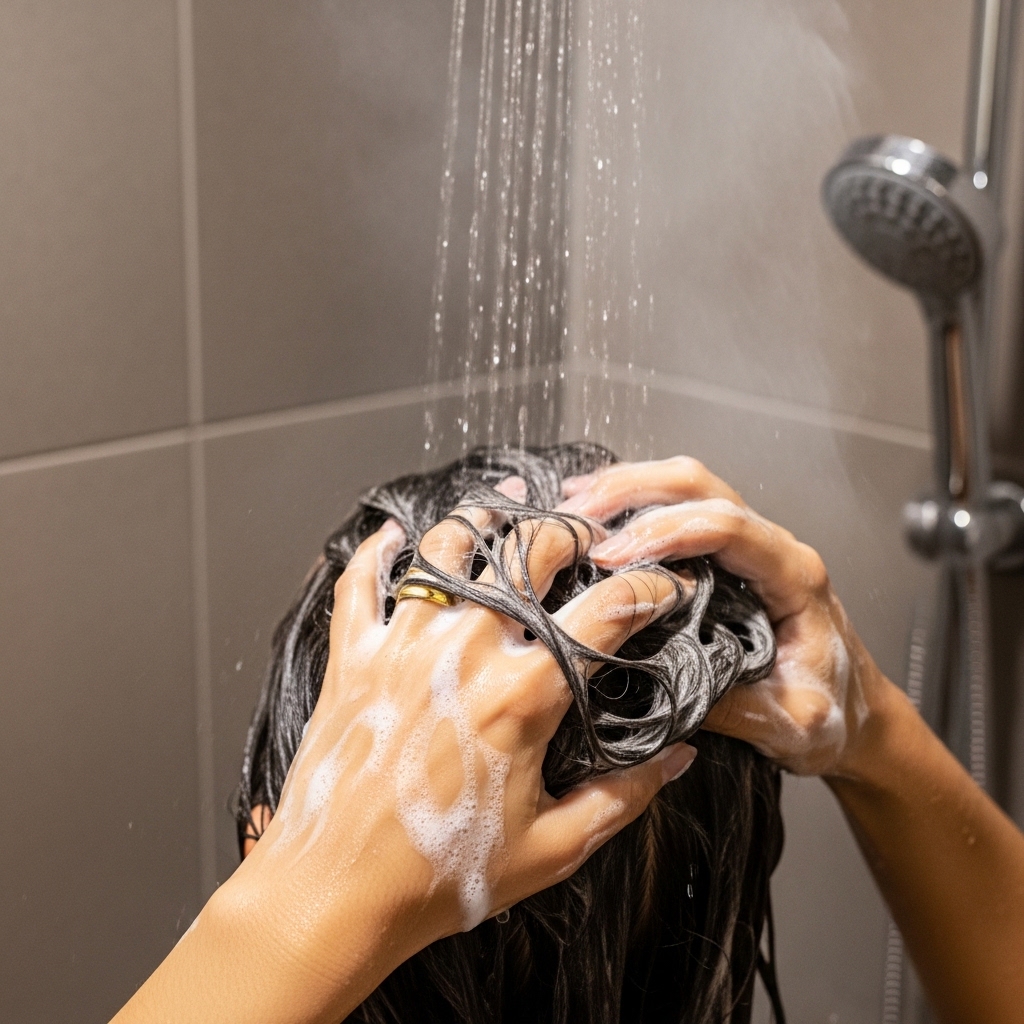
It all starts in the shower. For maximum bounce, you need a clean, lightweight base. I use a volumizing shampoo at the roots and a hydrating conditioner only on my mid-lengths to ends. This prevents flatness.
Rinse with cool water to seal the cuticle for shine. Out of the shower, gently squeeze out water with a microfiber towel. Then, apply your heat protectant and a light mousse or root-lift spray. This prep is non-negotiable for hold that lasts all day.
Step 2: Rough Dry the Right Way
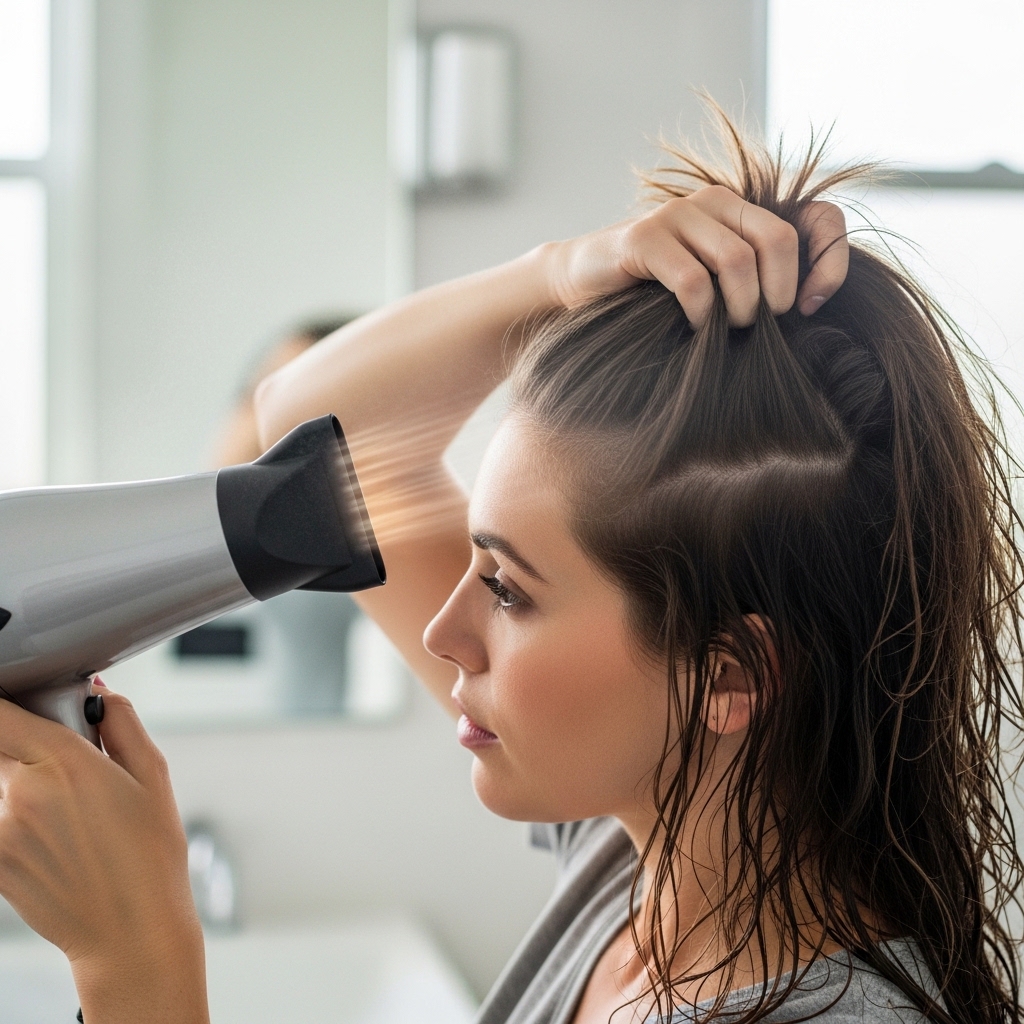
Don’t jump straight in with the brush. First, get your hair about 80% dry. Use your fingers to lift the roots as you dry. Point the nozzle down the hair shaft to smooth the cuticle.
This step gets rid of the majority of the moisture without you having to work too hard. It also pre-stretches your hair, making the next round-brush step much faster and easier. The goal here is just to get it from sopping wet to damp.
Step 3: Sectioning Is Your Secret Weapon
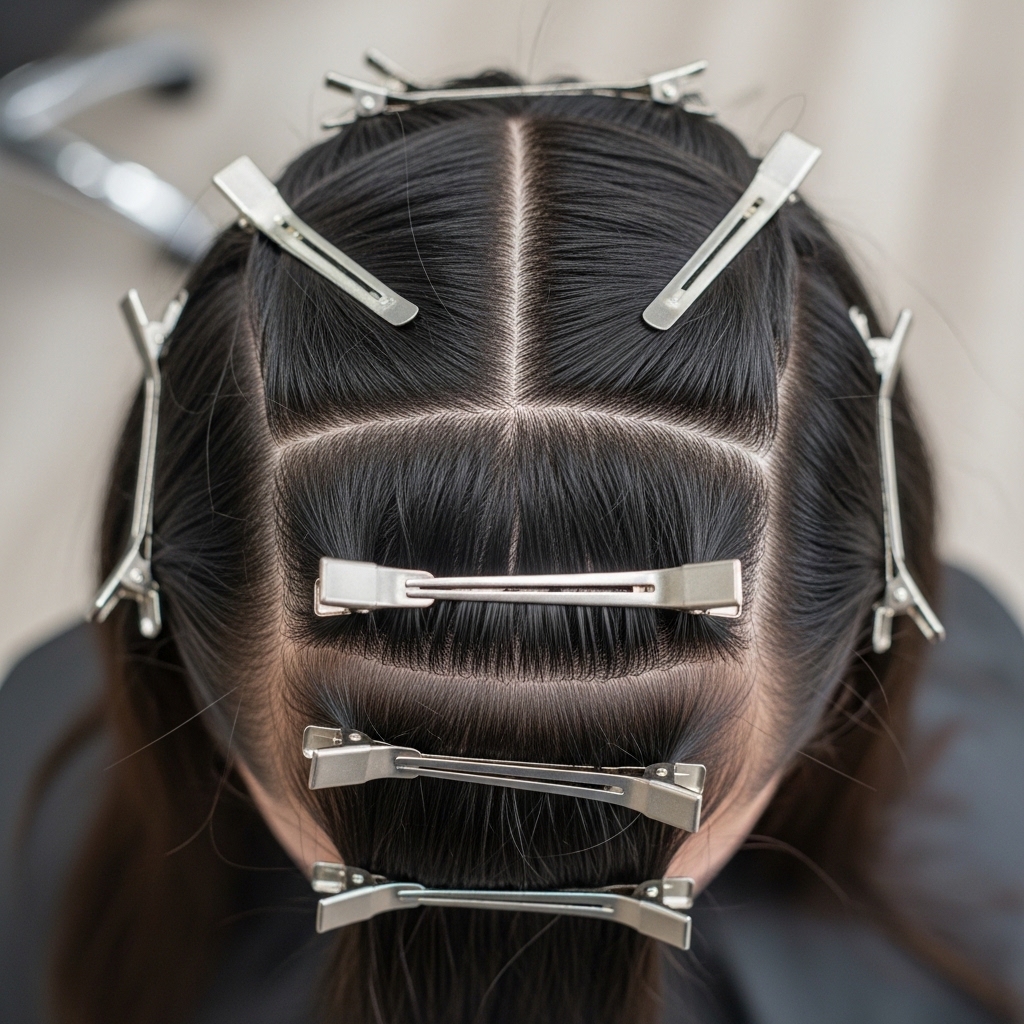
This is the step everyone wants to skip, but it’s the key to perfection. Divide your hair into four sections: bottom left, bottom right, top left, top right. Clip the top sections out of the way.
Working in smaller, manageable sections means you can properly direct the heat and tension from your round brush to create that rounded shape. If you try to style all your thick hair at once, you’ll miss spots and the style won’t last.
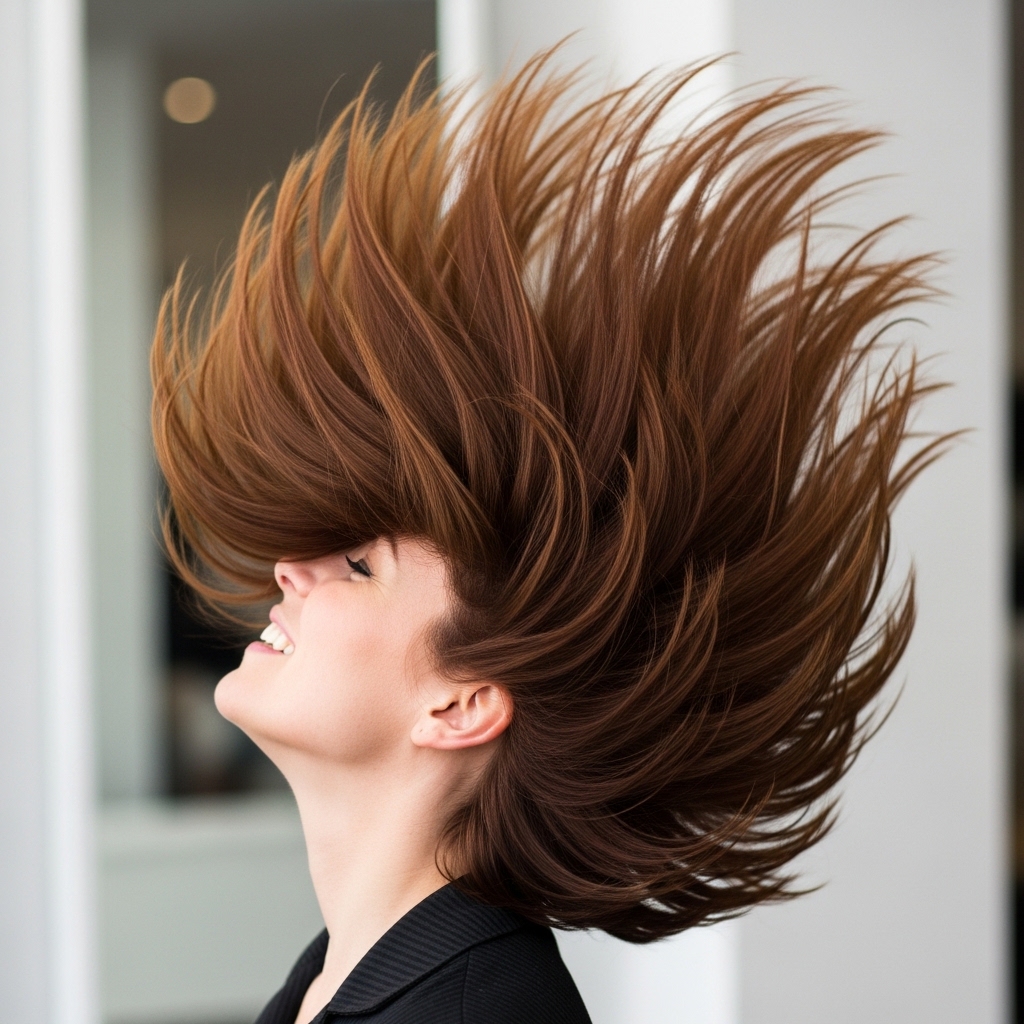
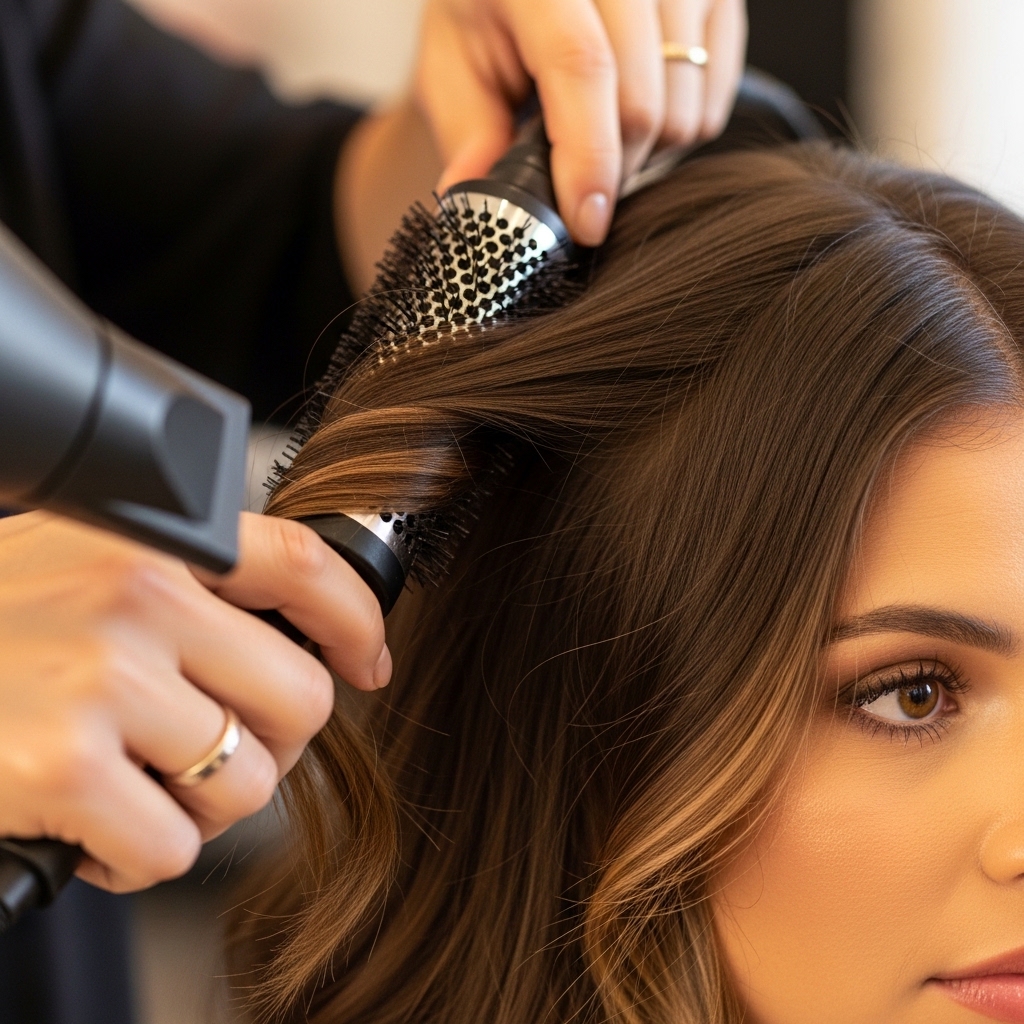
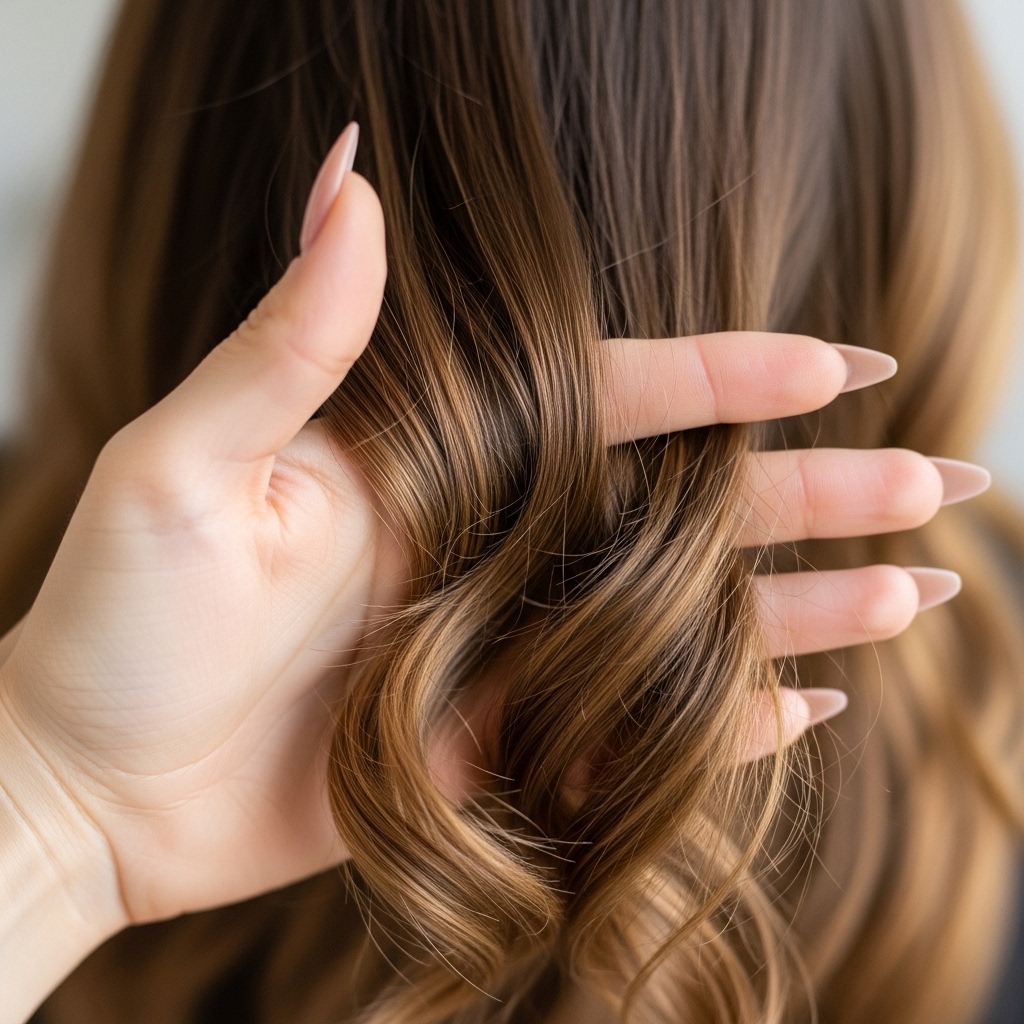
Step 4: Creating the Round Shape with Your Brush
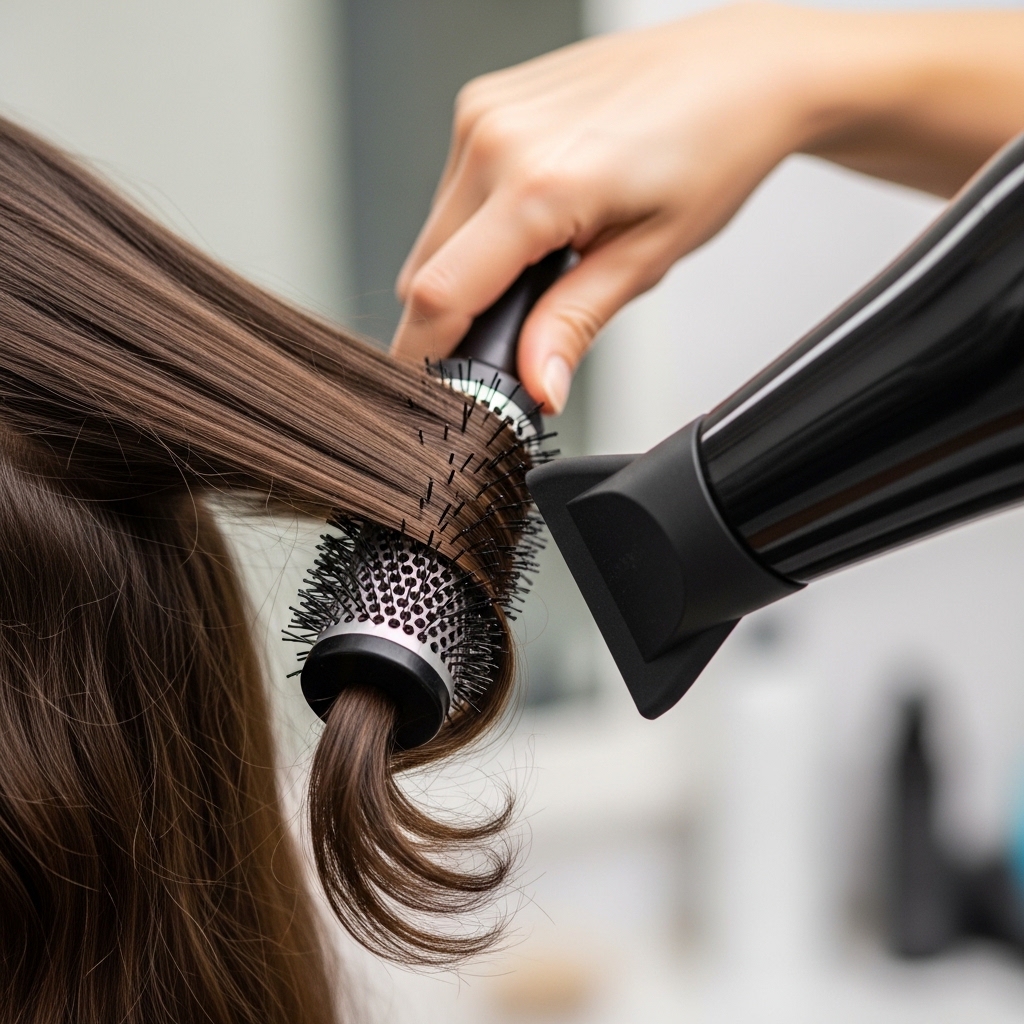
Start with a bottom section. Take a piece about two inches wide. Place your round brush under the hair, close to the roots. Start rolling the brush down, keeping tension smooth.
Follow with your dryer, heating the section for about 10-15 seconds. Let the hair cool on the brush for a few seconds before releasing. You should see a soft, under-turned curve. This is building the foundation of your rounded shape.
Step 5: Directing the Ends Under
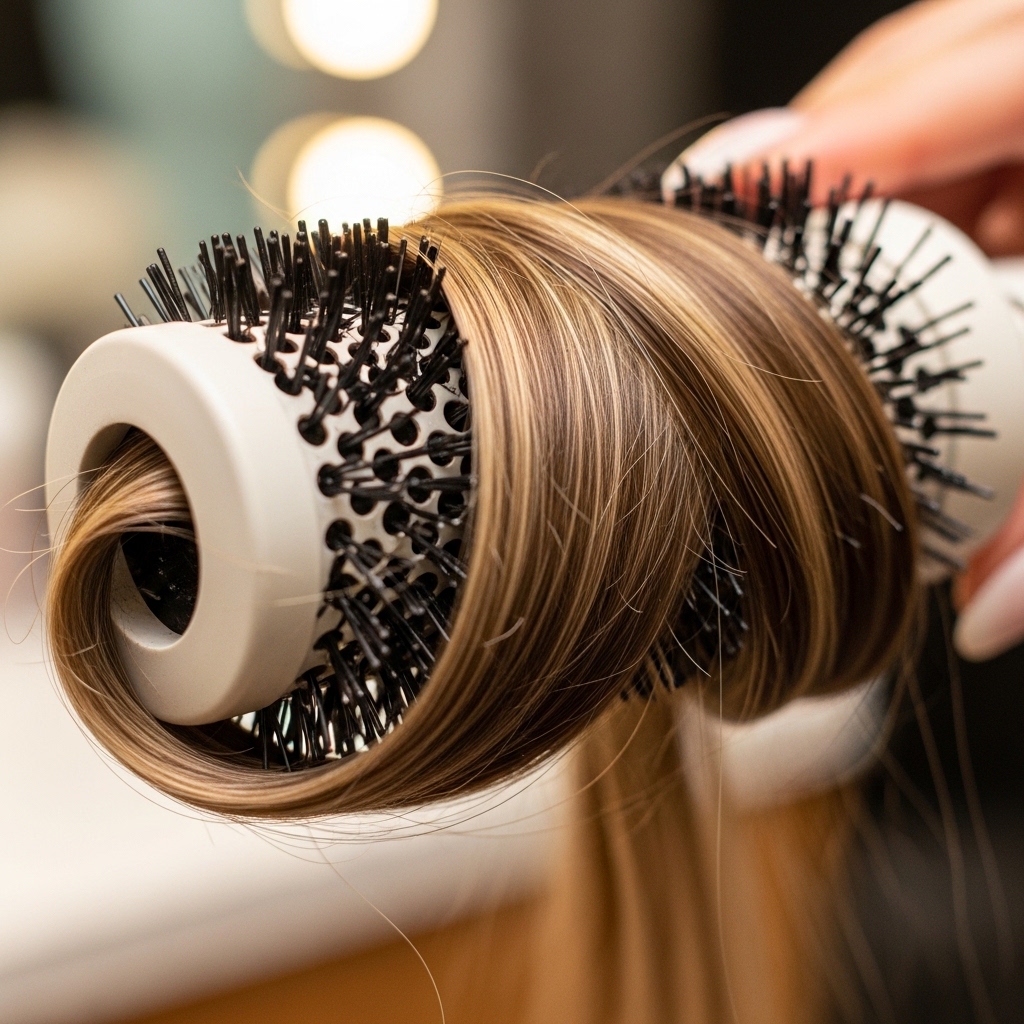
The direction of your ends dictates the final shape. For this classic rounded lob, we want the ends to curve under. As you get to the ends of your section, really roll them under the brush.
Apply a bit more heat here, then let it cool completely. This “set” is what gives you that bouncy, flipped-under look instead of ends that just lie flat. It creates the illusion of a perfect, circular line around your head.
Step 6: Repeating on All Bottom Sections
Work your way through all the bottom sections, one by one. Consistency is key. Use the same amount of hair, the same tension, and the same cooling time for each piece.
Once the bottom layer is done, unclip a top section. Drop a thin layer down to blend with what you’ve already styled, and clip the rest up. This ensures there are no harsh lines between your layers.
Step 7: Styling the Top Sections for Volume
For the top sections, you want maximum root lift. Point the brush up and away from your face as you start rolling. This lifts the hair at the roots before curling it under.
This technique creates the height and volume that makes the lob feel modern and rounded, not flat. Pay extra attention to the crown area and the pieces that frame your face. This is where the magic happens.
Step 8: Polishing Face-Framing Pieces
Those pieces around your face are the star of the show. Style them last. For a soft look, direct them slightly away from your face, then under.
You can also try a deeper curve here for more drama—it’s a subtle nod to romantic goth hairstyles or even the face-framing part of a hime cut. Let these pieces cool perfectly. They define the whole style.
Step 9: Adding Final Bounce with an Iron
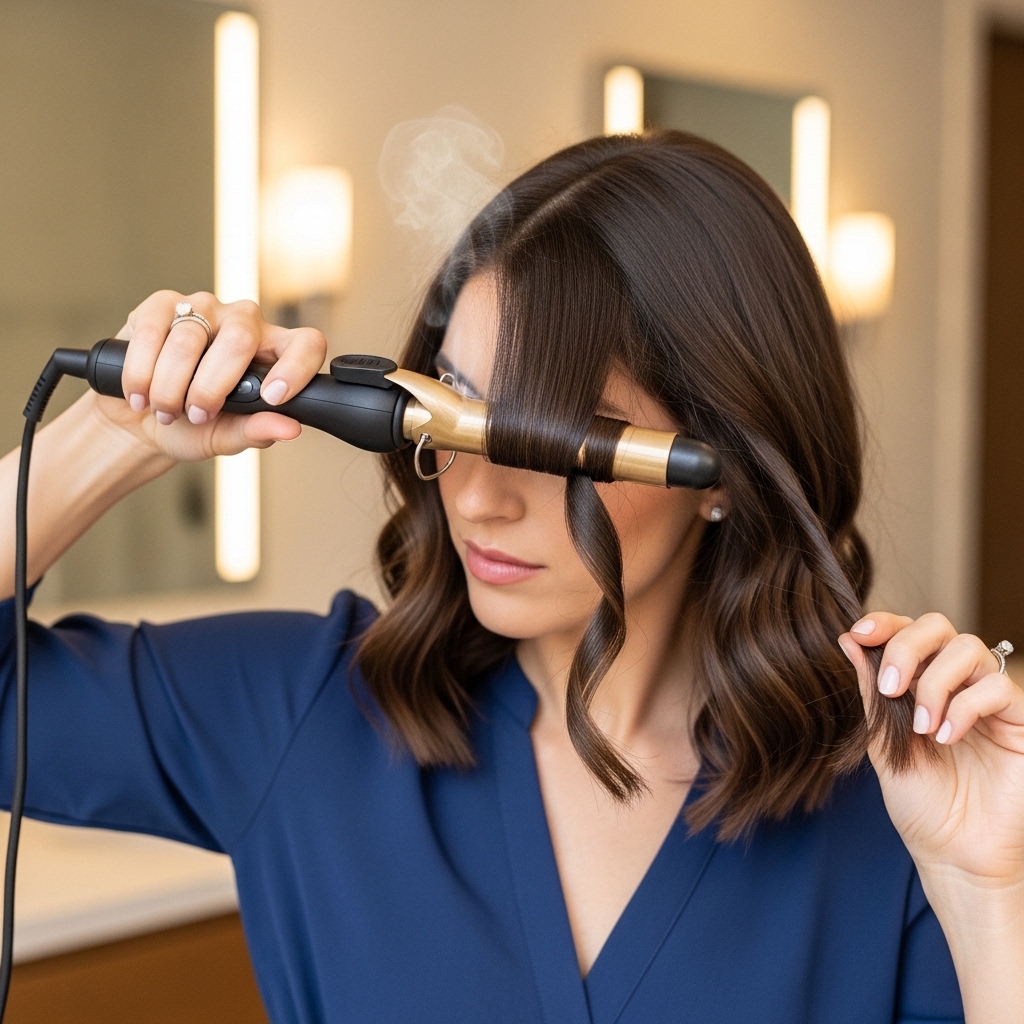
Once fully blown out, your hair looks good. But we want great. Take your 1-inch iron. Isolate a few random sections, not all of them.
Wrap the hair away from your face, hold for a few seconds, and release. Don’t curl the very ends. This adds definition and that extra “glitchy glam hair” texture—polished but with an undone, piece-y feel.
Step 10: Cooling Down for Lasting Hold
Heat styles the hair, but cool air sets it. After using the iron, don’t touch the curls! Let them cool completely. I sometimes flip my head over and let them hang for a minute.
Once cool, gently flip back up. The curls will be soft, bouncy, and much more long-lasting. This simple patience step makes all the difference between a style that lasts an hour and one that lasts all day.
Step 11: Breaking the Curls Apart
Now, no more brushes. Use your fingers to gently break apart the curls you made with the iron. Shake the roots lightly. Run your fingers through the waves to separate them.
You want soft, touchable waves, not defined ringlets. This creates movement and makes the style look effortless, not “over-done.” It blends all your hard work into one seamless, bouncy shape.
Step 12: Locking It All In with Hairspray
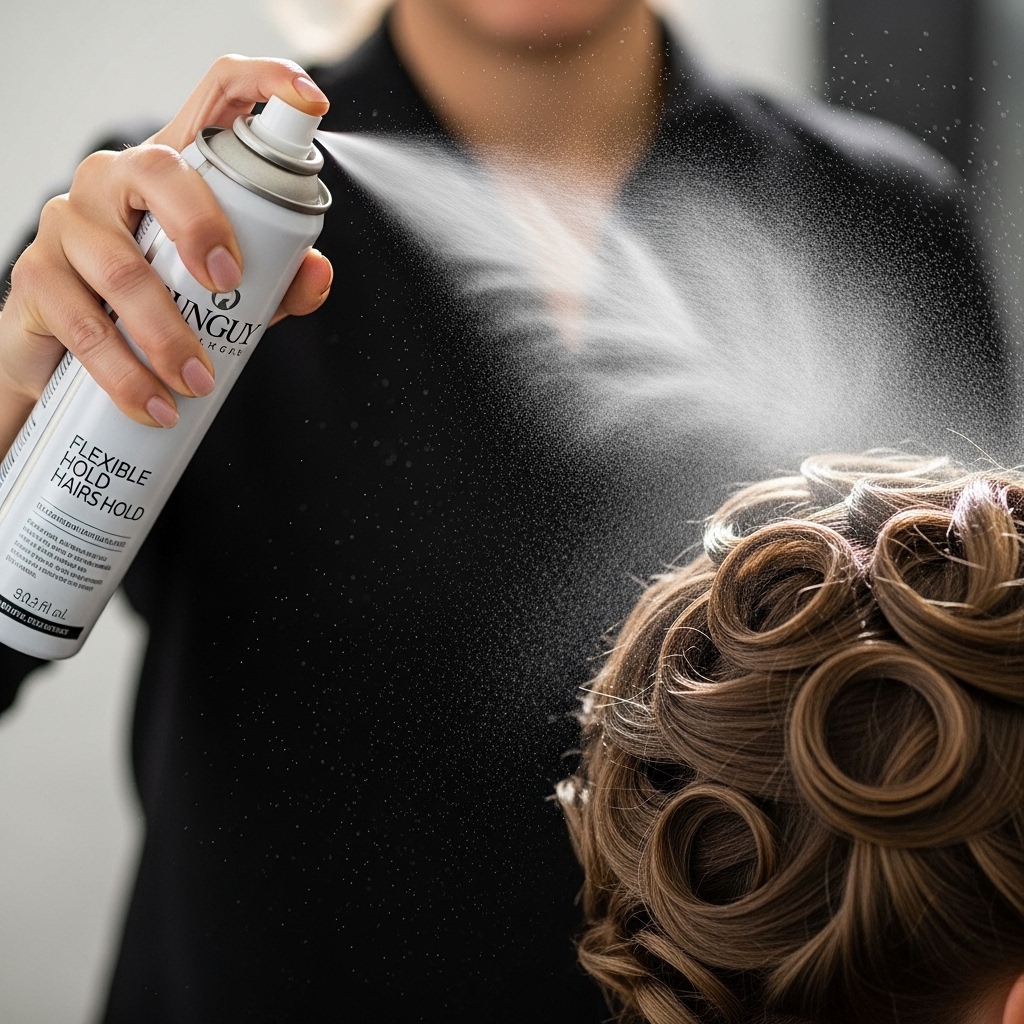
Reach for a flexible-hold hairspray, never a super-strong one. Hold the can at arm’s length and mist lightly over the entire style. Focus a tiny bit extra on the under-layers for hold.
This gives you hold without crunch or stiffness. Your hair will still move and bounce, but the shape will stay intact through humidity and your daily activities. It’s the final seal on your masterpiece.
How to Make This Style Last 3 Days
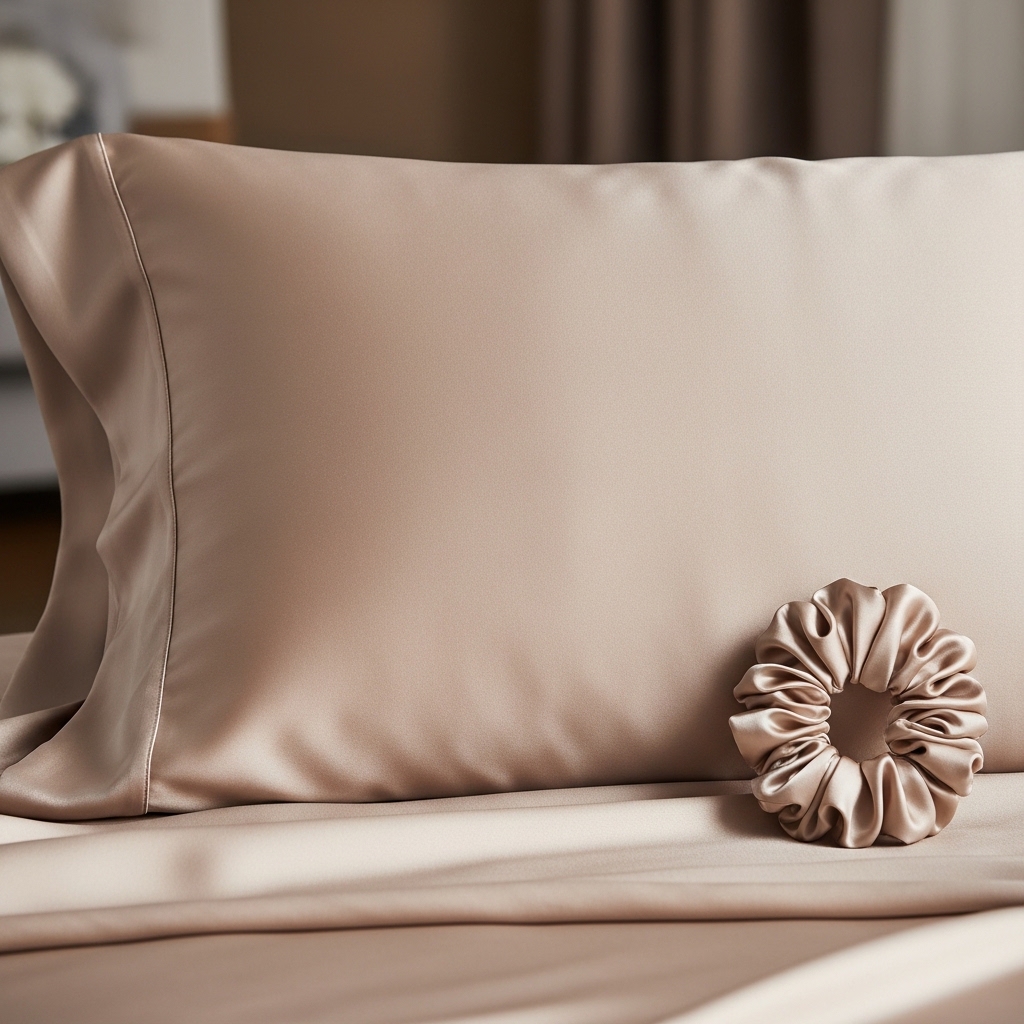
Day 1 hair is amazing, but Day 2 and 3 hair can be even better. Sleep on a silk pillowcase to reduce friction. You can also loosely pull your hair into a high, soft ponytail on top of your head with a silk scrunchie.
In the morning, shake it out. Refresh the roots with a dry shampoo for volume, and use a tiny bit of texturizing spray on the ends. Revive face-framing pieces with your curling iron for 5 seconds. Good as new!
Adapting the Cut: Asymmetrical & Vampire Vibes
Love this but want more edge? Ask your stylist for an asymmetrical lob—longer in the front, shorter in the back. It gives a fierce, modern twist. Style it the same way, but play up the contrast.
For a vampire haircut feel, add more pronounced, choppy layers and keep the color dark. Style with a deeper side part and more dramatic, piece-y texture. It’s all about the attitude you style it with.
Quick Refresh for Day 2 & 3
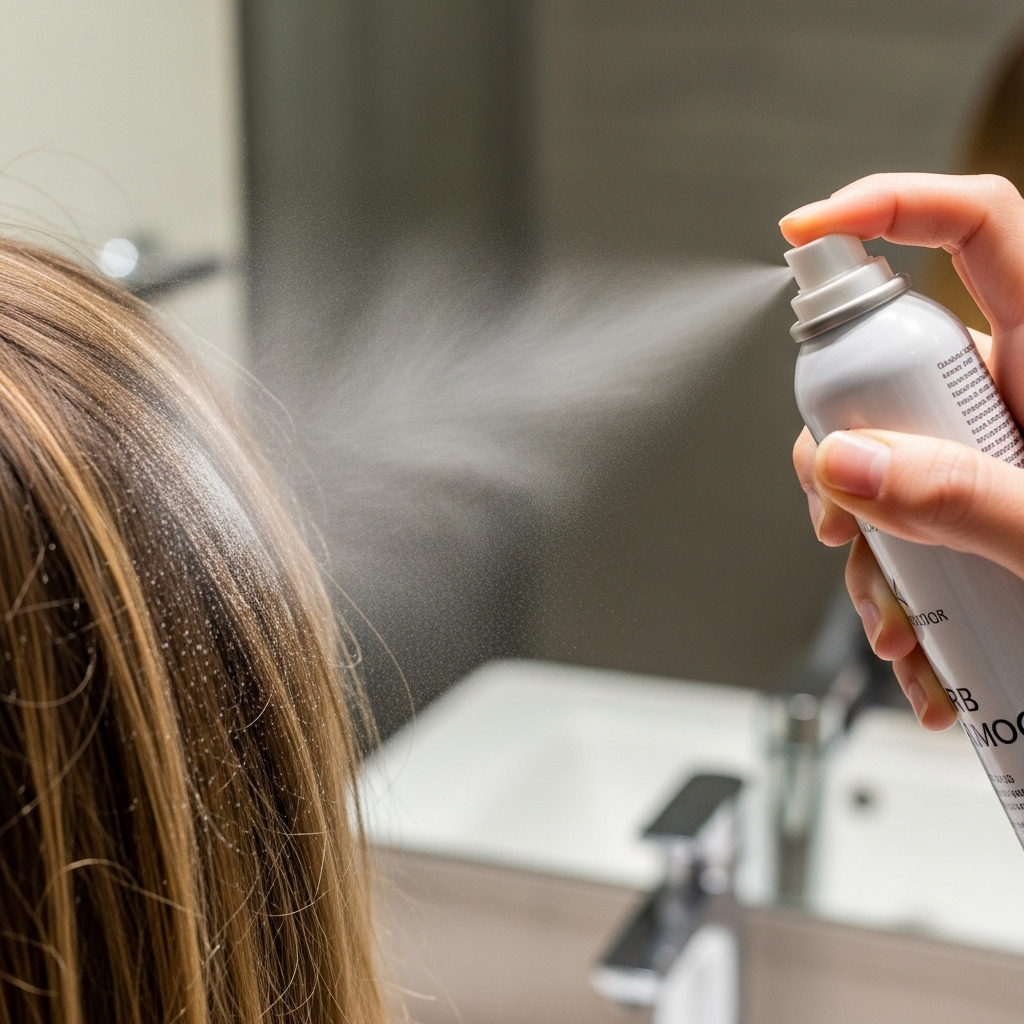
Don’t over-wash! Your second-day hair has natural texture that’s perfect. Flip your head over, spray dry shampoo at the roots, and massage it in. Flip back and smooth any flyaways with a tiny bit of serum on your hands.
Use your curling iron to touch up any pieces that fell completely flat, usually just the very front. This 5-minute refresh saves you so much time and keeps your hair healthier.
Common Mistakes & How to Fix Them

Mistake 1: Not sectioning. This leads to flat, uneven results. Fix it by just taking the time! Mistake 2: Using too small of a round brush. You need a large barrel for a soft wave, not a tight curl.
Mistake 3: Not letting hair cool on the brush or iron. This is why your style falls in an hour. Be patient. Let each piece cool before moving on. It’s the secret.
My Favorite Products for This Look
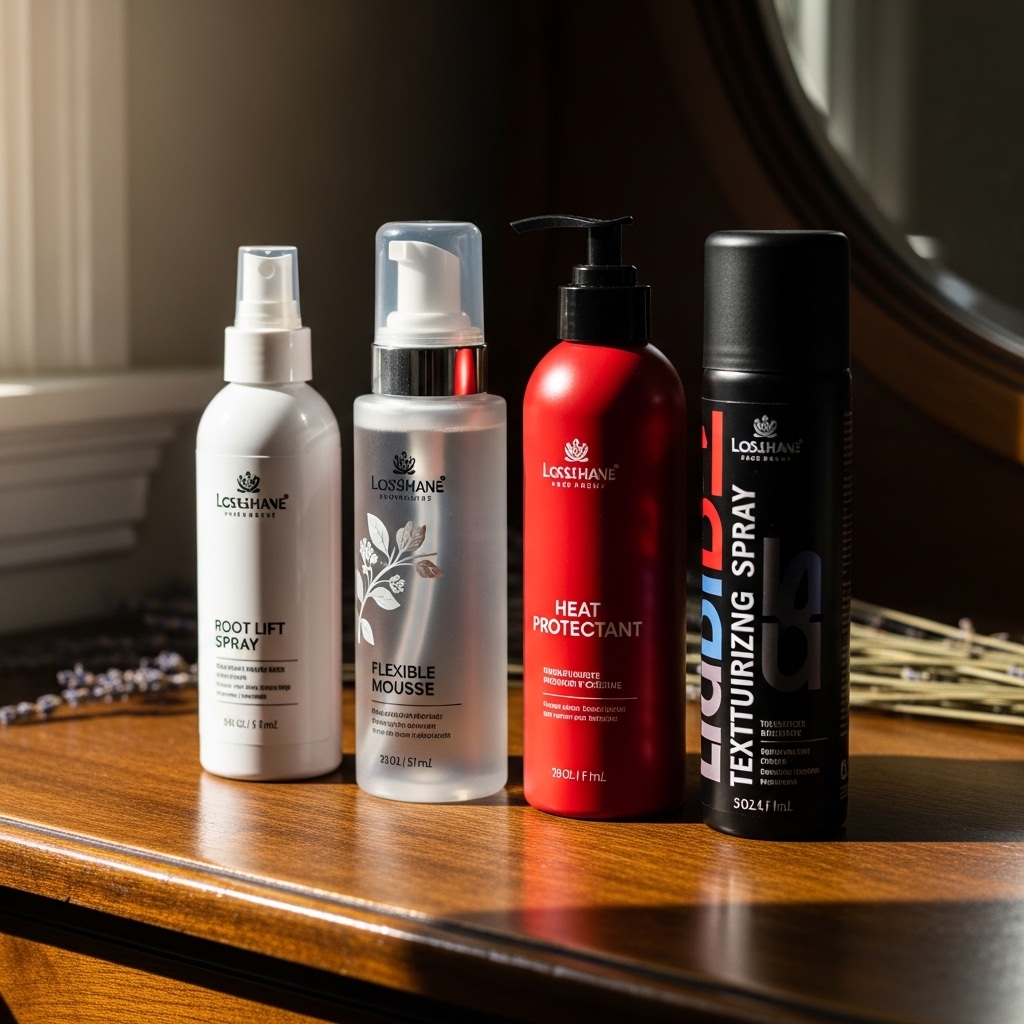
I keep it simple. A volumizing pre-style spray, my favorite heat protectant (it’s a non-negotiable), a flexible-hold mousse for my thick hair, and a dry texturizing spray for finish.
I find that less is more. Too many products can weigh thick hair down. Start with a good protectant and mousse, then add texture spray at the end. That’s really all you need.
When to See Your Stylist for a Trim
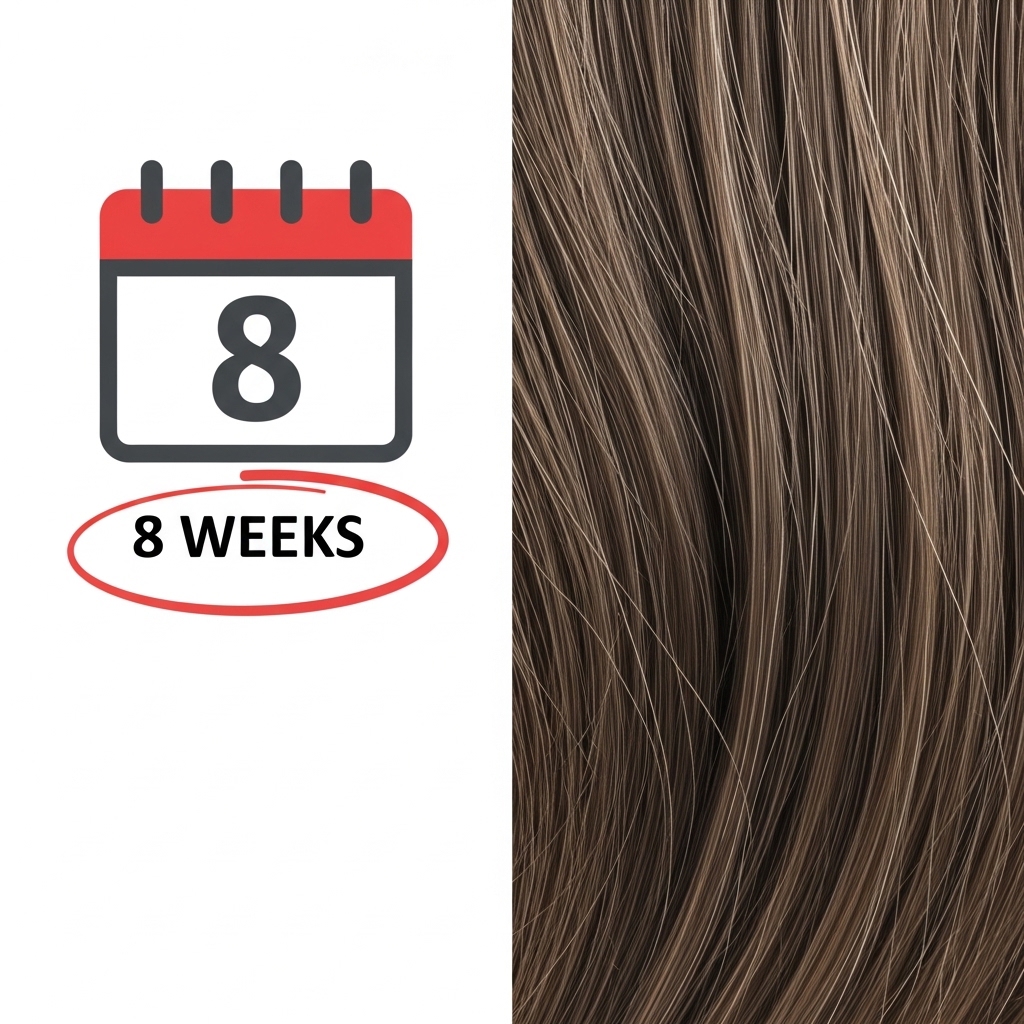
To keep this lob looking its best, get a trim every 8-10 weeks. Thick hair can start to look bulky and lose its shape if you wait too long. Regular trims maintain the rounded silhouette and prevent split ends.
Bring a picture of your hair styled the way you love it to your stylist. This helps them see the exact shape you’re trying to maintain, not just the cut when it’s wet and straight.
Answering Your Top 3 Questions
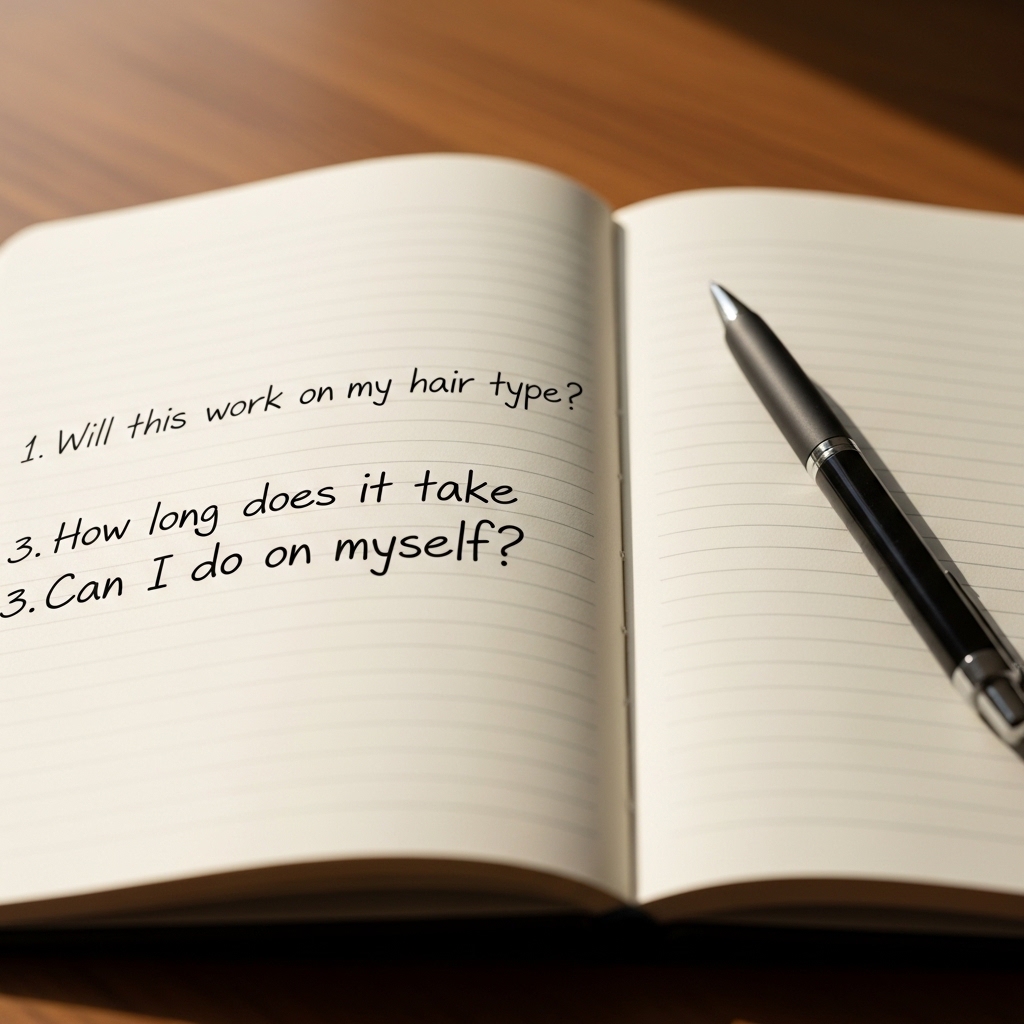
Q: Will this work on my wavy/curly thick hair? A: Absolutely! Blow it out smooth first for this exact look, or style on damp hair with a diffuser for a more textured, rounded shape.
Q: How long does this take? A: Once you get the routine down, about 20 minutes from wet to finished. Q: Can I truly do this myself? A: Yes! The sectioning and step-by-step process is designed for at-home success. Practice makes perfect.
Final Thoughts on Your New Signature Style
This rounded lob is more than just a haircut; it’s a confidence boost. It takes the amazing volume and body you already have and shapes it into something polished and incredibly flattering.
It works for the office, a date night, or just feeling put-together on a Saturday. It’s a timeless shape that feels fresh right now. Mastering the styling is a skill you’ll use for years.
And that’s it, friend! My full playbook for getting that dreamy, bouncy lob on our gorgeous thick hair. It might feel like a lot of steps the first time, but I promise it becomes second nature. The feeling of flipping your hair and seeing that perfect swing? Worth every second.
This cut has become my absolute go-to. It’s low-maintenance but high-impact, which is exactly what we need. I have a feeling it’s about to become your signature look, too.
Save this post to Pinterest so you can always find the tutorial when you need it! Did you try it? Tell me everything—what was the easiest step, and what tripped you up? I love hearing from you. Tag me in your pics! – Hailey & Team

