
Have you ever scrolled through Instagram, spotting someone with hair that looks perfectly imperfect? It’s tousled, it’s soft, it has movement, and it somehow makes their entire face glow. Chances are, you’re admiring the magic of well-executed face-framing layers. This isn’t just a haircut; it’s a styling strategy. It’s the secret weapon for adding dimension, softening features, and creating that coveted, I-woke-up-like-this vibe.
But here’s the secret many stylists know: the cut is only half the battle. The real art lies in knowing how to style it. The goal isn’t a stiff, helmet-like fringe or pieces that stick out awkwardly. The goal is an effortless look—hair that appears soft, lived-in, and beautifully textured. If you’ve recently taken the plunge or are considering it, this guide is for you. We’re diving deep into everything you need to know to master your face-framing layers, from the initial consultation with your stylist to your quick, 5-minute morning routine.
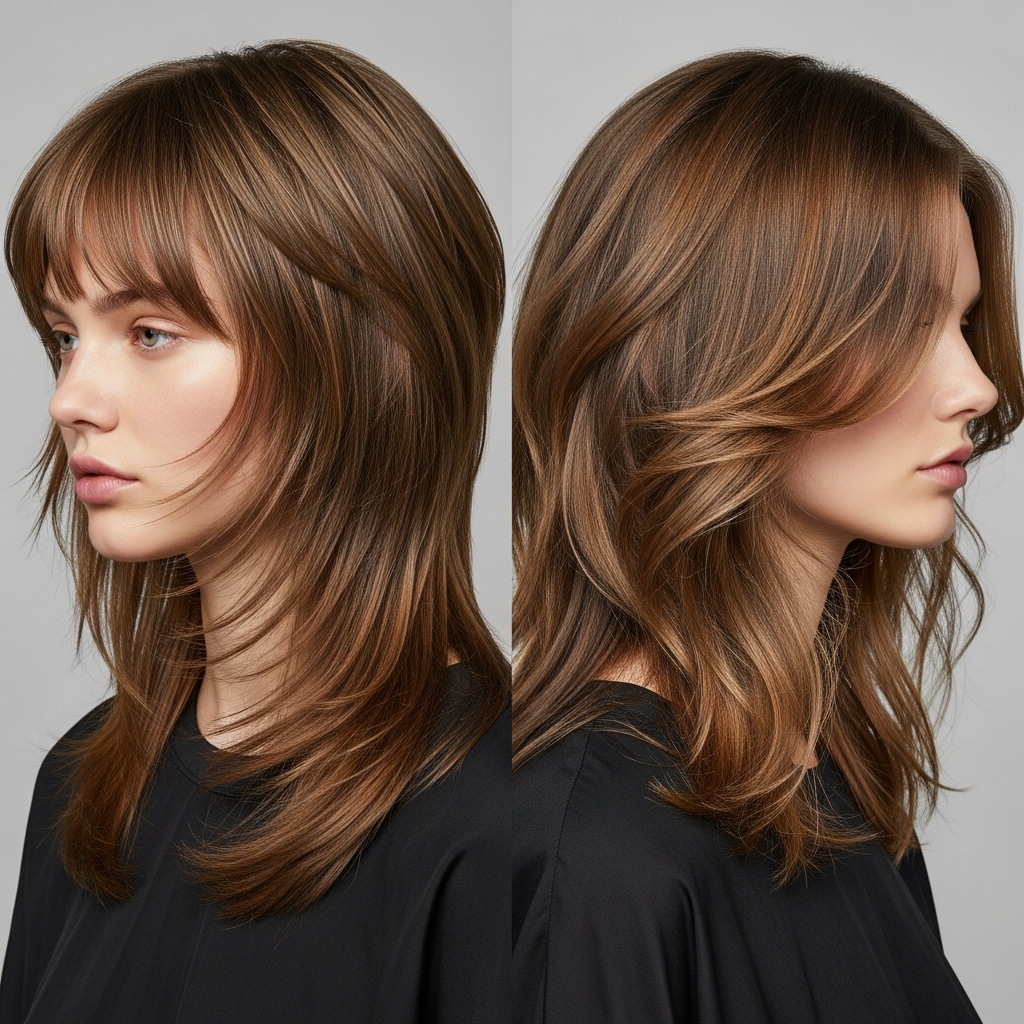
What Exactly Are Face-Framing Layers?
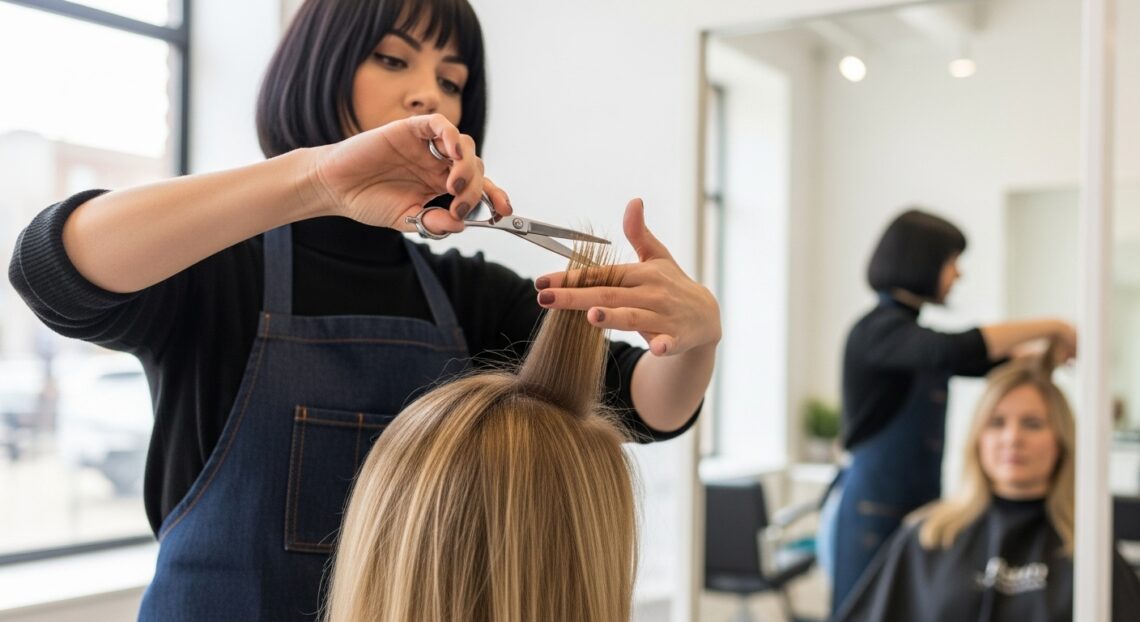
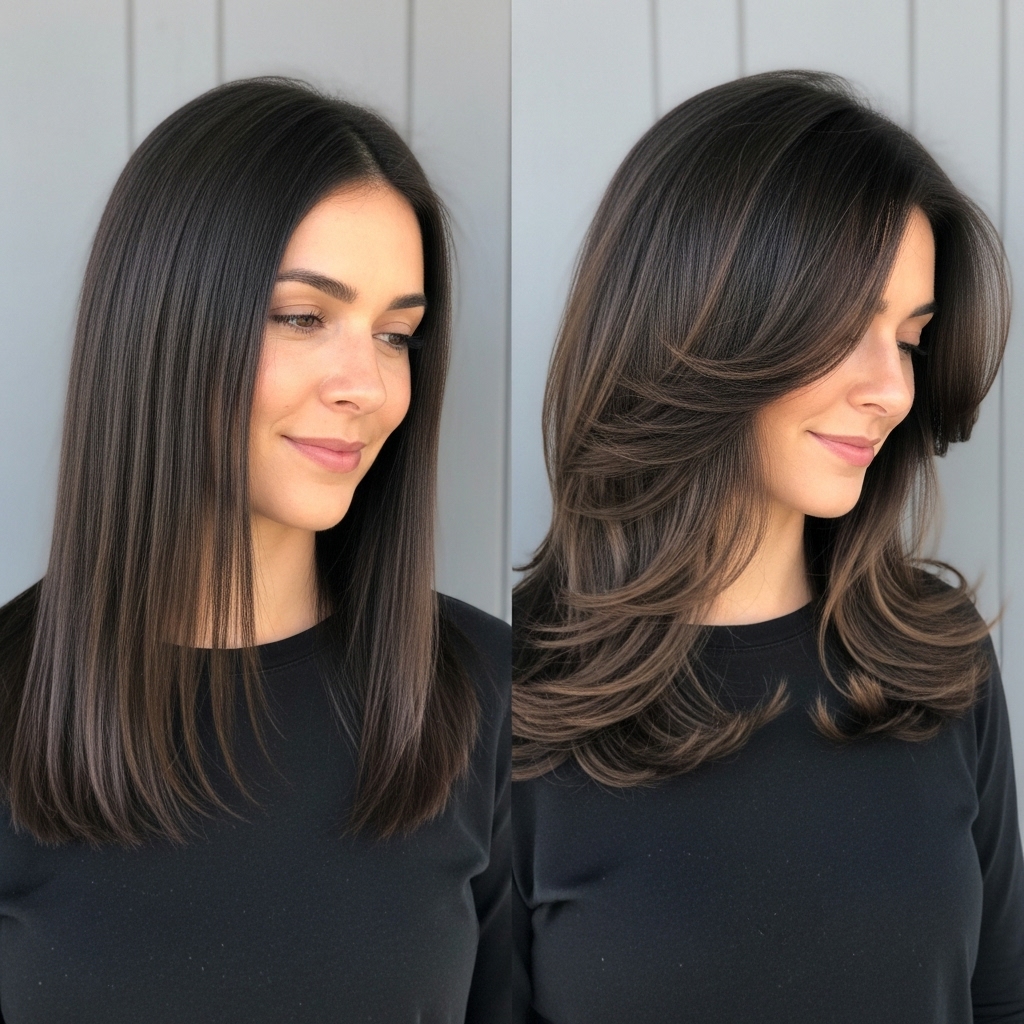
Let’s start with the basics. Face-framing layers are strategic pieces of hair, typically shorter than the rest of your length, that are cut to contour and highlight your facial features. Unlike a full, heavy fringe (or bangs) that cross the entire forehead, these layers are more selective. They usually start at the chin or cheekbone and are designed to blend seamlessly into the rest of your hair.
The primary purpose is twofold: to add visual interest and to create a flattering frame. By breaking up a solid block of hair, layers introduce movement and texture. They can make fine hair appear thicker and can soften strong jawlines or widen a narrow face shape. The key is in the customization—a great stylist will tailor the length, thickness, and starting point of these layers to complement your unique bone structure and hair type.
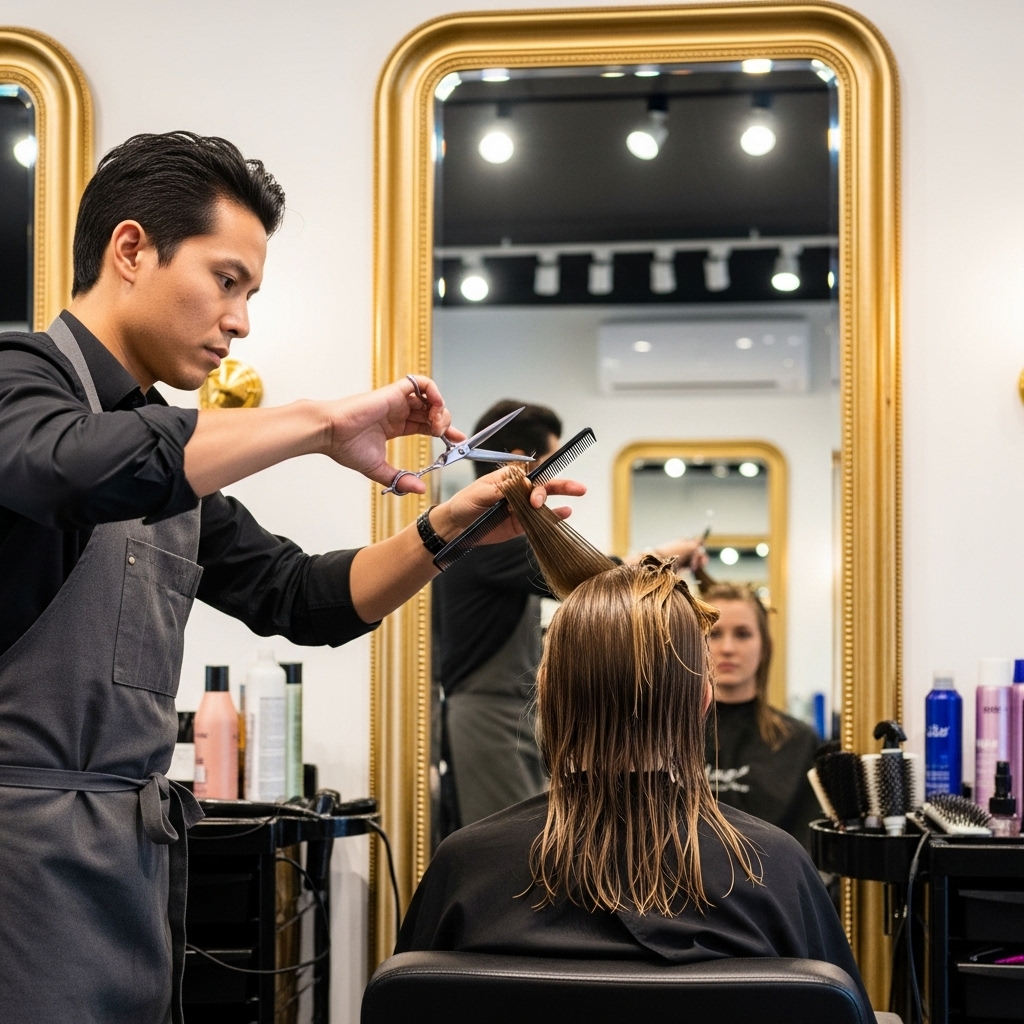
The Foundation: Getting the Right Cut
You cannot style your way into effortless layers if the initial cut is wrong. This is the most critical step. Walking into a salon and simply asking for “face-framing layers” can lead to a variety of interpretations. To ensure you and your stylist are on the same page, communication is key.
Bring Visual References: A picture is worth a thousand words. Find 2-3 photos of hairstyles you love. Pay attention to the details—are the layers chunky or wispy? Do they start high up near the eye or lower at the mouth? This gives your stylist a concrete goal.
Discuss Your Hair Texture: The outcome heavily depends on whether you have pin-straight fine hair, thick waves, or tight curls. Curly hair, for instance, will spring up significantly, so the layers need to be cut longer to account for shrinkage. Fine hair might benefit from fewer, softer layers to avoid looking thin.
Talk About Your Lifestyle: Be honest about how much time you’re willing to spend on styling. If you’re a wash-and-go person, your stylist can create layers that air-dry beautifully. If you love heat styling, they can tailor the cut to work with tools.
A great cut should grow out gracefully and require minimal daily effort to look good. It’s the blueprint for everything that follows.
The Effortless Styling Toolkit: Products and Tools
You don’t need a salon’s worth of equipment, but a few key items will make achieving that effortless look infinitely easier.
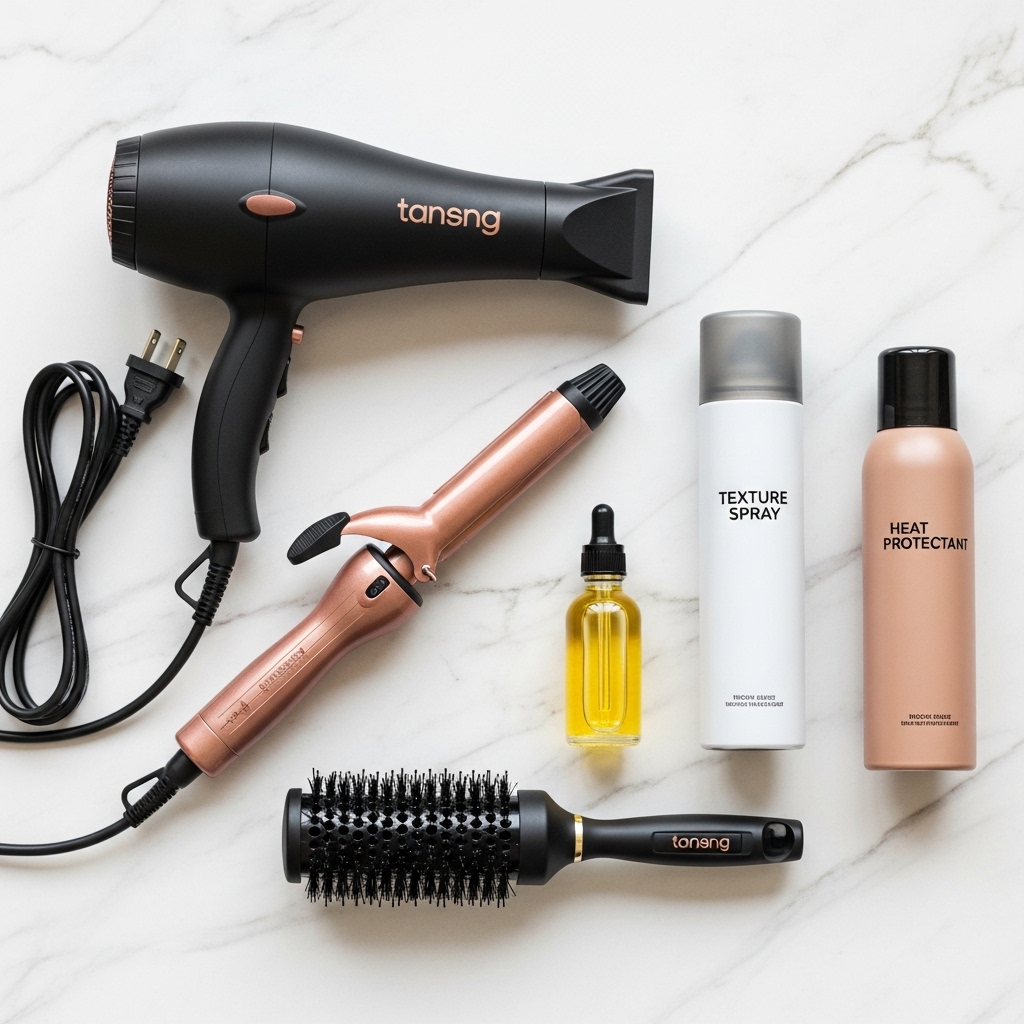
Essential Tools:
A High-Quality Blow Dryer: A powerful dryer with a concentrator nozzle is non-negotiable for smooth, frizz-free results.
1-1.5 Inch Curling Iron or Wand: A barrel of this size creates soft, loose waves, not tight curls. A wand (without a clamp) is often easier to use for creating seamless waves.
Round Brush: A mixed-bristle brush is perfect for adding bounce and smoothing layers during a blow-dry.
Flat Iron: Useful for adding bends and waves, or for quickly touching up pieces that have gone astray.
Product Powerhouses:
Texture Spray or Sea Salt Spray: This is the holy grail for the effortless look. It adds grit, volume, and that perfectly tousled texture.
Heat Protectant: Always, always use one. It shields your hair from damage and often adds a smoothing layer.
Lightweight Hair Oil or Serum: A drop or two run through the ends of your layers will tame flyaways and add a healthy shine without weighing hair down.
Volumizing Mousse or Root Lifter: Applied at the roots before blow-drying, this gives your layers the lift they need to stay out of your face.
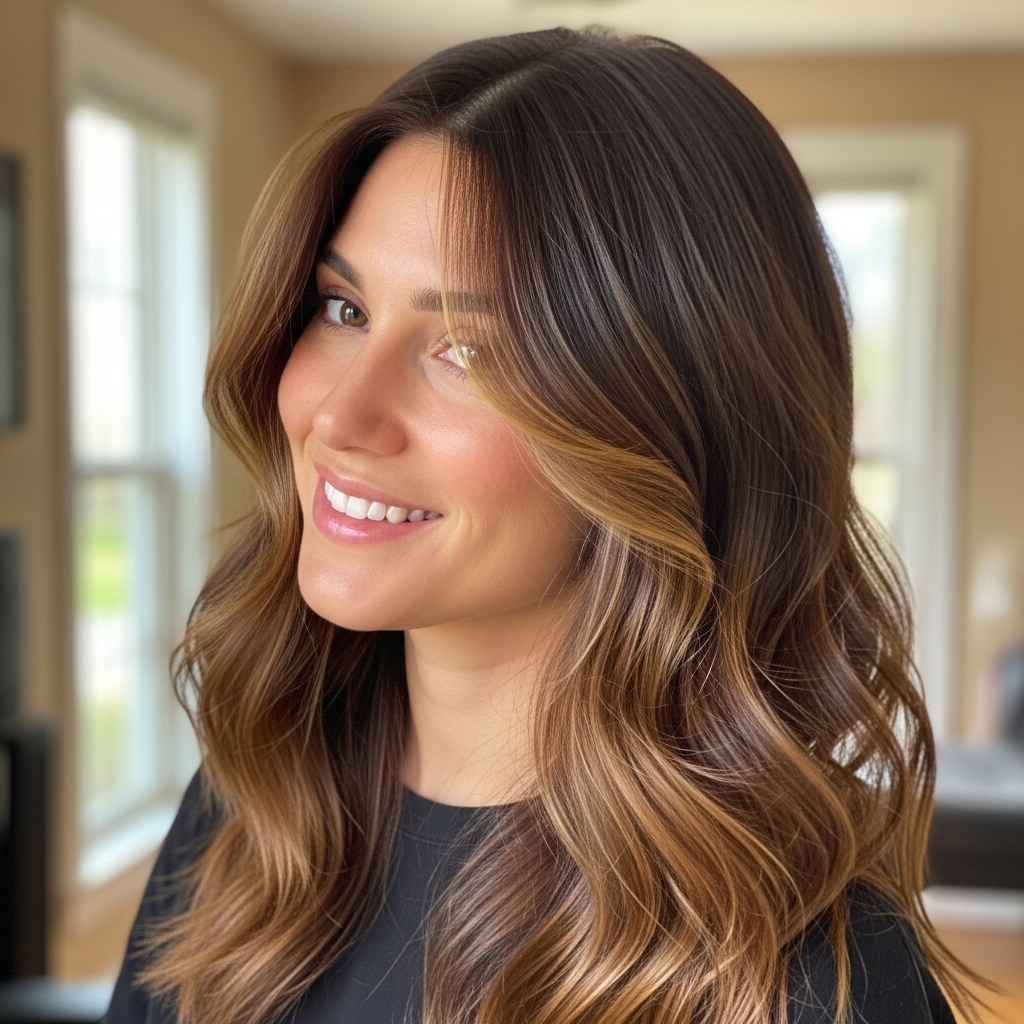
The Quintessential Effortless Style: Soft, Lived-In Waves
This is the signature style for face-framing layers. It’s the look that makes people ask, “How does your hair always look so good?” Here’s a step-by-step breakdown.
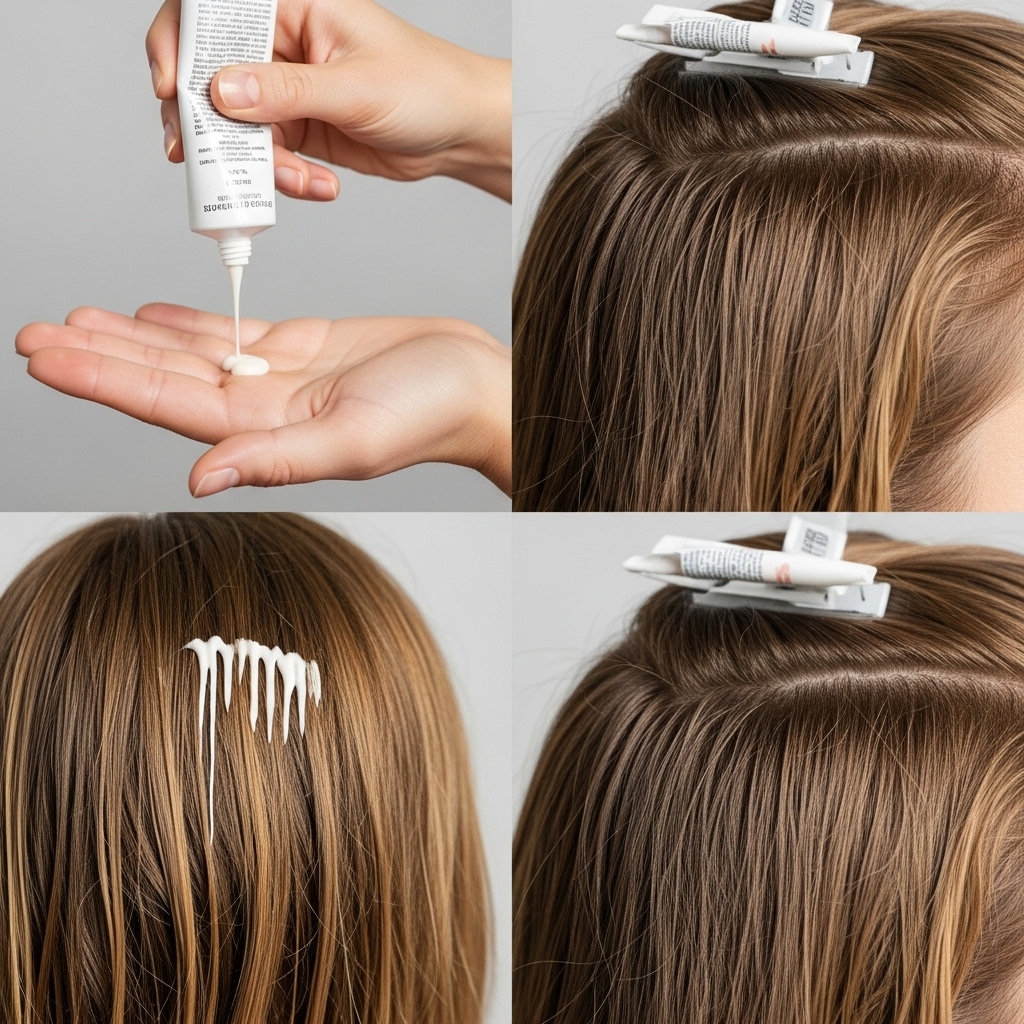
Step 1: Prep and Protect. Start with towel-dried hair. Apply a heat protectant spray throughout your hair, followed by a volumizing mousse at the roots. If you have frizz-prone hair, a light smoothing cream can also be applied to the mid-lengths and ends.
Step 2: Rough Dry. Use your blow dryer and your fingers to dry your hair about 90% of the way. Don’t worry about perfection here; you just want to get it mostly dry. This rough drying naturally adds volume and texture.
Step 3: Create the Waves. Take your curling wand (1-1.5 inch). The secret is to curl your hair away from your face. Take a one-to-two-inch section of your face-framing layers, wrap it around the wand, hold for 8-10 seconds, and release. Do not clamp the end; let the very ends stick out straight for a more undone look. Continue this process through the rest of your hair, alternating the direction of the curls for a more natural effect.
Step 4: Break It Up. Once all your hair is curled, it will likely look a bit too perfect and “curly.” This is where the magic happens. Run your fingers thoroughly through your hair to break up the curls. Then, take a texturizing spray and spritz it from a distance, focusing on the mid-lengths. Scrunch your hair gently with your hands.
Step 5: The Final Frame. Isolate your face-framing layers. You can use a flat iron to add a slight, outward-facing bend to the very ends if they need more definition. Then, take a tiny drop of hair oil, rub it between your palms, and gently smooth it over just these front pieces to add shine and control flyaways.
Low-Maintenance Styles for Busy Mornings
Not every day is a curling wand day. The beauty of a great layered cut is its versatility for low-effort styling.
The Perfect Air-Dry: For wavy or straight hair, apply a leave-in conditioner and a defining cream or mousse to wet hair. Scrunch your hair gently and then do not touch it. Let it dry completely. Once dry, flip your head over and shake out the roots. The layers will naturally fall into soft, piecey sections.
The “I Slept In It” Bun: A top knot or a low, loose bun isn’t just a way to hide dirty hair—it’s a styling technique. Before putting your hair up, mist it lightly with texturizing spray. After you’ve worn the bun for a few hours (or overnight), take it down. You’ll be left with soft, romantic waves and your face-framing layers will fall in perfectly imperfect pieces around your face. A quick run-through with a flat iron can add direction to any awkward pieces.
The Half-Up Do: This is a fantastic way to highlight your layers. Instead of pulling the top section straight back, tease the crown slightly for volume and loosely pull back just the very top section. Leave out all of your face-framing layers and some pieces around your ears. This keeps the hair out of your face while still showcasing the beautiful framing effect of the cut.
Advanced Tips for Maximum Impact
Once you’ve mastered the basics, these pro tips will elevate your layered look even further.
Play with Parting: Something as simple as switching your part can completely refresh your style. A deep side part is incredibly glamorous and dramatic, while a center part gives a modern, balanced feel. Don’t be afraid to experiment.
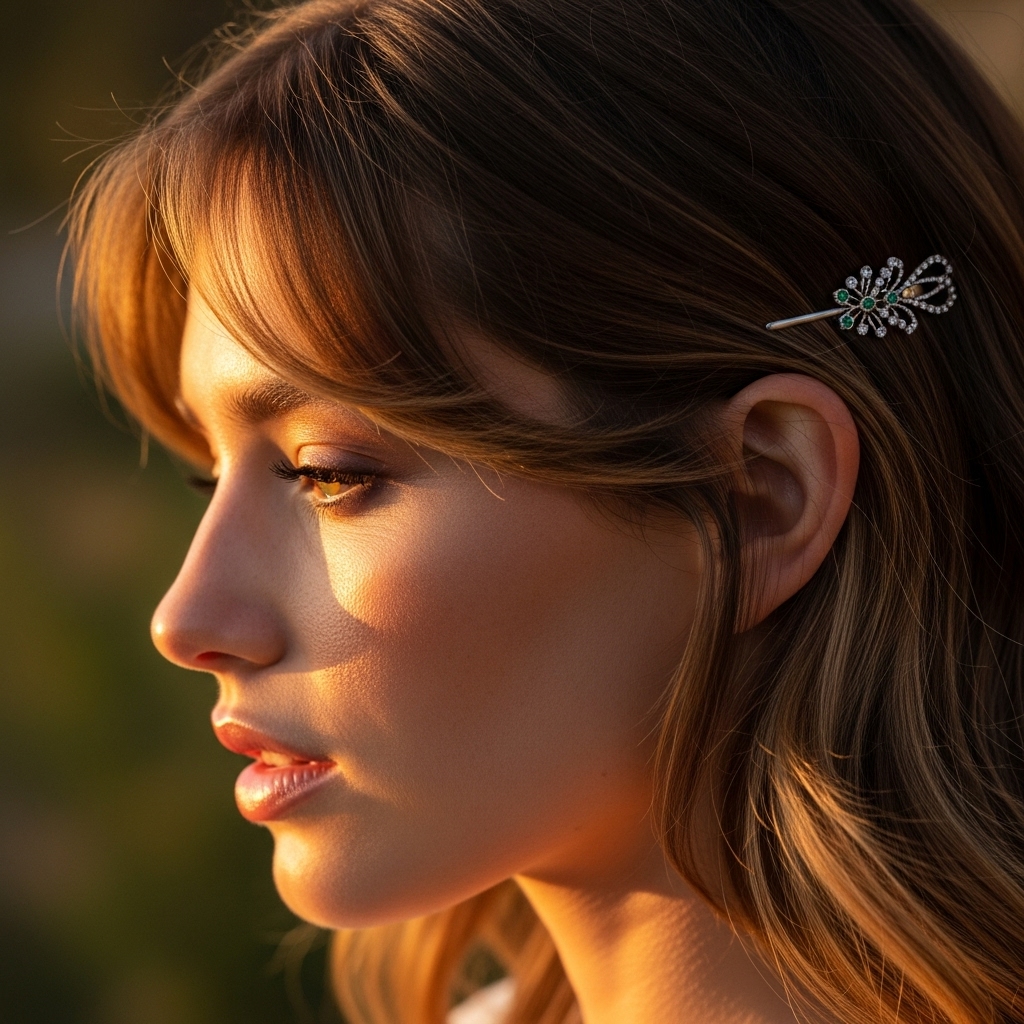
Embrace Accessories: A simple, chic claw clip or a few bobby pins can be your best friend. Use a clip to pull back one side, letting the layers on the other side cascade down. Or, use two bobby pins to criss-cross and pin back a small section of layers just above your ear for a subtle, polished touch.
Texture is Your Best Friend: The “effortless” look is inherently textured. If your hair is naturally sleek, don’t fight it—use it to your advantage for a chic, polished look. But if you want that tousled feel, texture spray is essential. You can also try braiding your slightly damp layers overnight for a soft, bendy wave in the morning.
Avoiding Common Styling Mistakes
Even with the best intentions, it’s easy to fall into a few common traps. Here’s what to avoid.
Over-Styling: The biggest enemy of the effortless look is perfection. If you curl every piece perfectly and spray it into place, you’ll lose the soft, lived-in feel. Remember to always break up your curls and be a little messy with your texture spray.
Using Too Much Heavy Product: Heavy gels, waxes, and pomades can weigh down your layers, making them look greasy and flat instead of light and bouncy. Stick to lightweight sprays, mousses, and serums.
Neglecting Your Ends: Face-framing layers put the ends of your hair front and center. If they are dry, split, and frizzy, it will undermine the entire style. Regular trims (every 8-12 weeks) and consistent use of a hydrating hair mask are crucial to keeping your layers looking healthy and chic.
Embrace Your Effortless Frame
Styling face-framing layers is an exercise in less being more. It’s about enhancing your natural features and working with your hair’s texture, not against it. It’s the art of looking polished without looking like you tried too hard. With the right cut, a simple toolkit, and these techniques in your back pocket, you can say goodbye to bad hair days and hello to a look that is uniquely, effortlessly you.
So, play, experiment, and have fun with it. Let those layers frame your beautiful face with confidence and ease.

