
You sit in the salon chair, full of hope and a Pinterest board of inspiration. You describe your dream hair to the stylist, using words like “volume,” “movement,” and “face-framing.” The scissors snip, the hair falls, and when you look in the mirror… it’s not quite what you pictured. The layers are too short, too chunky, or just not right for your hair type. If this sounds familiar, you’re not alone.
The secret to getting a perfect layered haircut isn’t just about the stylist’s skill—it’s about your ability to communicate exactly what you want. Knowing the right terminology and what to ask for can transform your salon experience from a gamble into a guaranteed success. This guide will arm you with the knowledge to walk into any salon and ask for layered hair like a true stylist, ensuring you walk out with a cut that brings your hair goals to life.
Why Layer? The Magic Behind the Technique
Layering is far more than just cutting hair at different lengths. It’s a foundational hairdressing technique that removes weight and creates shape. Think of your hair as a solid block. Without layers, it’s heavy, and that weight pulls it down, leading to a flat, one-dimensional appearance. Layers carve into that block, creating internal space and structure that allows the hair to lift, swing, and move with a life of its own.
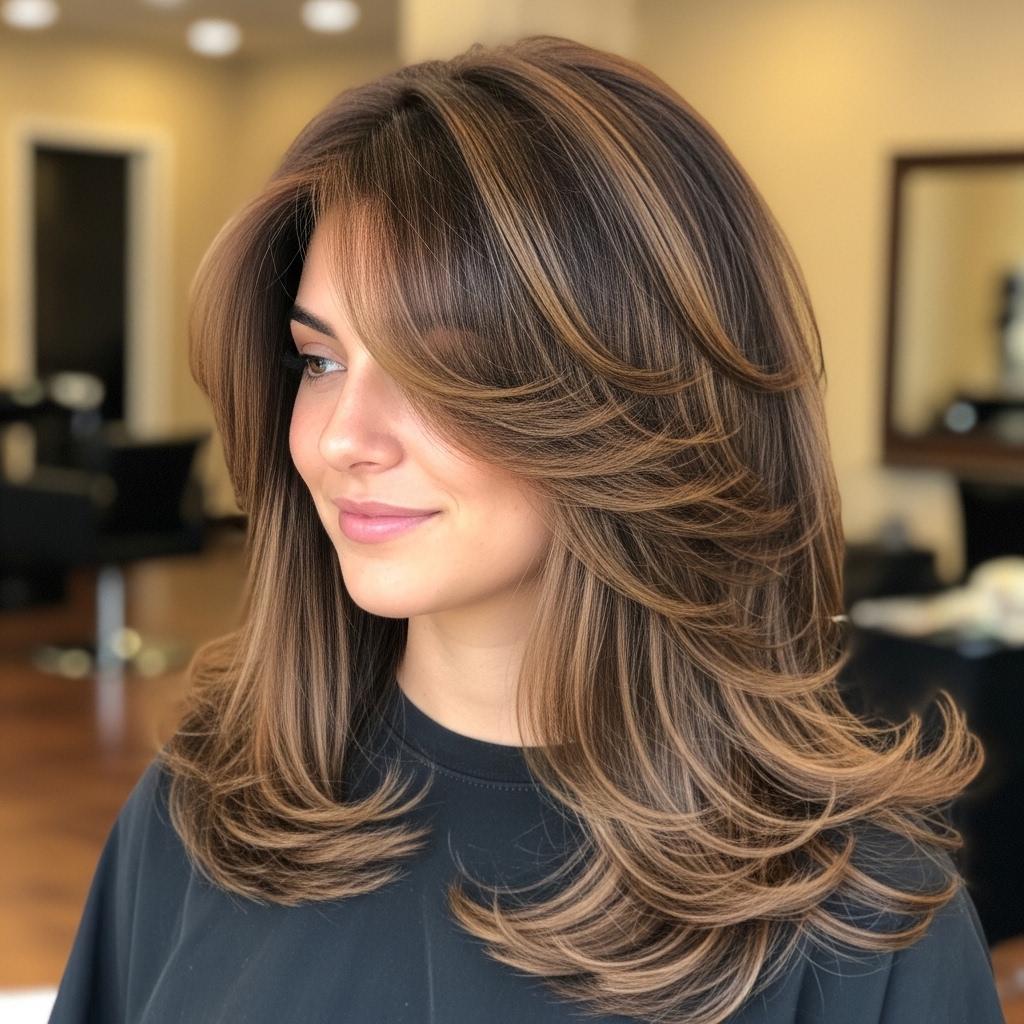
The benefits are numerous. Layers add volume at the roots, which is a game-changer for those with fine or flat hair. They introduce texture and movement, making each strand catch the light differently for a dynamic, shiny effect. Strategically placed layers can also be incredibly flattering for your face shape, drawing attention to your eyes and cheekbones while softening your jawline. For those with curly or wavy hair, layers are essential for defining your natural pattern and preventing the dreaded “triangle” shape.
Know Your Canvas: Hair Texture and Density Matter
Before you even mention the word “layer,” it’s crucial to understand your hair’s unique characteristics. A technique that works wonders on thick, straight hair could be a disaster for fine, curly hair. This is the first thing a good stylist assesses, and you should too.
First, consider your hair texture—this refers to the thickness of each individual strand (fine, medium, or coarse). Fine hair benefits greatly from subtle, long layers that add volume without sacrificing the appearance of thickness. Too many short layers can make fine hair look wispy and sparse. Coarse or thick hair can handle more dramatic, shorter layers to remove bulk and make the hair more manageable.
Next, think about your hair density—this is how many hair strands you have per square inch on your head (low, medium, or high density). High-density hair often needs significant internal layering (more on this later) to reduce weight, while low-density hair needs carefully placed layers to create the illusion of fullness without over-thinning.
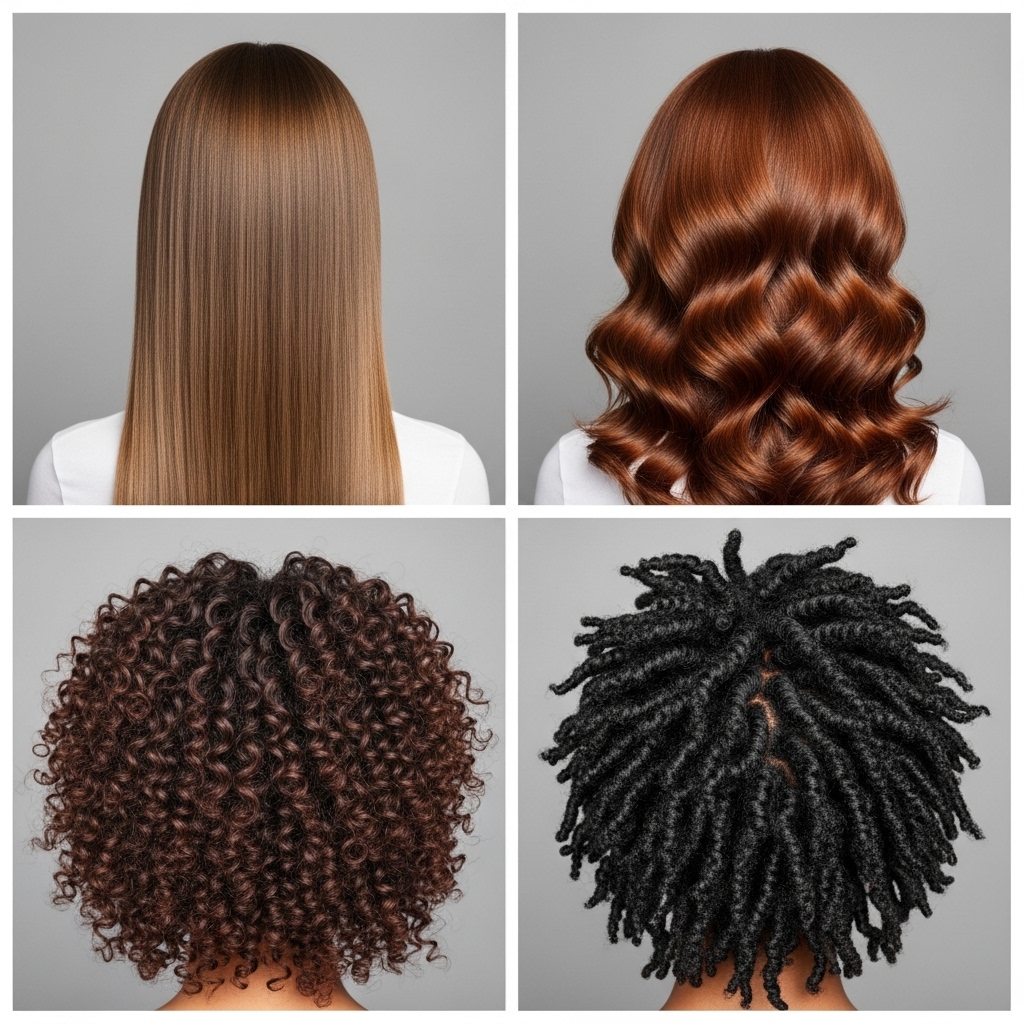
Finally, your hair type (straight, wavy, curly, coily) dictates the layering approach. Curly hair requires specialized techniques like “devacutting” or dry cutting to shape the curls properly. Wavy hair thrives with layers that encourage its natural pattern, while straight hair needs precise texturizing to avoid a choppy look.
The Stylist’s Toolkit: Key Layering Techniques to Know
Stylists have a variety of techniques at their disposal. When you understand these terms, you can have a more informed conversation about the final result.
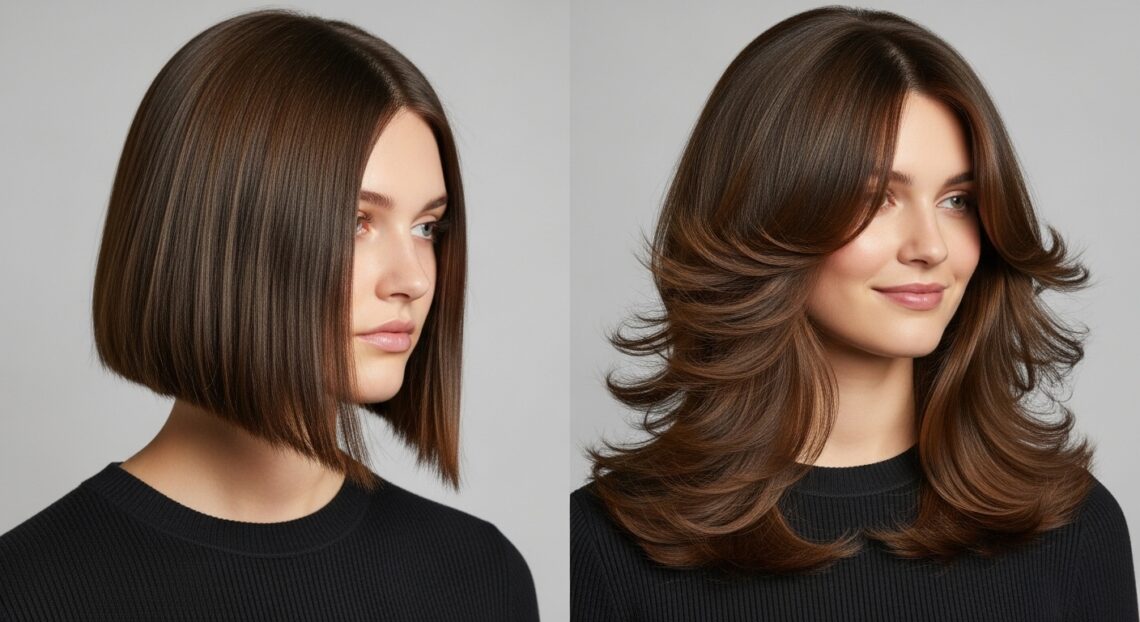
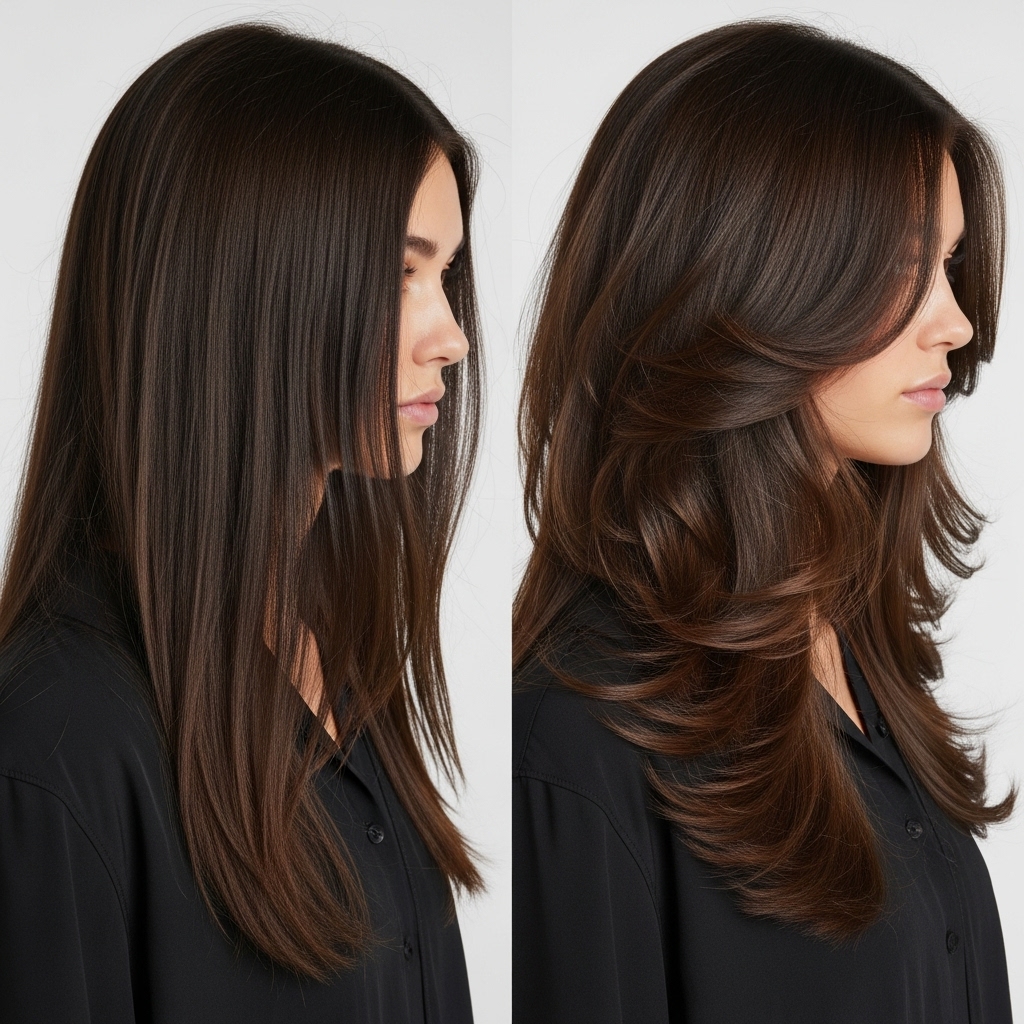
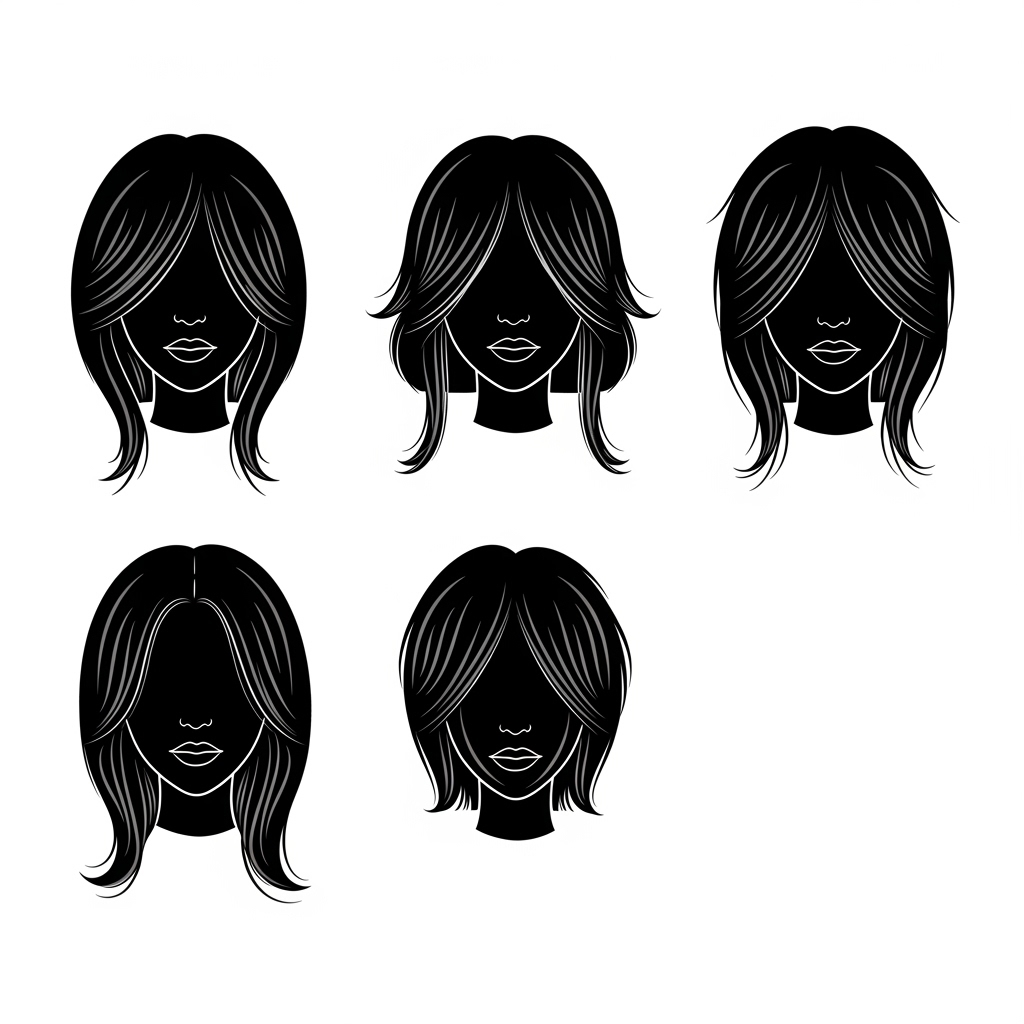
Long Layers: This is the most common and versatile technique. The top layers are cut significantly longer than the bottom layers, creating softness and movement while maintaining most of your hair’s length and overall shape. It’s a safe, flattering option for almost everyone and is perfect for adding subtle volume.
Short Layers: These involve a greater contrast between the shortest and longest layers. They are cut closer to the crown to create dramatic volume and texture. This is a bold look that works well for pixie cuts, shags, and those with very thick hair, but it can be high-maintenance as it grows out.
Face-Framing Layers: Exactly as it sounds, these are layers cut to specifically highlight your facial features. They typically start at the chin or above and are designed to draw attention to your eyes, cheekbones, and jawline. This is a fantastic way to dip your toes into layering without committing to a full head of them.
Internal/Underlying Layers: This is a secret weapon for volume. The stylist layers the hair underneath the top surface layers. This technique removes hidden bulk, allowing the top layers to lift away from the head for incredible body without visibly changing the exterior length or shape.
Texturizing: Not strictly layering, but its best friend. Texturizing involves using special techniques (like point cutting or using thinning shears) to remove weight and create a seamless, blended, and lived-in finish. It prevents layers from looking heavy or blocky.
The Ultimate Consultation: What to Say to Your Stylist
This is where your newfound knowledge pays off. A great consultation is a two-way conversation. Ditch the vague language and be specific.
Bring Visuals: A picture is worth a thousand words. Bring 2-3 photos of layered hairstyles you love. It’s even more helpful if you can also bring a photo of a style you don’t like. This gives the stylist a clear boundary. Say, “I love the volume here, but I don’t want my layers this short and piecey.”
Use the Right Vocabulary: Now you can speak their language. Instead of saying, “I just want some layers,” try: “I’m looking for long, face-framing layers to add movement without losing too much length. My hair is fine, so I’d like to avoid over-texturizing.” This gives the stylist a clear, technical direction.
Discuss Your Lifestyle: Be honest about how much time you spend on your hair. Do you blow-dry every day or air-dry? Do you need a wash-and-go style? A good stylist will tailor the layers to your routine. A high-maintenance cut is frustrating if you only have five minutes in the morning.
Ask Questions: Engage with your stylist. Ask them, “What layering technique do you think would work best for my hair texture and face shape?” or “How will this cut look when I air-dry it?” This shows you’re collaborative and trust their expertise.

Face Shape & Layering: Finding Your Perfect Match
Layers can be your most powerful tool for balancing your facial features. Here’s a quick guide to what generally works for different face shapes.
For Round Faces: The goal is to create length and slimness. Ask for long layers that start at the jawline or below, with more weight taken from the sides. Avoid short, rounded layers that add width to your cheeks.
For Square Faces: The aim is to soften a strong jawline. Face-framing layers that hit at the chin and texturized, wispy ends are perfect. Long, side-swept bangs can also beautifully soften the angles.
For Oval Faces: You’re in luck! Oval faces are the most versatile and can pull off almost any layering style. Feel free to experiment with short, long, or face-framing layers.
For Heart-Shaped Faces: (Wider forehead, narrower chin) Layers are ideal for balancing the top and bottom. Ask for layers that start at the chin or lower to add fullness around the jaw. Side-swept bangs can also help to minimize a wider forehead.
For Long Faces: The objective is to add width and reduce the appearance of length. Shorter layers that hit at the cheekbones and crown add volume to the sides. Avoid long, straight layers that can elongate the face further.
Maintaining Your Masterpiece: Post-Cut Care
A great layered cut needs the right care to look its best every day. The right products and techniques will enhance the shape and make styling a breeze.
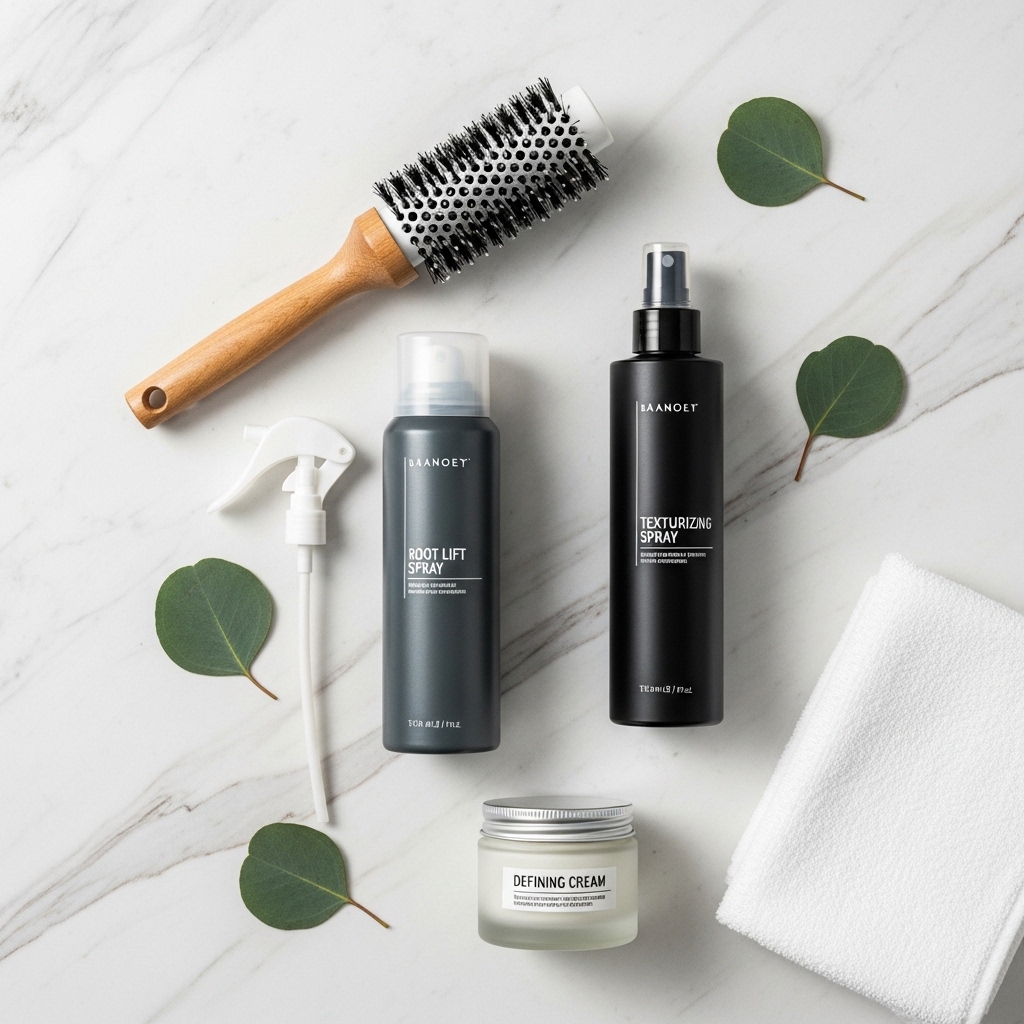
Product Recommendations: To maximize volume, use a root-lifting mousse or spray on damp hair before blow-drying. A volumizing texturizing spray or dry shampoo is perfect for refreshing layers and adding grit and hold on second-day hair. For curly hair, a defining cream will help clump your layered curls beautifully.
Styling Techniques: When blow-drying, flip your head upside down and dry the roots first for instant volume. Use a round brush to lift the roots as you dry the lengths. For wavy and curly hair, scrunching your hair while diffusing will bring out the best in your layers.
Trimming Schedule: Layers grow out and can lose their shape. To maintain the integrity of your cut, plan for a trim every 6-8 weeks. This doesn’t mean a major cut each time—just a quick clean-up to keep those ends sharp and the layers defined.
Your Salon-Ready Cheat Sheet
Walking into the salon feeling confident is half the battle. Here’s a quick script you can adapt based on your goals.
For Soft Volume & Movement: “I’d like some long layers to remove a little weight and add movement. I want to keep most of my length, so let’s focus the layers from my mid-lengths down and maybe add some soft, face-framing pieces around the front.”
For a Textured, Modern Shag: “I’m interested in a shag-inspired cut with shorter layers around the crown for volume and longer, choppy layers through the ends. I’d love a lot of texturizing to make it look piecey and lived-in.”
For Curly Hair Definition: “My main goal is to define my curls and remove bulk. Can we use a layering technique that shapes my curls while they’re dry? I want to avoid a triangular shape and encourage springiness.”

