
Okay, let’s be real. We’ve all seen those impossibly perfect, intricate braids on our feeds and thought, “Nope, not for me.” But what if I told you there’s a braid that looks fancy but is secretly forgiving? Enter the laced up French braid.
It’s my new go-to for adding instant texture and that “I tried, but not too hard” vibe. Think of it as the cool, slightly undone cousin of your classic French braid. It works on almost every hair type and length, from a sharp asymmetrical lob to longer layers.
This style is having a major moment, sitting perfectly between trends like old money hair and romantic goth hairstyles. It’s elegant but interesting. And the best part? You can master it in under ten minutes. Let’s break it down, step-by-step.
What Are Laced Up French Braids?
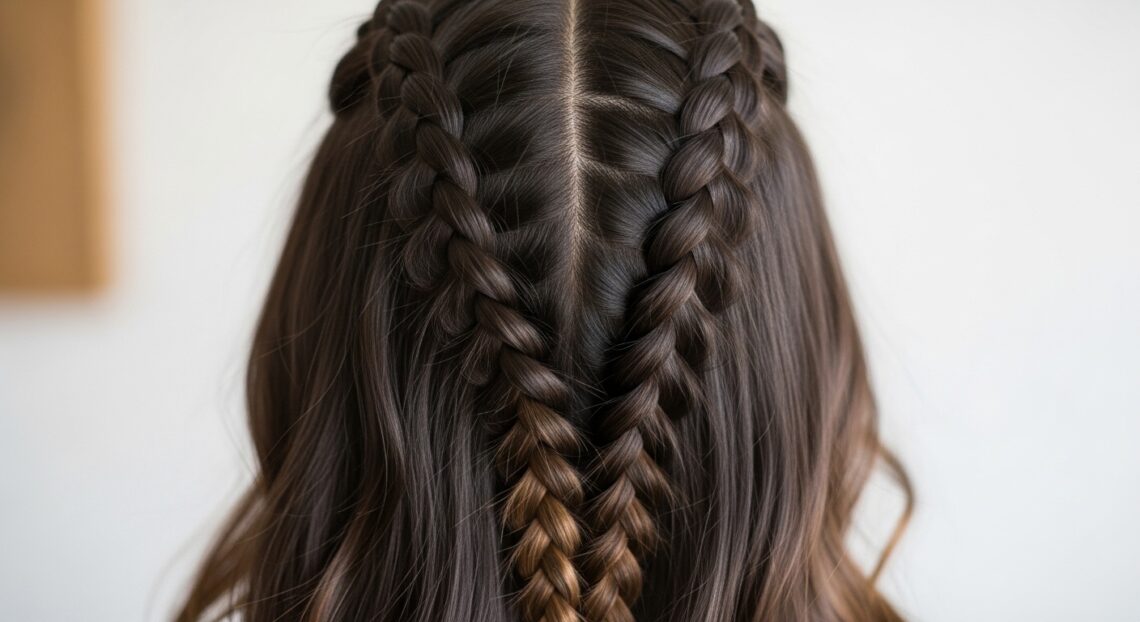
Laced up French braids, sometimes called lace braids, are a variation where you only add hair from one side of the braid instead of both. You pick up small sections from the top or side, weaving them into a braid that sits flat against your head.
This creates a beautiful, textured detail that looks intricate but is simpler to execute. It leaves the rest of your hair down, blending seamlessly for a soft, romantic effect. It’s the perfect detail to elevate your everyday look.
Why This Braid is a Texture Game-Changer
If your hair is fine, straight, or just lacks natural volume, this braid is your new best friend. The lacing technique physically creates ridges and dimension where there wasn’t any before. It gives the illusion of thicker, more voluminous hair instantly.
For those with wavy or curly hair, it enhances your natural pattern beautifully. It’s a versatile trick that works whether you’re aiming for quiet luxury bob elegance or a touch of glitchy glam hair edge.
Tools You’ll Need (It’s a Short List!)
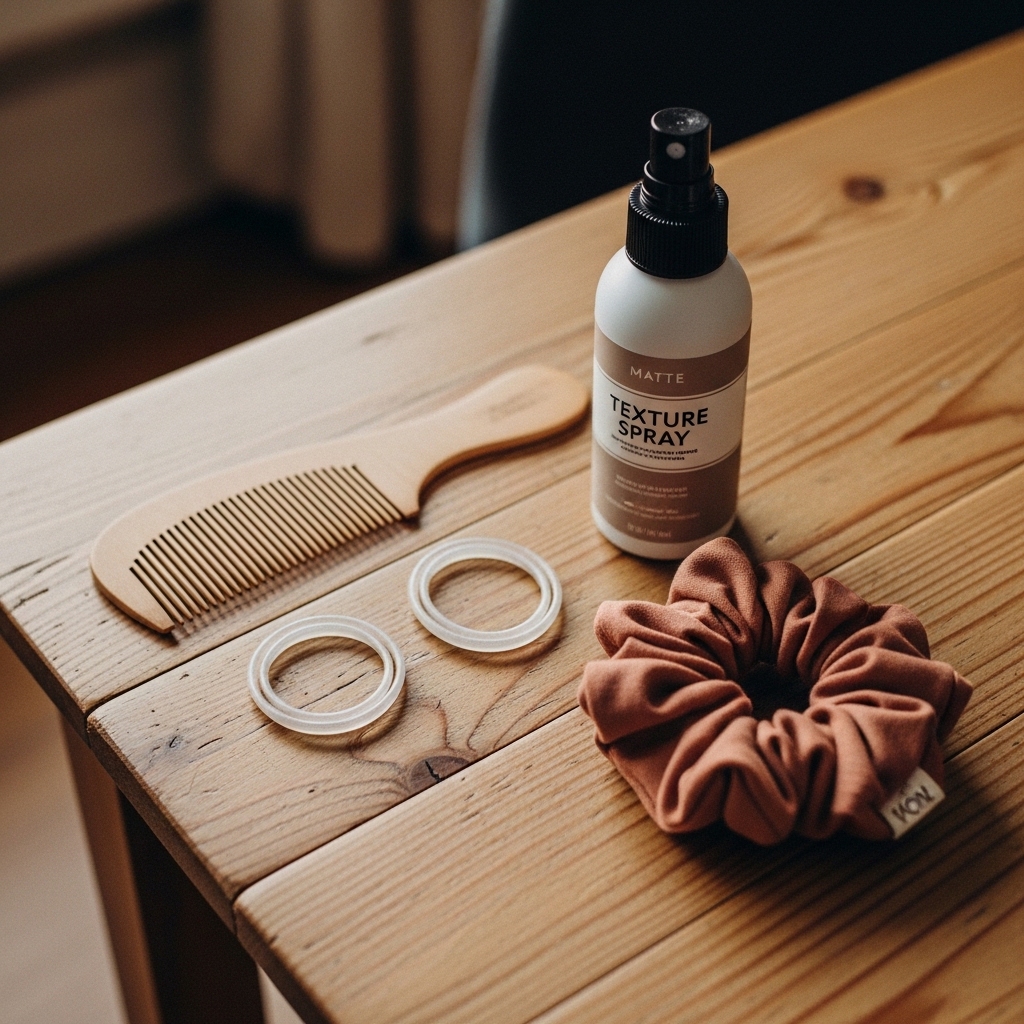
You don’t need a salon’s worth of products. Simplicity is key here. Gather a fine-tooth comb for clean sections, a couple of clear elastic bands, and a light-hold hairspray or texture spray.
- A fine-tooth comb or tail comb
- Clear elastic hair ties
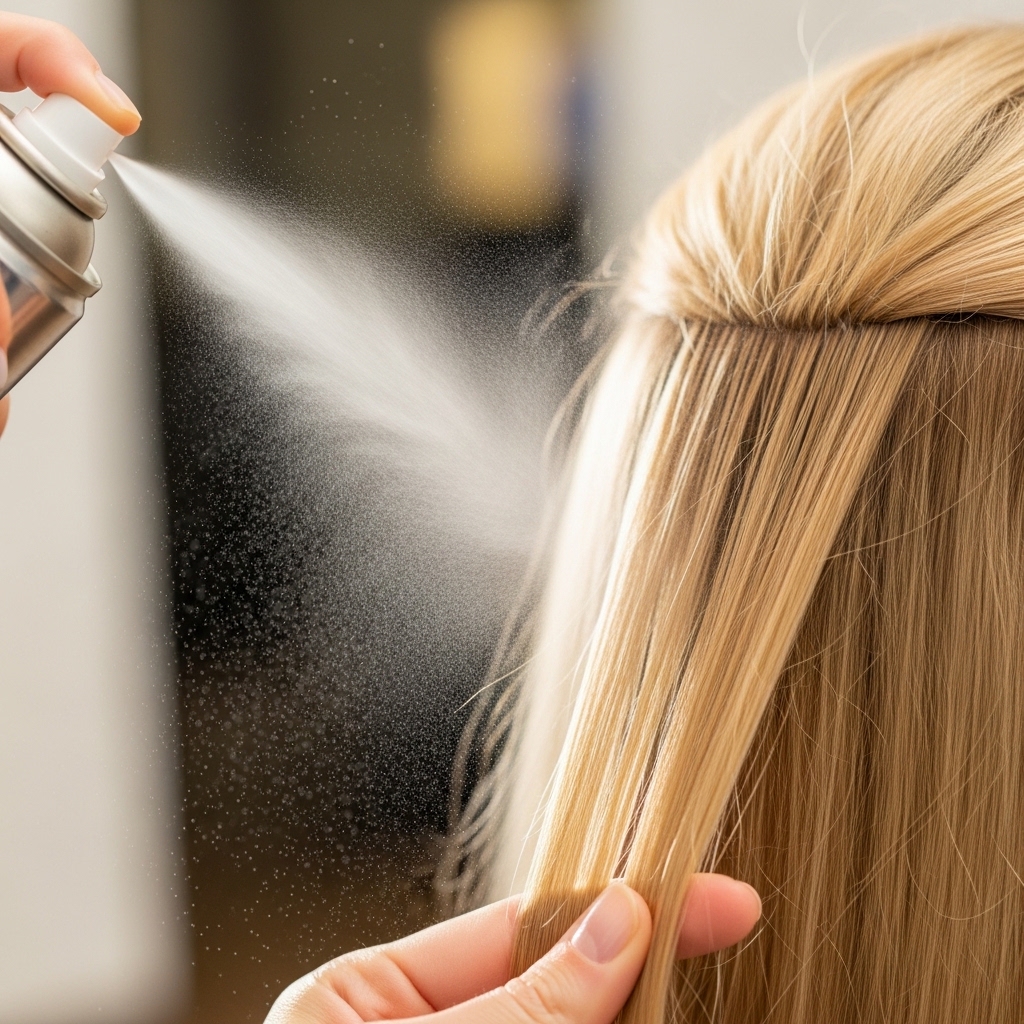
- Light-hold hairspray or texturizing spray
- Optional: A few bobby pins for securing ends
Start with Day-Old Hair (Trust Me)
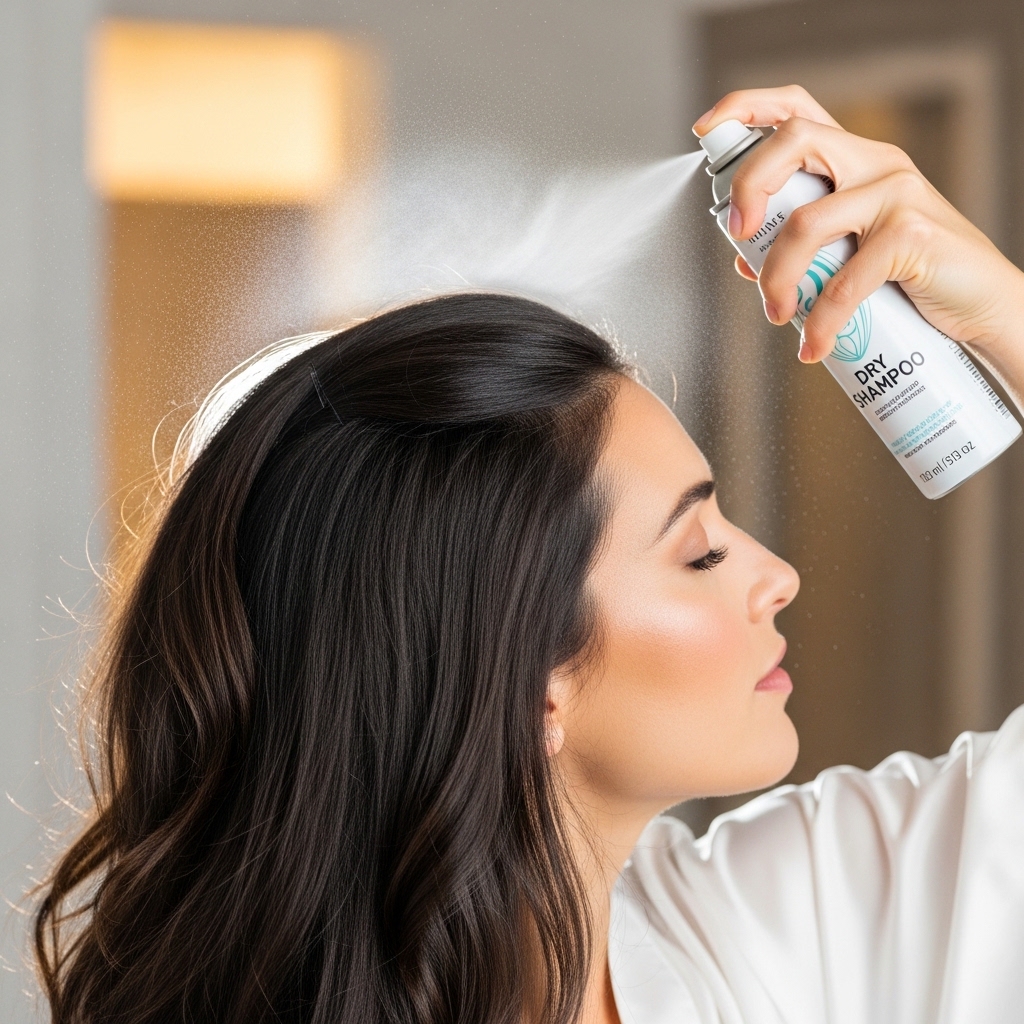
The absolute best base for this braid is hair that hasn’t been washed that morning. Day-old hair has a bit of natural grit and texture, which helps the braid hold its shape and prevents slipping.
If you just washed your hair, no panic. Spritz some dry shampoo or texture spray at your roots and mid-lengths. Work it through with your fingers to create that necessary grip. This step makes all the difference.
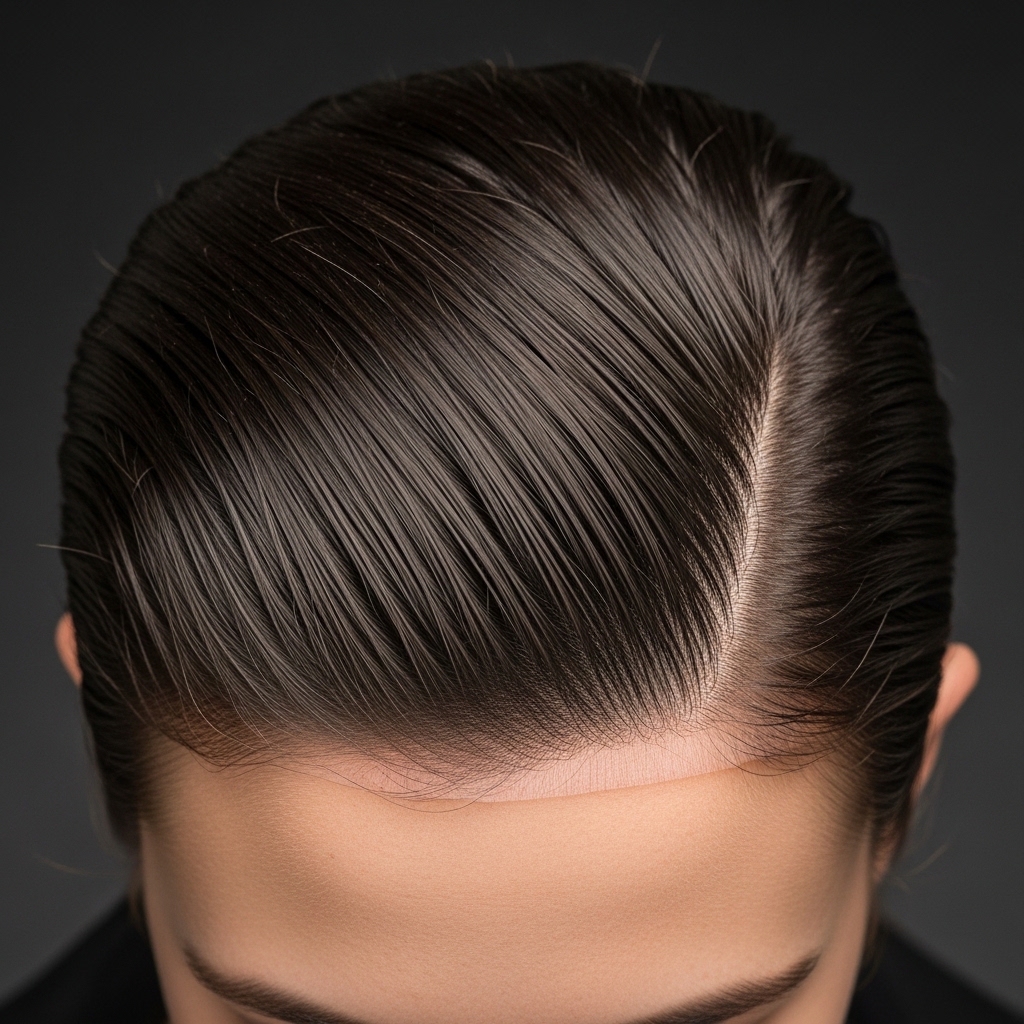
Sectioning is Your Secret Weapon
Don’t just start braiding randomly. Use the end of your comb to create a clean, curved part where you want the braid to sit. This is usually from temple to crown, or following your hairline.
Separate the section you’ll be braiding from the rest of your hair. Clip the rest out of the way. A clean start means a polished finish, whether you’re doing one braid or two.
Step 1: Begin Your First Three Strands
At the start of your part, take a small triangle of hair. Divide it into three equal strands. This is your foundation. Keep your grip firm but gentle—you don’t want to pull too tight.
Do one simple, traditional braid crossover. Right over middle, left over middle. This sets everything in place. Make sure the strands are smooth at this point.
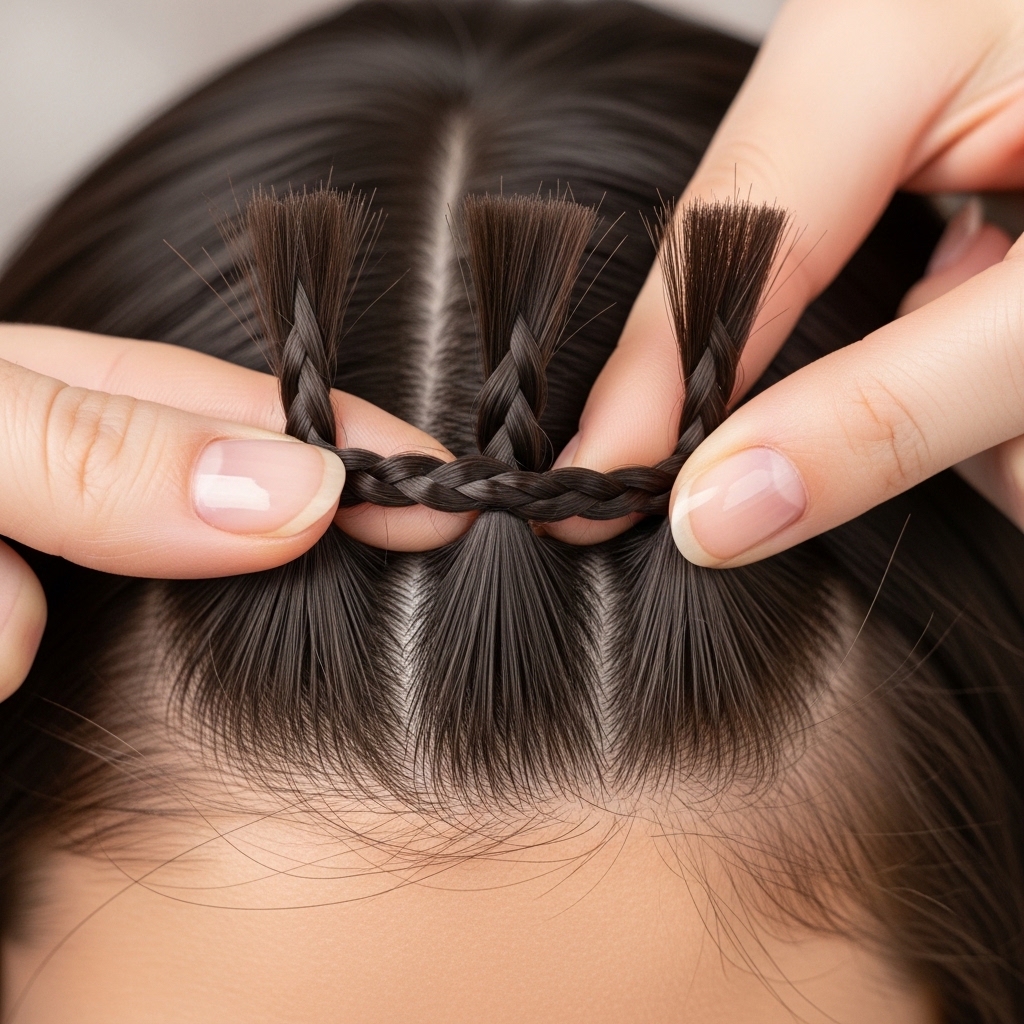
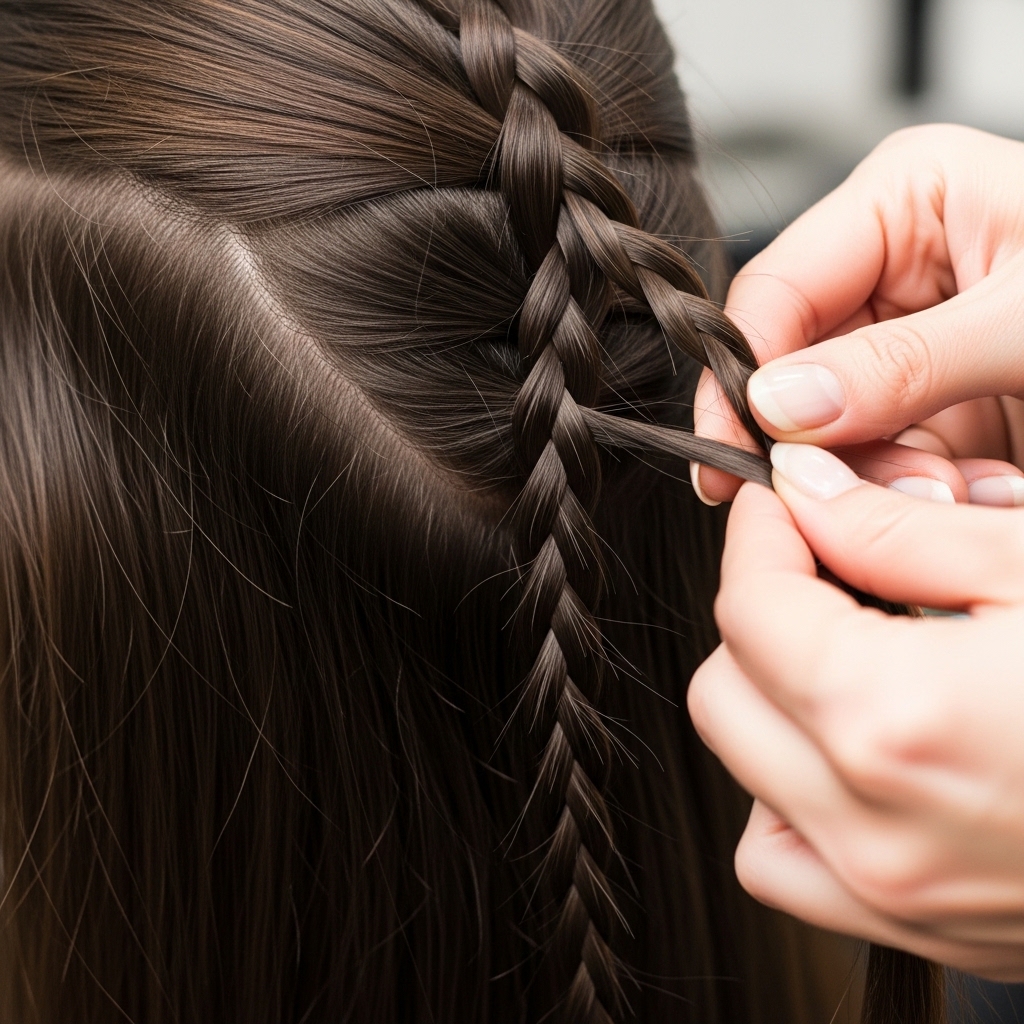
Step 2: The “Lacing” Technique Explained
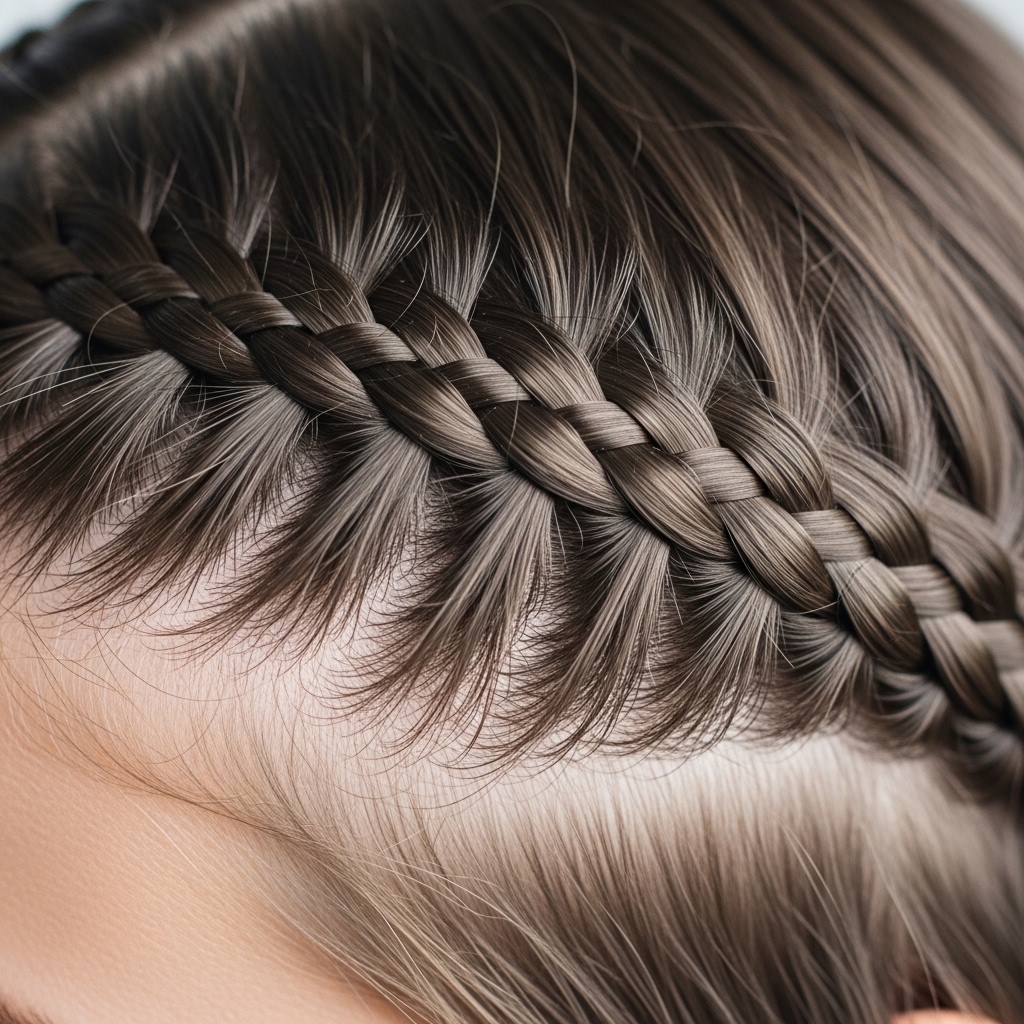
Here’s the magic. For your next crossover, only add new hair to the top strand. Before you cross the top strand over, use your free finger to pick up a thin section of hair from the loose hair above the braid.
Combine this new hair with your current top strand. Then, cross this now-thicker strand over into the middle. You are only adding hair from the top side, creating that signature laced look.
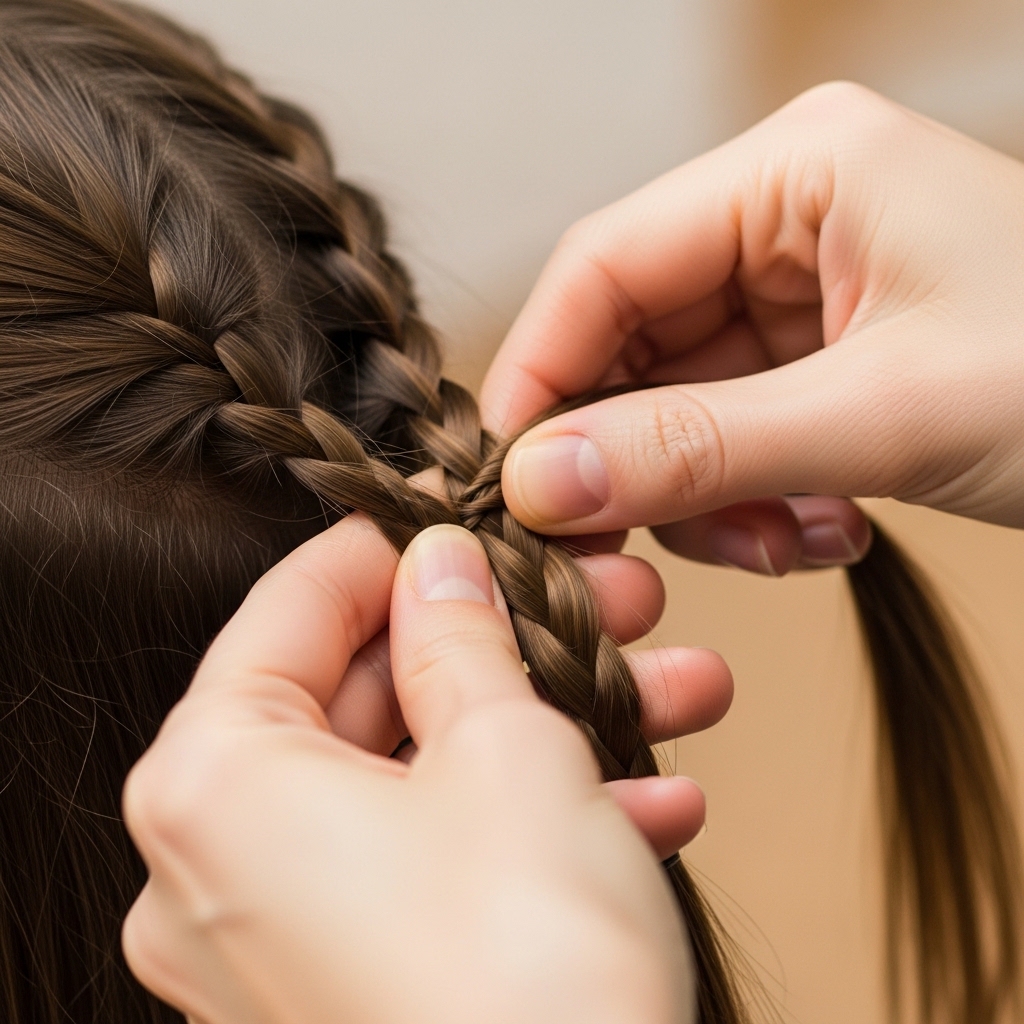
Step 3: Continue the Laced Pattern
Now, do a normal crossover with the bottom strand (no new hair added). Then, it’s time to add hair to the top strand again. Always add to the strand that is closest to the loose hair on your head.
Keep your new sections thin and consistent. The rhythm is: add to top, cross over; normal cross with bottom; add to top, cross over. Repeat this pattern as you move along your part.
Step 4: Keeping Tension Even
This is the trickiest part, but you’ve got it. You want the braid to be snug against your head, but not so tight it gives you a headache or looks severe. Aim for a gentle, consistent pull.
If a section feels loose, don’t redo the whole thing. Just gently tighten the three core strands in your hands before your next crossover. Practice makes perfect here.
Step 5: When to Stop Adding Hair
You’ll lace and add new hair until you run out of loose hair along your part line. For a side braid, this is usually just past your ear. For a crown braid, you’ll go all the way to the back.
Once there’s no more loose hair to pick up from the top, you’ll feel it. Your braid will naturally want to fall behind your ear or down the back of your head.
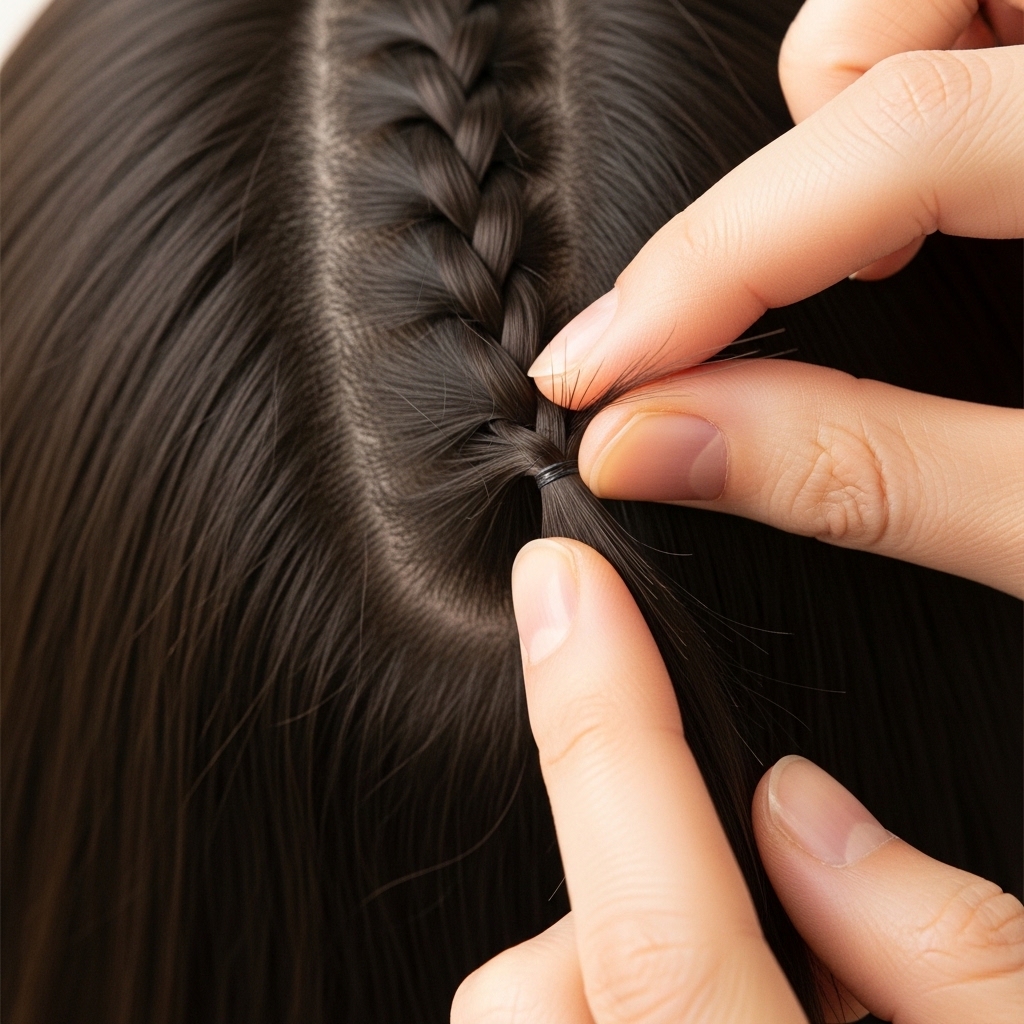
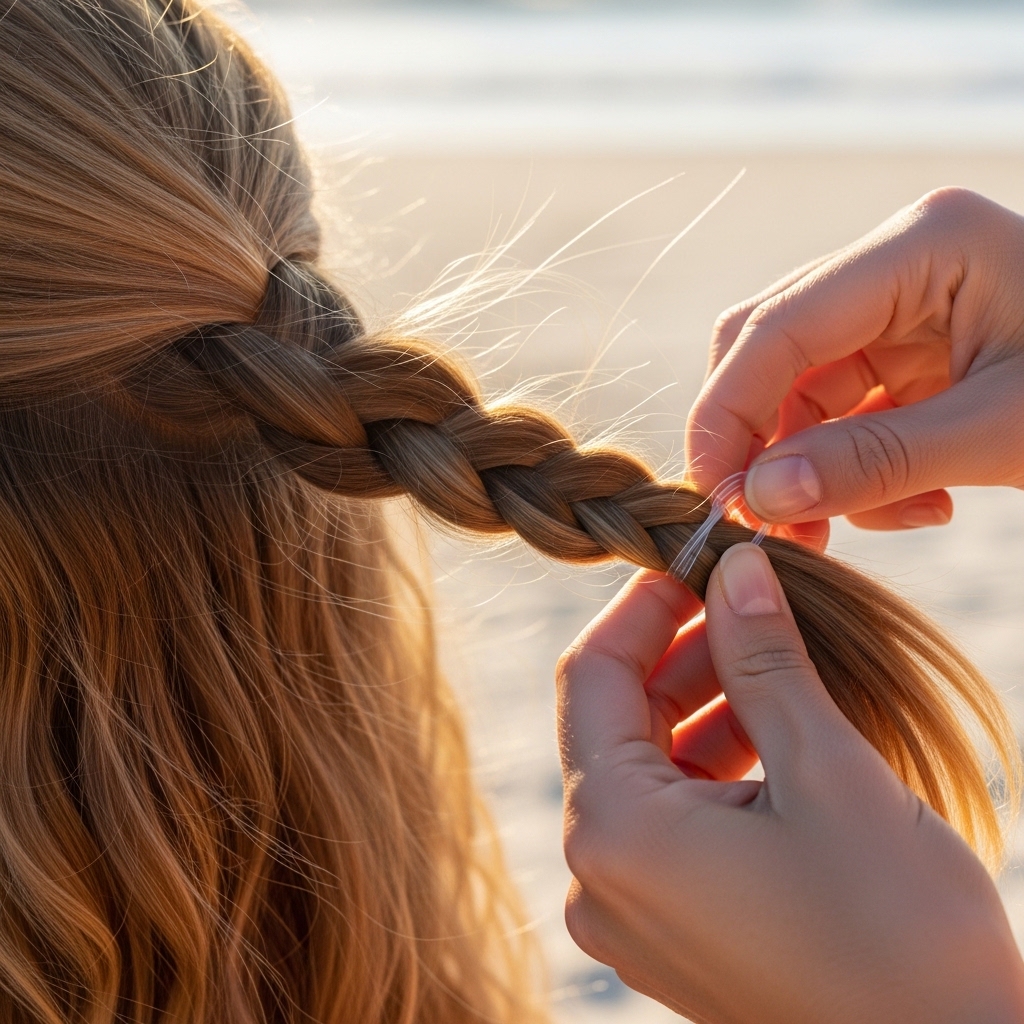
Step 6: Finish with a Classic Braid
Once you stop adding hair, you’ll be left with three strands. Simply continue with a classic three-strand braid all the way to the ends of your hair. Keep it neat or make it a little messy for texture.
Secure the end with a clear elastic. Give the tail of the braid a gentle tug to loosen it slightly and make it look fuller and more effortless.
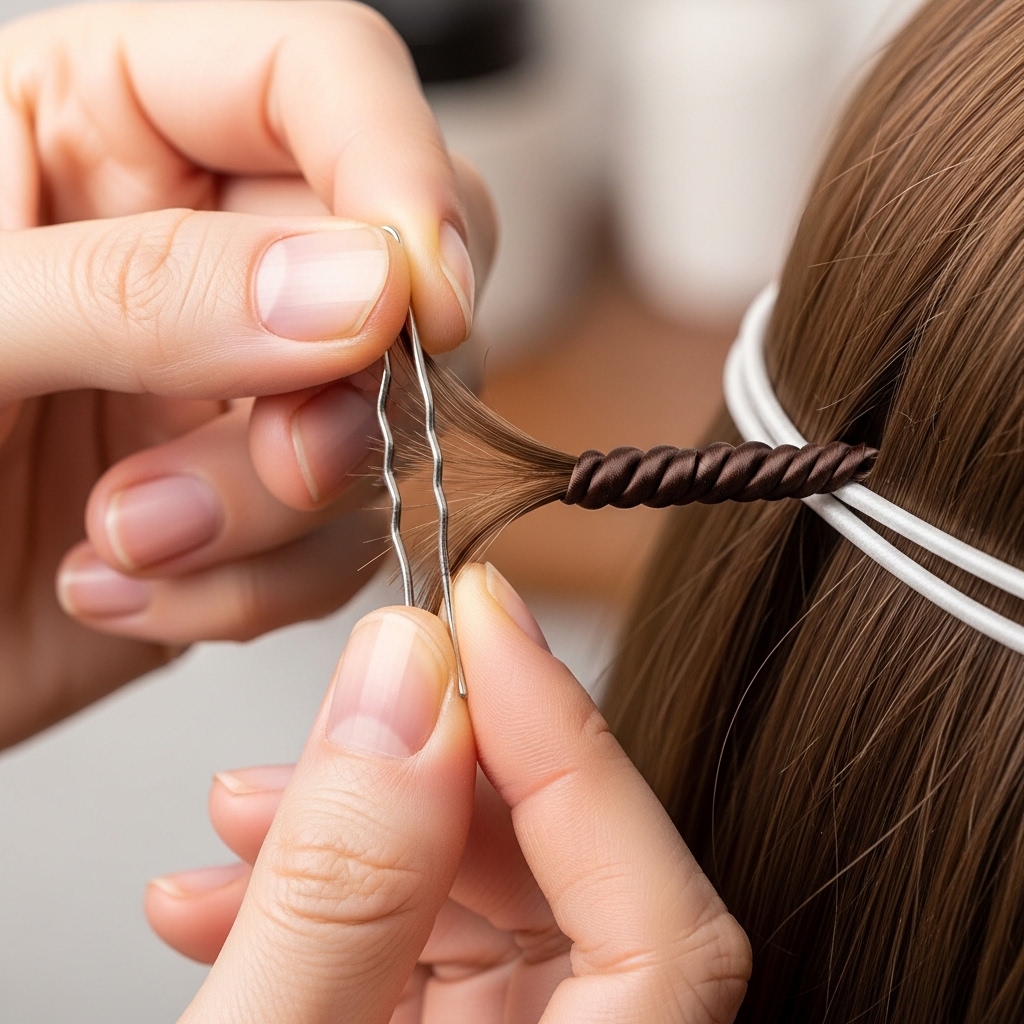
How to Hide the Elastic Like a Pro
Clear elastics are great, but we can make them invisible. Once the braid is secured, take a tiny piece of hair from the braid tail near the elastic. Wrap it around the elastic band 2-3 times.
Tuck the very end of that wrapping piece under the elastic using a bobby pin. This hides the plastic completely and gives a salon-finished look in seconds.
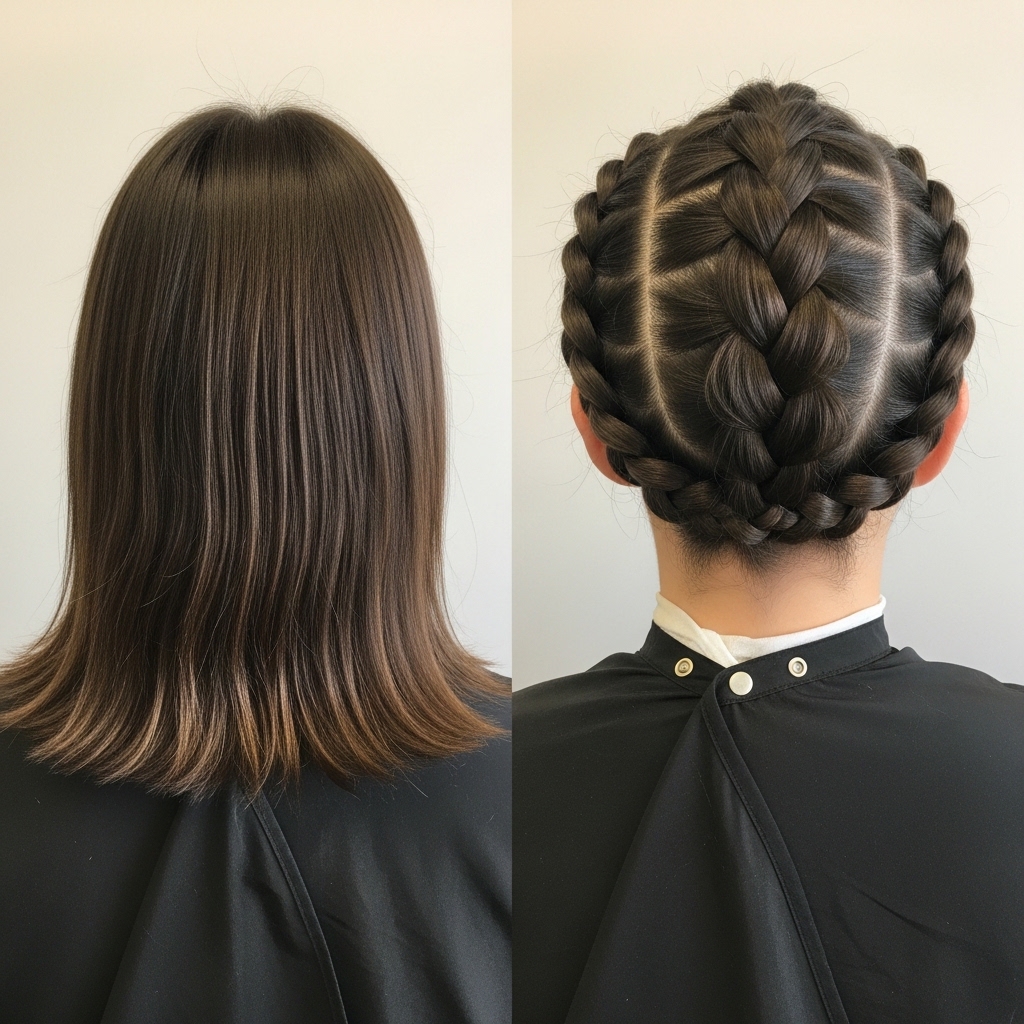
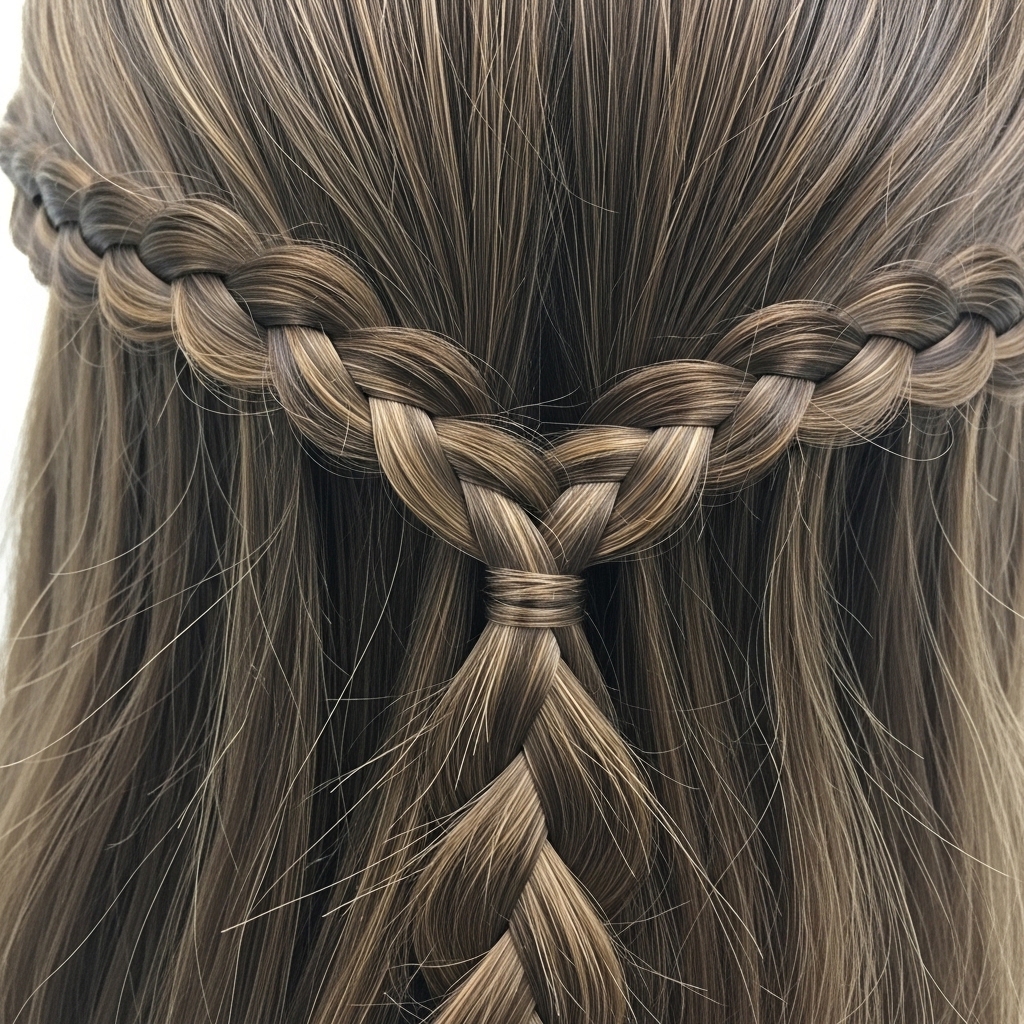
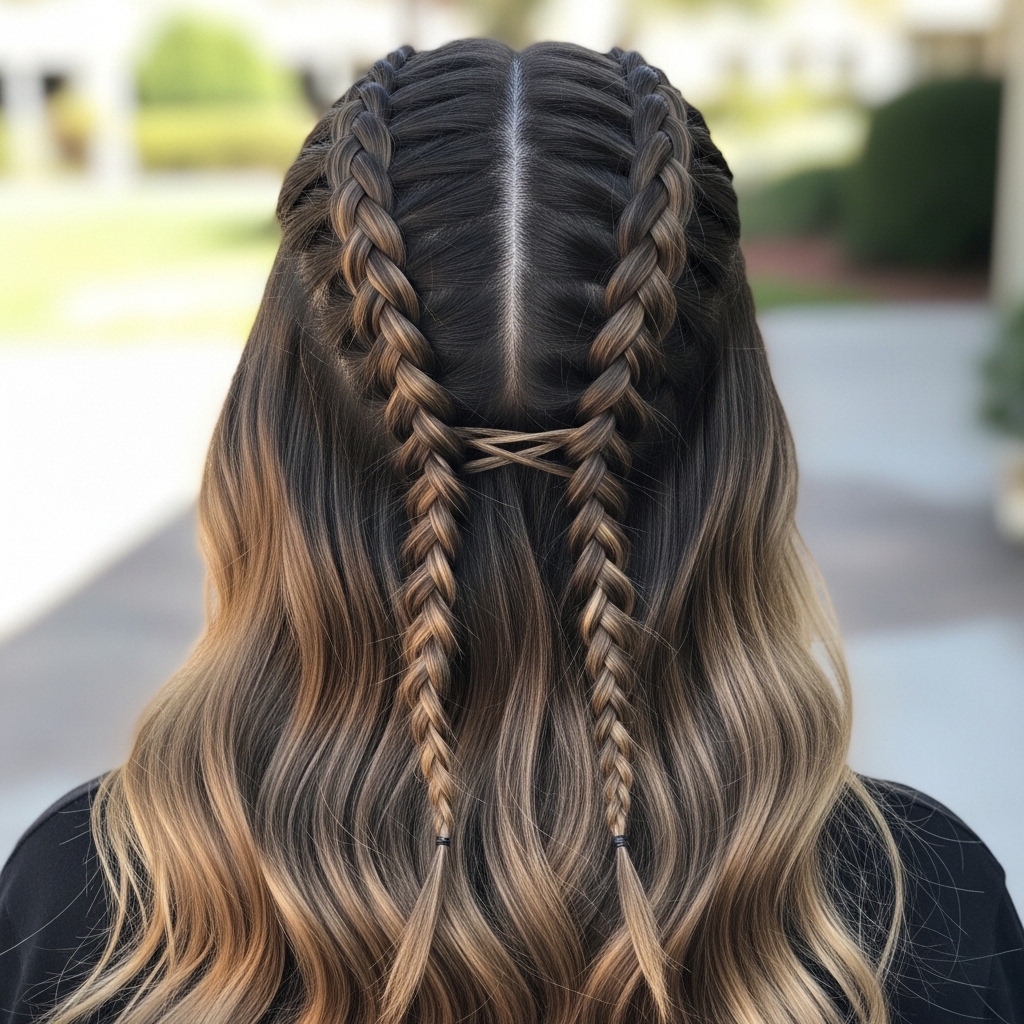
Creating Two Symmetrical Laced Braids
For a double look, part your hair down the middle. Repeat the entire process on each side. The key to symmetry is taking identical starting sections on both sides.
Try to keep the tension and the size of the added sections similar. Don’t stress about them being perfect twins—a little variation adds to the charming, lived-in feel.
Turning One Braid into a Half-Up Style
This is my favorite lazy-girl hack. Create a single laced braid along one side. When you secure it with the elastic, don’t pull it all the way down.
Instead, pull it back toward the crown of your head and pin it in place with bobby pins. This creates an instant, textured half-up ‘do that’s perfect for second-day hair.

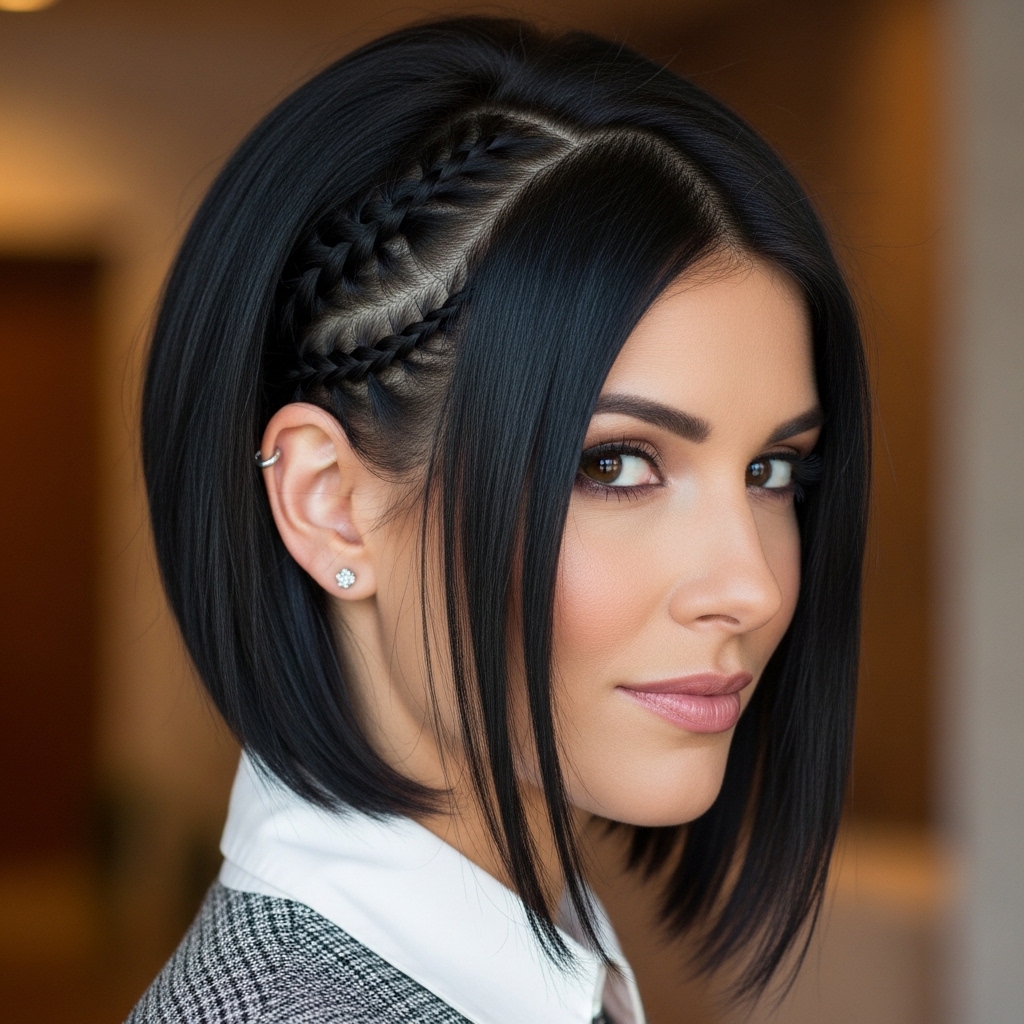
Pairing with Different Haircuts
This braid isn’t just for long hair. With a hime cut or a blunt bob, try a tiny, delicate laced braid just along the front of your hairline as an accent.
It looks stunning with an asymmetrical lob—braid the longer side. Even a vampire haircut or romantic goth hairstyles are amplified with a dark, textured laced braid for detail.
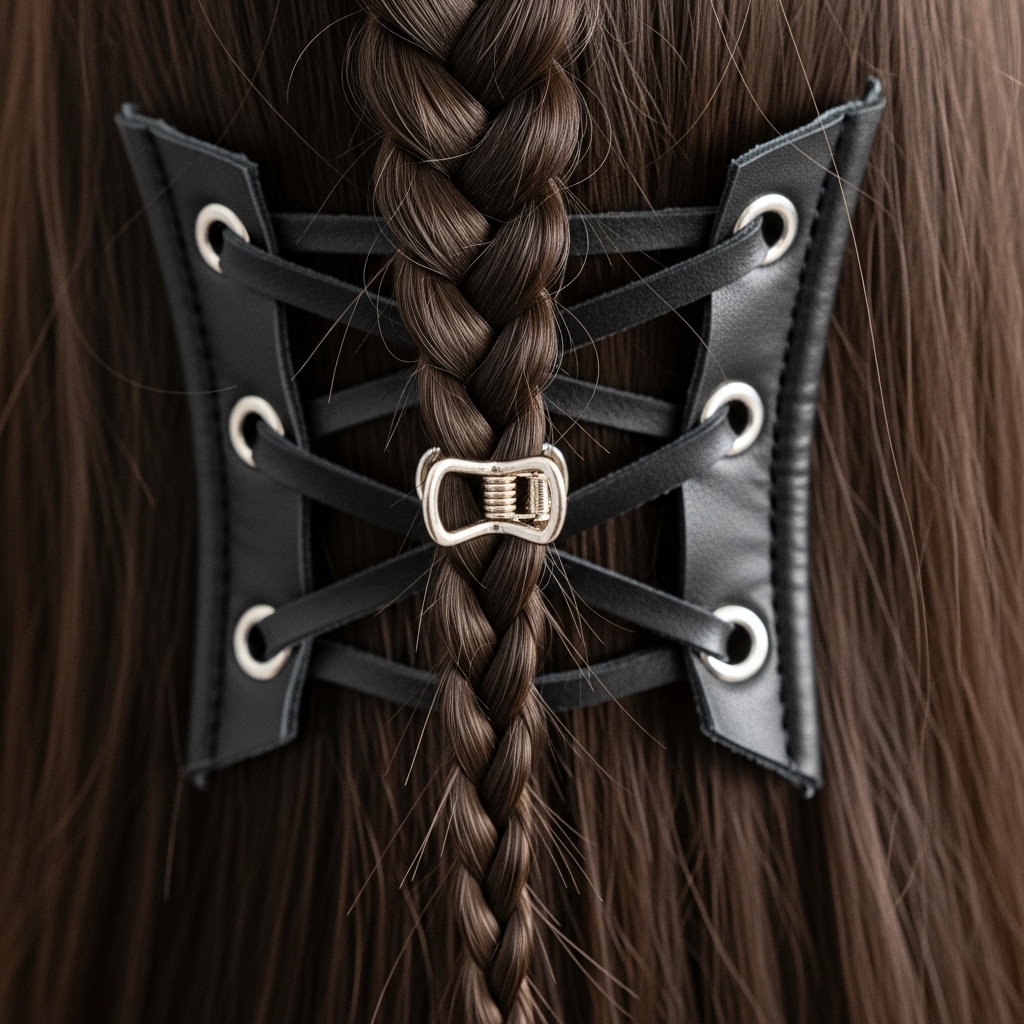
Adding “Glitchy Glam” Accessories
To tap into the glitchy glam hair trend, add a few unexpected accessories after braiding. Weave in a single, thin pearl-tipped pin or a tiny metallic cuff into the braid.
Less is more. One or two strategic pieces look intentional and cool. Think of it like jewelry for your hair, breaking up the texture in a shiny way.
Making it Work for Fine, Slippery Hair
If your hair is super fine and slips out, prep is everything. Use a texturizing spray on the sections before you braid. You can also very lightly backcomb the root of your starting section for grip.
Keep your added sections extra thin. More, thinner sections will hold better than fewer, thick chunks. Finish with a light mist of flexible hold hairspray.
Creating a “Lived-In” Romantic Look
For that romantic goth hairstyles or just soft, romantic vibe, loosen the braid significantly once it’s done. Gently pull on the outer loops of the braid to widen it.
Pull out a few face-framing pieces and wispy strands around your hairline. The goal is to make it look like you’ve had it in for hours, perfectly imperfect.

Transitioning Your Braid into Second-Day Waves
Here’s a secret: this braid creates amazing waves. Sleep with your braids in (on a silk pillowcase!). In the morning, carefully take them out and shake your hair loose.
You’ll be left with gorgeous, textured waves. Run your fingers through them, add a bit of serum to tame frizz, and you have a whole new style with zero heat.

Common Mistakes and How to Fix Them
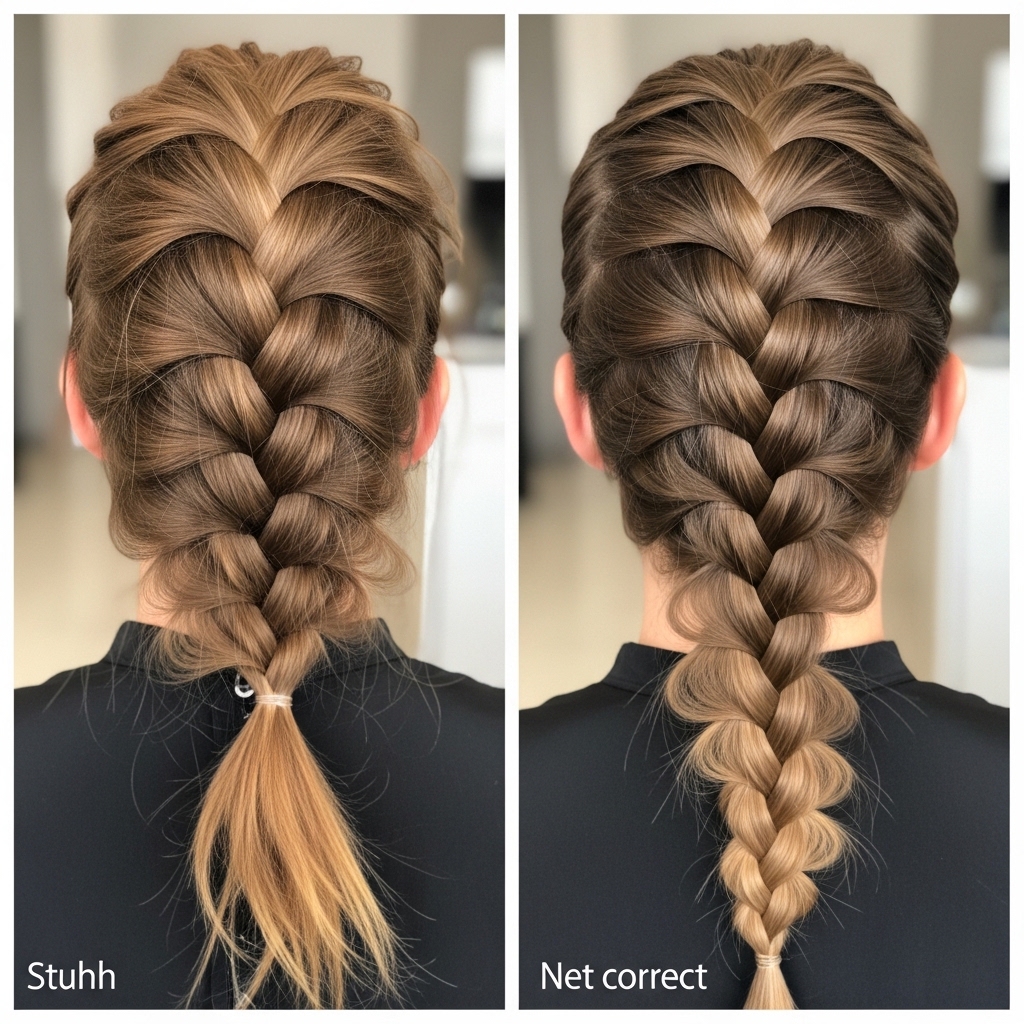
Mistake 1: Sections too thick. This makes the braid bulky and hard to secure. Fix it by using thinner, pencil-width sections.
Mistake 2: Pulling too tight. It should be comfortable. If it’s tight, gently pull the braid outward from your head to loosen. Mistake 3: Giving up too soon. Your first try might be messy. Try it three times before you decide.
How This Fits Into 2026 Hairstyles
We’re moving toward styles that are personal, textured, and look great in real life—not just on camera. The laced up French braid fits perfectly into emerging 2026 hairstyles trends.
It’s a hands-on, crafty detail that feels both nostalgic and fresh. It aligns with the “quiet luxury” focus on quality and technique, but also the “glitchy glam” love for interesting detail.

Your Quick Practice Challenge
Don’t wait for a special occasion. Practice tonight while you’re watching TV. Don’t worry about perfection. Just get the muscle memory of the “add to top, cross over” rhythm.
Do it on day-old hair, with good light. Even if you take it out right after, you’ll be closer to mastering it. You’ve got this!And that’s it! The laced up French braid might just become your new texture secret. It’s one of those styles that looks far more complicated than it is, which is always the best kind.
Remember, the charm is in the slight imperfection. A pulled-out loop or a wispy strand just adds to that effortless, I-woke-up-like-this magic. It’s a versatile tool in your style kit.
Did you try it? I want to see your texture transformation! Save this post to Pinterest so you can find the steps anytime. And tell me in the comments—will you be wearing this for a casual day out or dressing it up for night?
Braiding love,
Hailey & Team

