
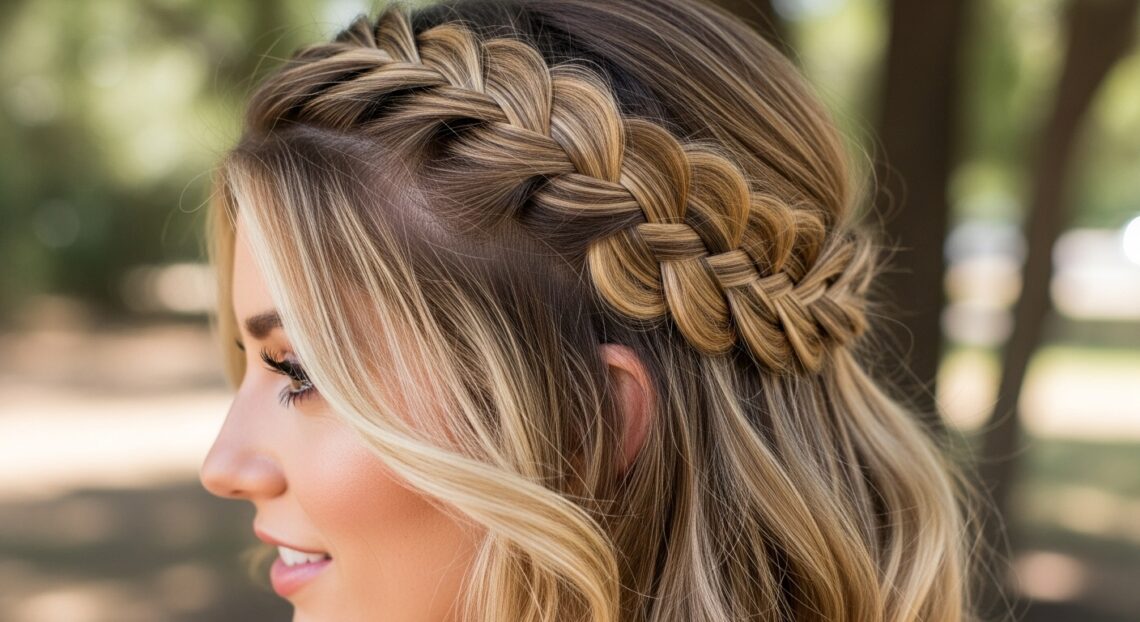
Braids are timeless, versatile, and surprisingly easy to create—once you know the right techniques! Whether you’re a beginner or just looking for fresh inspiration, these 5 simple braided hairstyles will help you elevate your look without needing a salon visit. From classic three-strand braids to trendy Dutch braids, we’ve got you covered with step-by-step instructions anyone can follow.
Best of all, these styles work for all hair types and lengths. So grab your comb, some hair ties, and let’s get braiding!

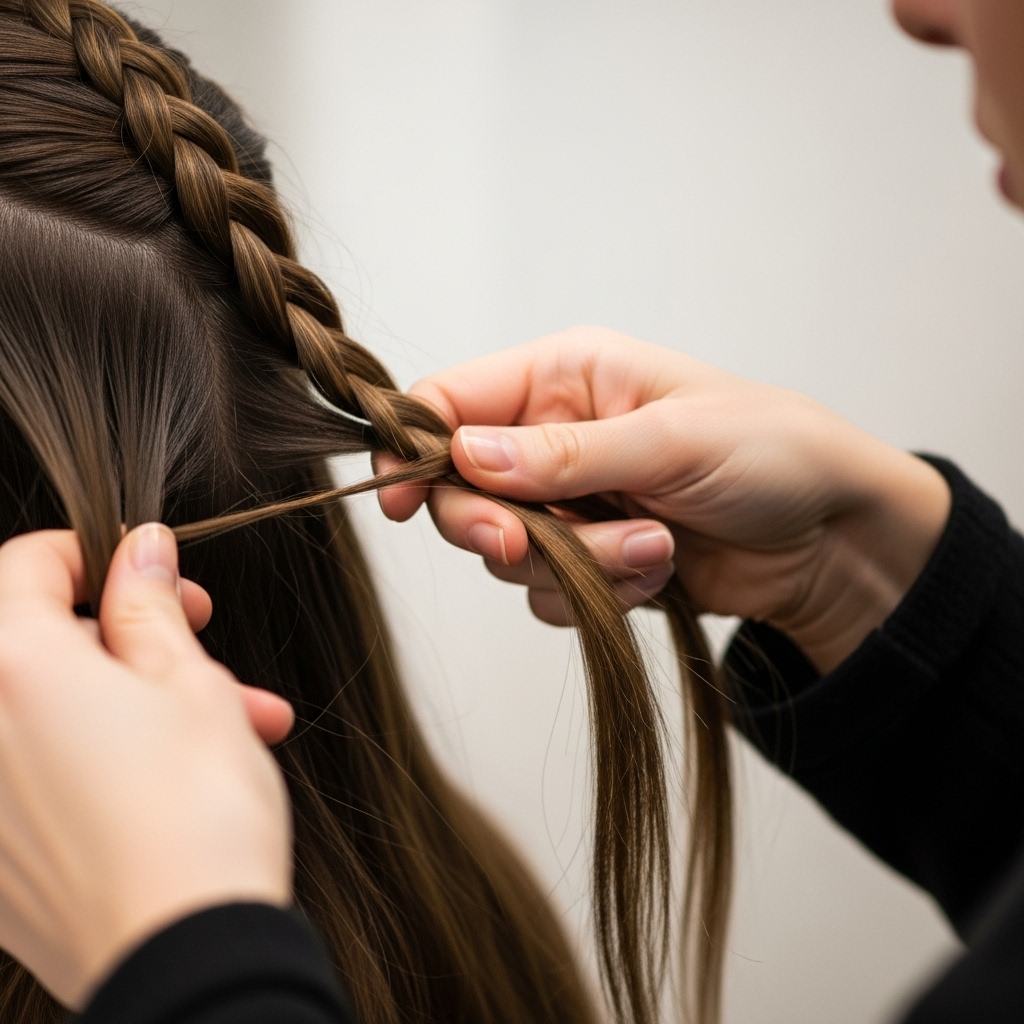
1. The Classic Three-Strand Braid
The three-strand braid is the foundation of all braided hairstyles. If you’re new to braiding, mastering this first will make everything else easier!
How to do it:
1. Brush your hair to remove tangles. For a smoother braid, slightly dampen your hair or apply a small amount of styling cream.
2. Divide your hair into three equal sections—left, middle, and right.
3. Cross the right section over the middle, then the left section over the new middle (which was originally the right).
4. Repeat this pattern, alternating sides, until you reach the ends. Secure with a hair tie.
Pro Tip: For a fuller look, gently tug on the edges of the braid after securing it.
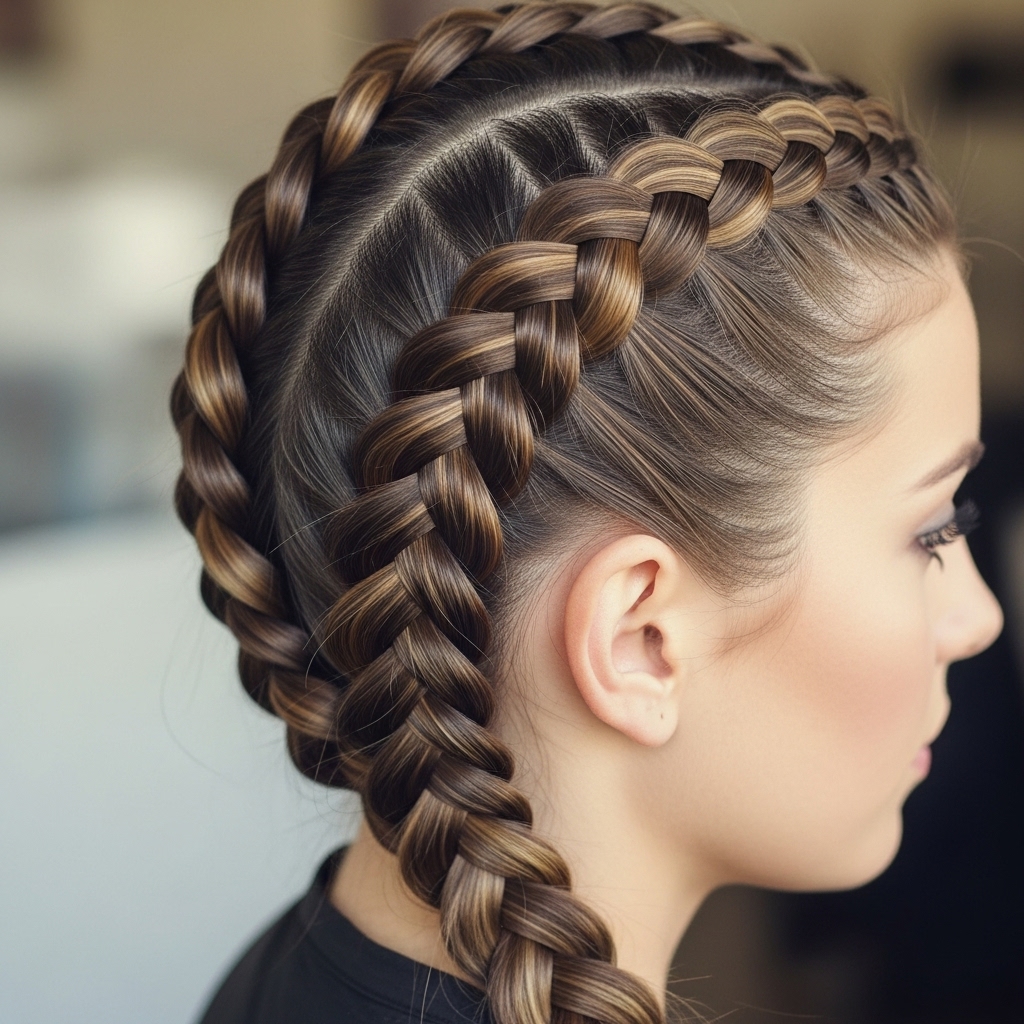
2. The Dutch Braid (Inside-Out Braid)
If you love the look of a French braid but want something with more dimension, the Dutch braid is perfect. This “inside-out” technique creates a striking 3D effect.
How to do it:
1. Start with a small section of hair at the top of your head and divide it into three parts.
2. Instead of crossing sections over the middle (like a French braid), cross them under the middle strand.
3. As you braid downward, add small sections of hair to each strand before crossing it under.
4. Continue until all hair is incorporated, then finish with a regular three-strand braid.
Pro Tip: Dutch braids look amazing as pigtails or a single braid along the hairline.
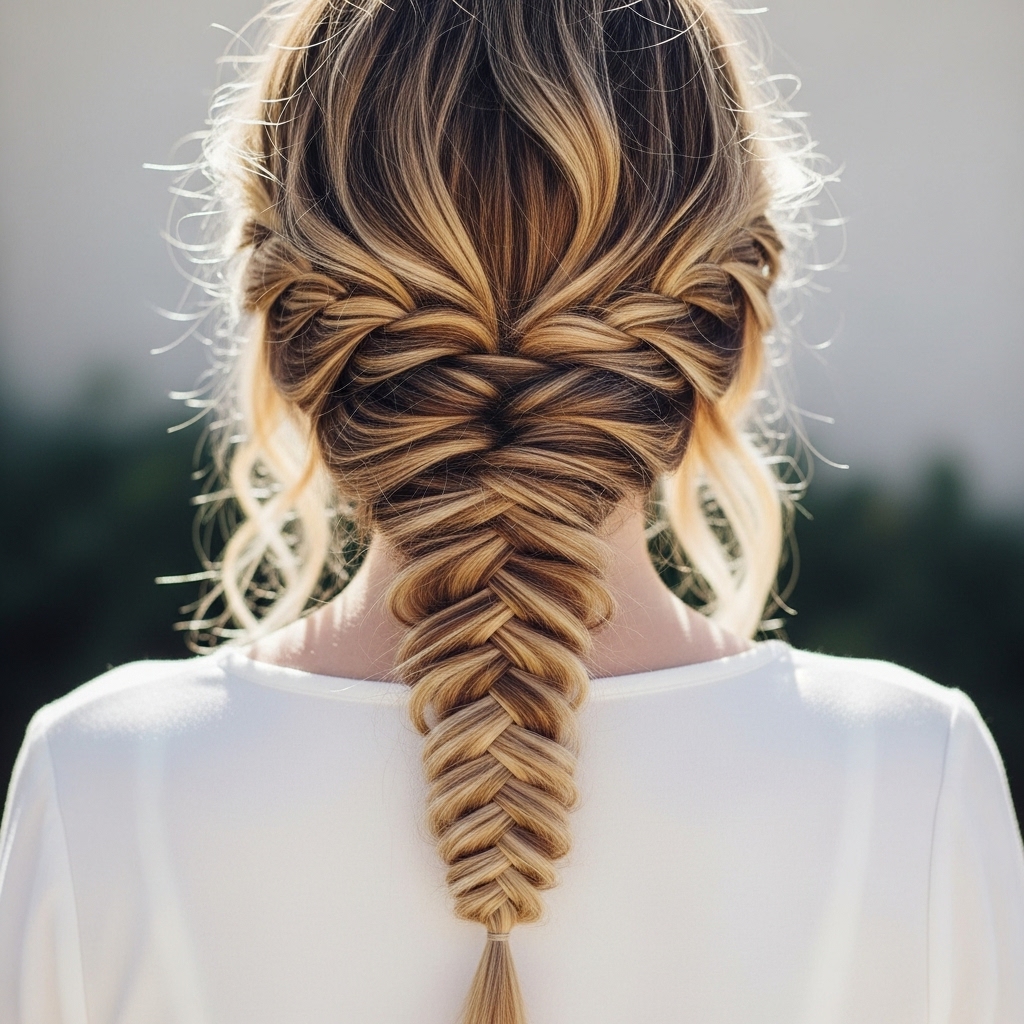
3. The Fishtail Braid
The fishtail braid looks intricate but is surprisingly simple once you get the hang of it. This elegant style works great for both casual and formal occasions.
How to do it:
1. Divide your hair into two equal sections (left and right).
2. Take a thin strand from the outer edge of the left section and cross it over to the right section.
3. Now take a thin strand from the outer edge of the right section and cross it over to the left.
4. Repeat this alternating pattern until you reach the ends. Secure with a hair tie.
Pro Tip: For a messy-chic look, gently pull apart the braid after finishing.
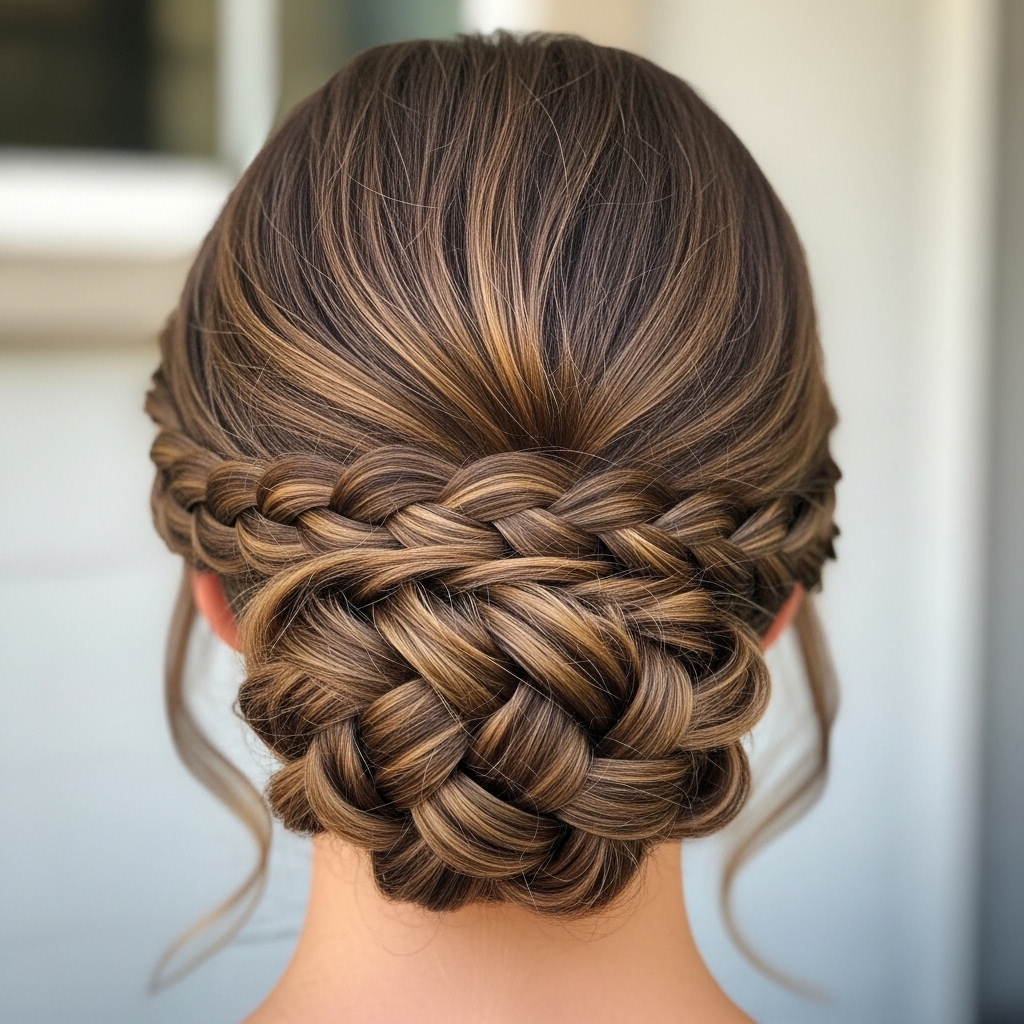
4. The Rope Twist Braid
For a quick, elegant updo, the rope twist braid is a game-changer. It takes minutes to create and looks polished enough for work or a night out.
How to do it:
1. Split your hair into two equal sections.
2. Twist each section clockwise until they coil tightly.
3. Now twist the two sections counterclockwise around each other.
4. Secure the end with a hair tie, then pin the twist into a bun or leave it as a braid.
Pro Tip: Spritz with texturizing spray before twisting for extra grip.
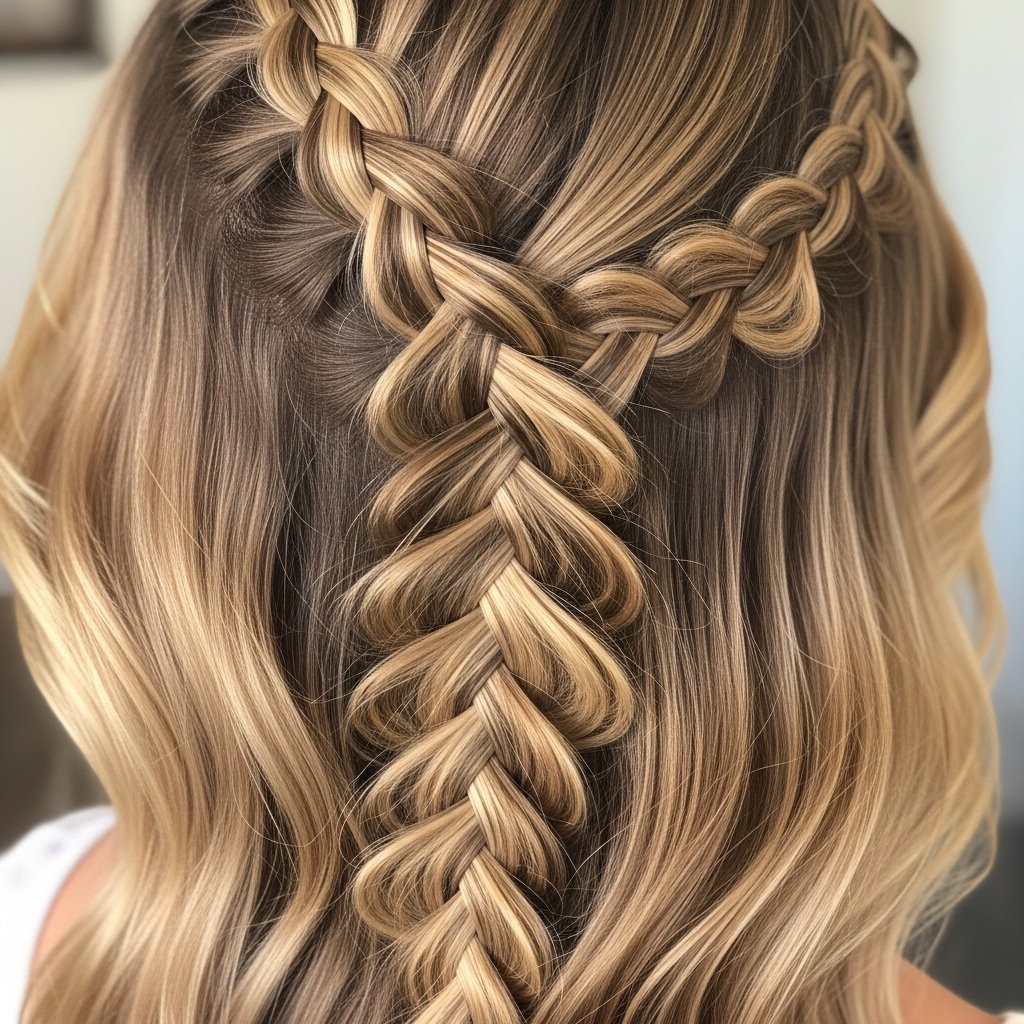
5. The Waterfall Braid
The waterfall braid is a romantic, cascading style that looks far more complicated than it is. Perfect for weddings or special events!
How to do it:
1. Start with a small section of hair near your temple and divide it into three strands.
2. Begin a regular three-strand braid, but after crossing the top strand over, drop it and pick up a new section of hair from above.
3. Continue this pattern, always dropping the bottom strand and replacing it with fresh hair, creating a “waterfall” effect.
4. Secure the end with a clear elastic or bobby pins.
Pro Tip: Pair this with loose curls for an ethereal look.
Final Tips for Perfect Braids Every Time
Now that you’ve learned these 5 easy braided hairstyles, here are some universal tips to make braiding even easier:
1. Prep your hair: Slightly damp or textured hair holds braids better. Use a light mousse or dry shampoo for grip.
2. Practice patience: Braiding gets faster with time. Don’t rush—focus on clean sections first.
3. Accessorize: Ribbons, clips, or colored hair ties can elevate any braid.
4. Experiment: Try braiding just the front sections or mixing different braid types in one hairstyle.
With these tutorials, you’re ready to rock stunning braids anytime, anywhere—no salon needed!

