

Let’s be honest: scrolling through social media feeds filled with impossibly perfect, intricate braids can be equal parts inspiring and utterly discouraging. You see a stunning curly braid style, your fingers itch to try it, but a little voice whispers, “I could never do that.” What if we told you that voice is wrong?
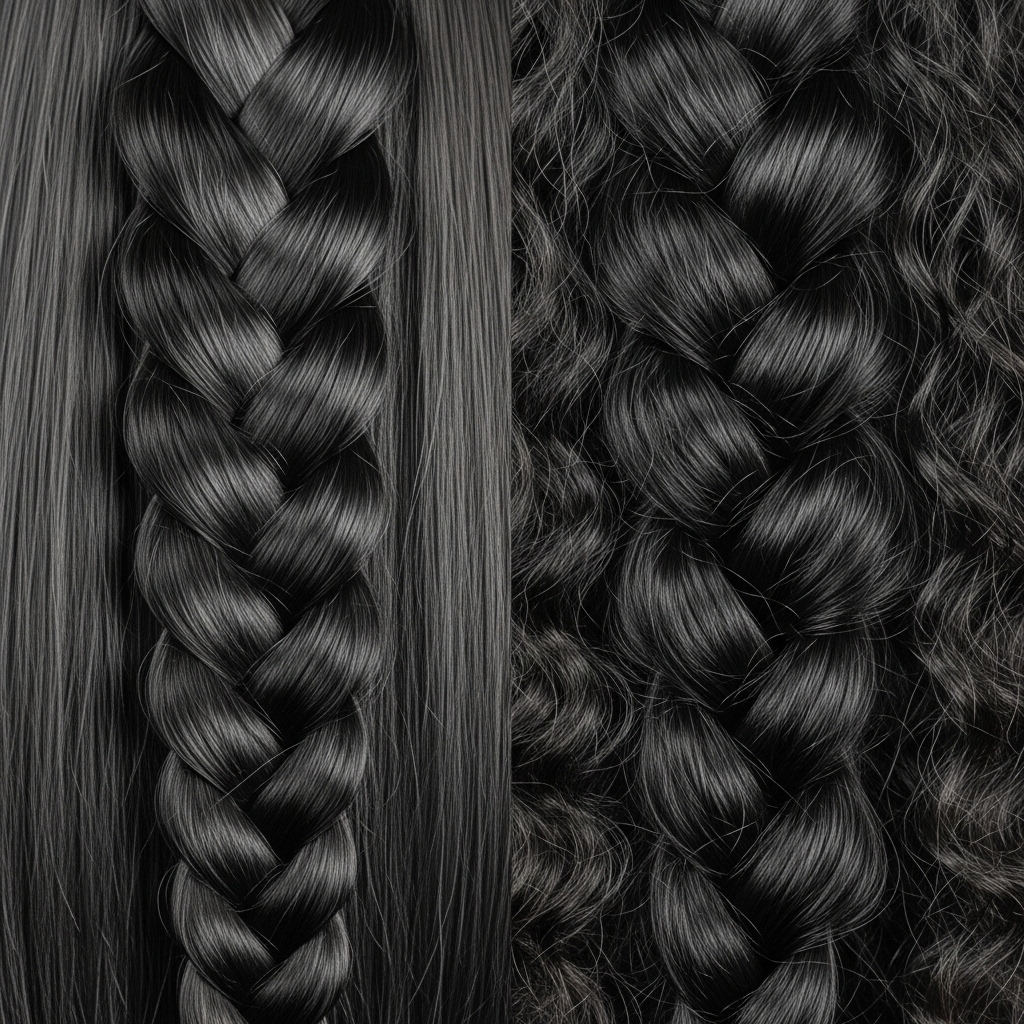
Braiding curly hair isn’t about fighting your natural texture; it’s about working with it to create beautiful, manageable, and long-lasting styles. Curls are a braid’s best friend—they provide natural grip, volume, and a texture that turns even the simplest plait into a work of art. This guide is your new best friend, designed to demystify the process and provide you with a toolkit of curly braid styles that are genuinely achievable, whether you’re a braiding novice or looking to level up your skills.
Why Your Curly Hair is a Braiding Superpower
Before we dive into the styles, let’s shift our mindset. Many people with straight hair envy the natural hold and body that curls bring to braided styles. Your texture is an asset, not a obstacle.
Natural Grip and Hold: Unlike silky-straight hair that can slip and slide, curly strands naturally cling to each other. This means your braids will hold their shape better and last longer with less effort. You might find you need fewer pins and less product to secure your style.
Volume for Days: Even a simple three-strand braid on curly hair has immense body and presence. The texture adds a dimensional, almost “lived-in” look instantly, making your style look full and artistic without extra steps.
Forgiving and Flaw-Hiding: A braid not sitting perfectly flat? A few flyaways? With curly hair, these aren’t mistakes—they’re part of the charm! The texture beautifully camouflages any minor imperfections, making your braids look intentionally effortless.
Prepping Your Curls for the Perfect Braid
The secret to a great curly braid starts long before you section your hair. Proper preparation is the difference between a frizzy, frustrating mess and a smooth, defined masterpiece.
Start with Clean, Conditioned Hair: Begin with hair that is freshly washed and deeply conditioned. Well-moisturized curls are more pliable and less prone to breakage during the braiding process.
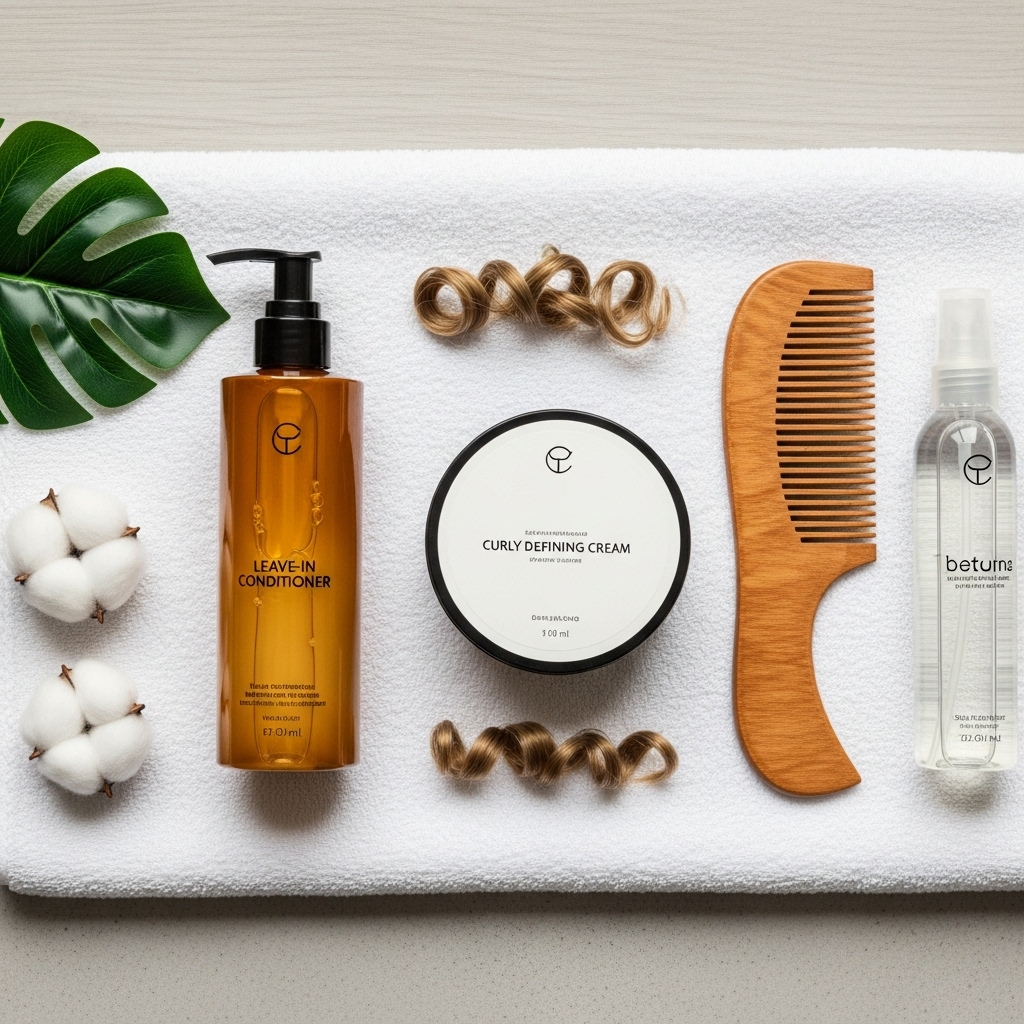
The Magic of Leave-In Conditioner and Styling Cream: After washing, apply a generous amount of a leave-in conditioner to hydrate your strands. Follow up with a defining curl cream or styling cream. This combination adds slip (making it easier to detangle and braid), controls frizz, and helps your curls clump together for a more defined braid pattern.
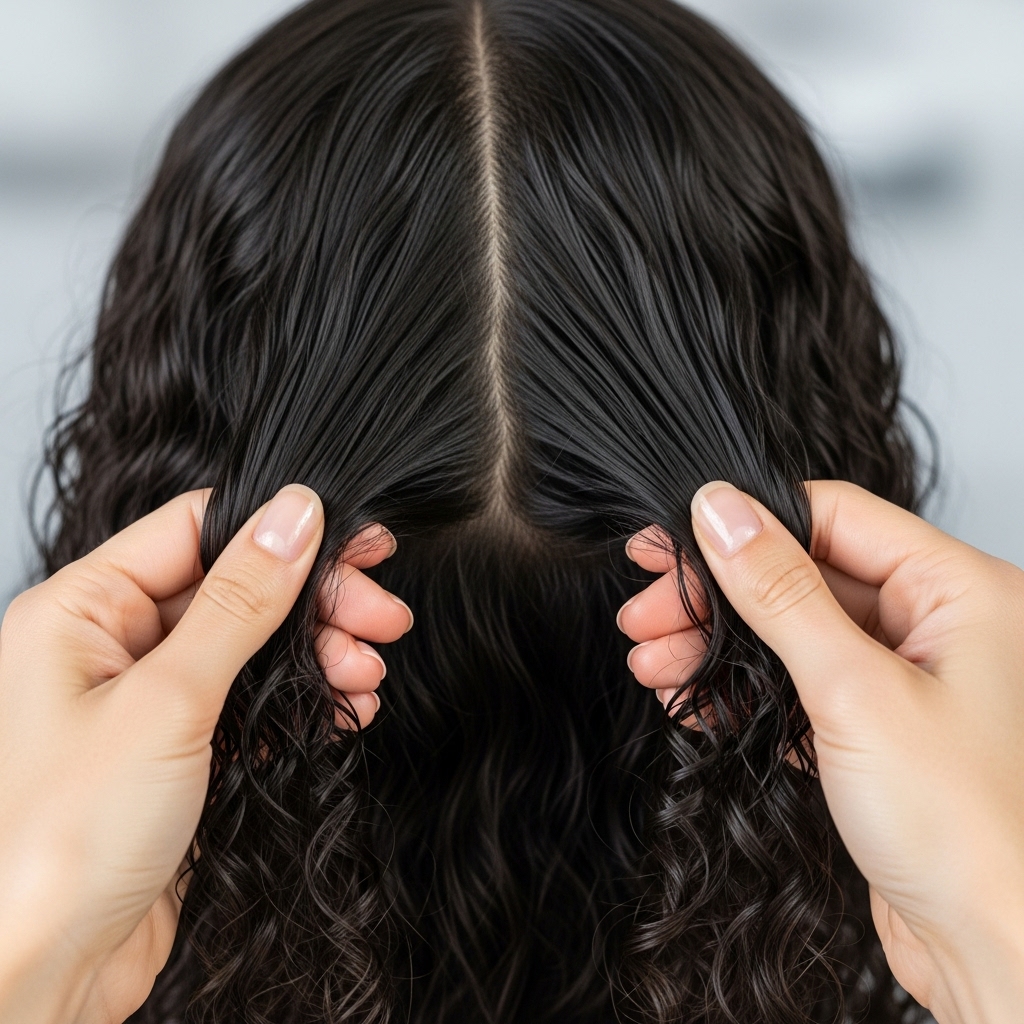
Detangle with Care: Always detangle your hair when it’s damp and saturated with product. Use a wide-tooth comb or your fingers, working from the ends up to the roots gently. A smooth, knot-free canvas is essential for neat sections.
Consider Damp vs. Dry Braiding: You have two great options. Damp braiding can lead to more stretched, uniform braids with less frizz as it dries. Dry braiding on fully defined curls will give you a more textured, voluminous, and “crunchy” look that you can then gently scrunch out. Experiment to see which you prefer!
5 Achievable Curly Braid Styles to Master
Now for the main event. These styles are arranged from simplest to more advanced, but all are within your reach.
1. The Simple Rope Twist
If the thought of a three-strand braid still feels daunting, the rope twist is your perfect starting point. It’s elegant, incredibly easy, and looks fantastic on curly hair.
How to Do It:
- Section a portion of hair from the front of your head, about the size you’d use for a half-up style.
- Split this section into two equal parts.
- Twist the two sections around each other in a clockwise direction. Think of it like you’re twining two pieces of rope together.
- Continue twisting all the way down the length of your hair.
- Secure the end with a small, clear elastic.
For a more polished look, you can gently pull apart the twists to add volume after it’s secured.
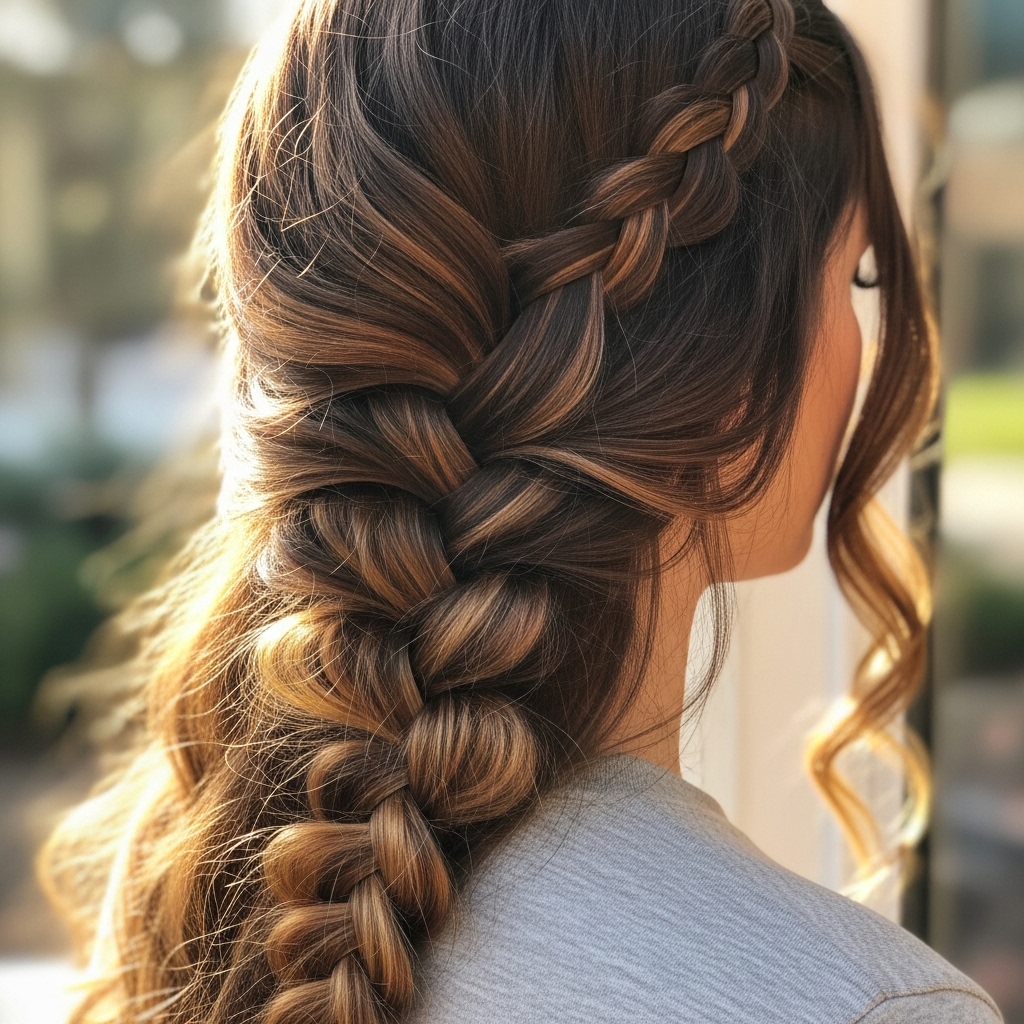
2. The Classic (But Curly) Three-Strand Braid
Don’t underestimate the power of the classic. On curly hair, a simple three-strand braid transforms into something soft, voluminous, and deeply textured.
How to Do It:
- Start with detangled, prepped hair. You can do this on a ponytail or on loose hair.
- Divide a section into three equal parts.
- Cross the right section over the middle section. It now becomes the new middle.
- Cross the left section over the (new) middle section. It now becomes the new middle.
- Repeat this process, right over middle, left over middle, all the way down.
- Secure the end with an elastic.
Pro Tip: Don’t braid too tightly. Keep a gentle tension to maintain the curl pattern and avoid a “scalped” look. Once finished, you can gently tug on the outer loops of the braid to fatten it up and make it even more voluminous.
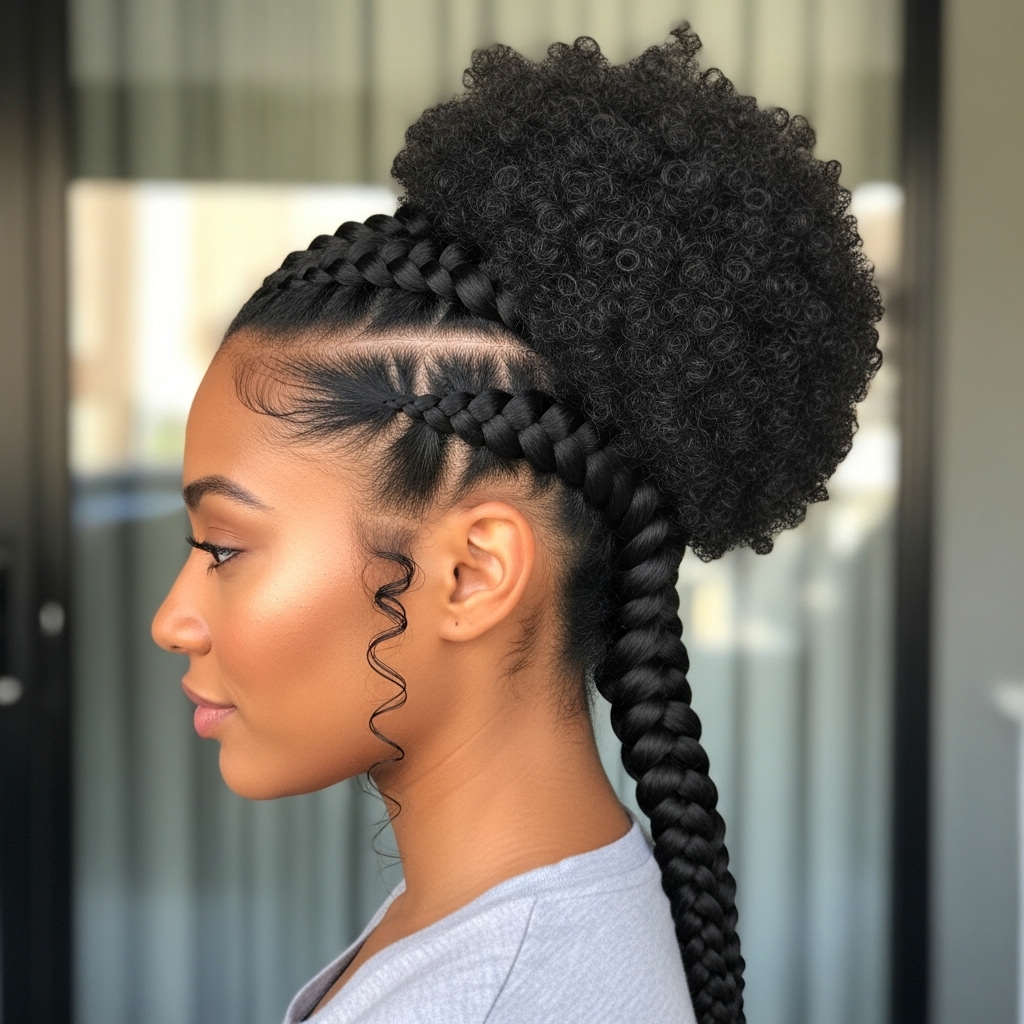
3. The Pineapple Puff Braid
This is a fantastic style for a second or third-day hair refresh that looks intentional and chic. It’s a playful, easy updo that puts your volume on full display.
How to Do It:
- Gather all your hair into a very high ponytail at the very top of your head (the “pineapple” position). Use a coiled hair tie or a satin scrunchie to prevent breakage.
- Loosely braid the ponytail. A simple three-strand or rope twist works perfectly. Secure the end.
- Now, here’s the magic: gently separate and pull apart the sections of the braid in the ponytail itself, fluffing it out to create a soft, cloud-like “puff.”
- You can leave the tail of the braid hanging down, or you can twist it into a bun and pin it at the base of the puff.
This style is wonderfully quick and perfect for keeping hair off your face while showing off your curls.
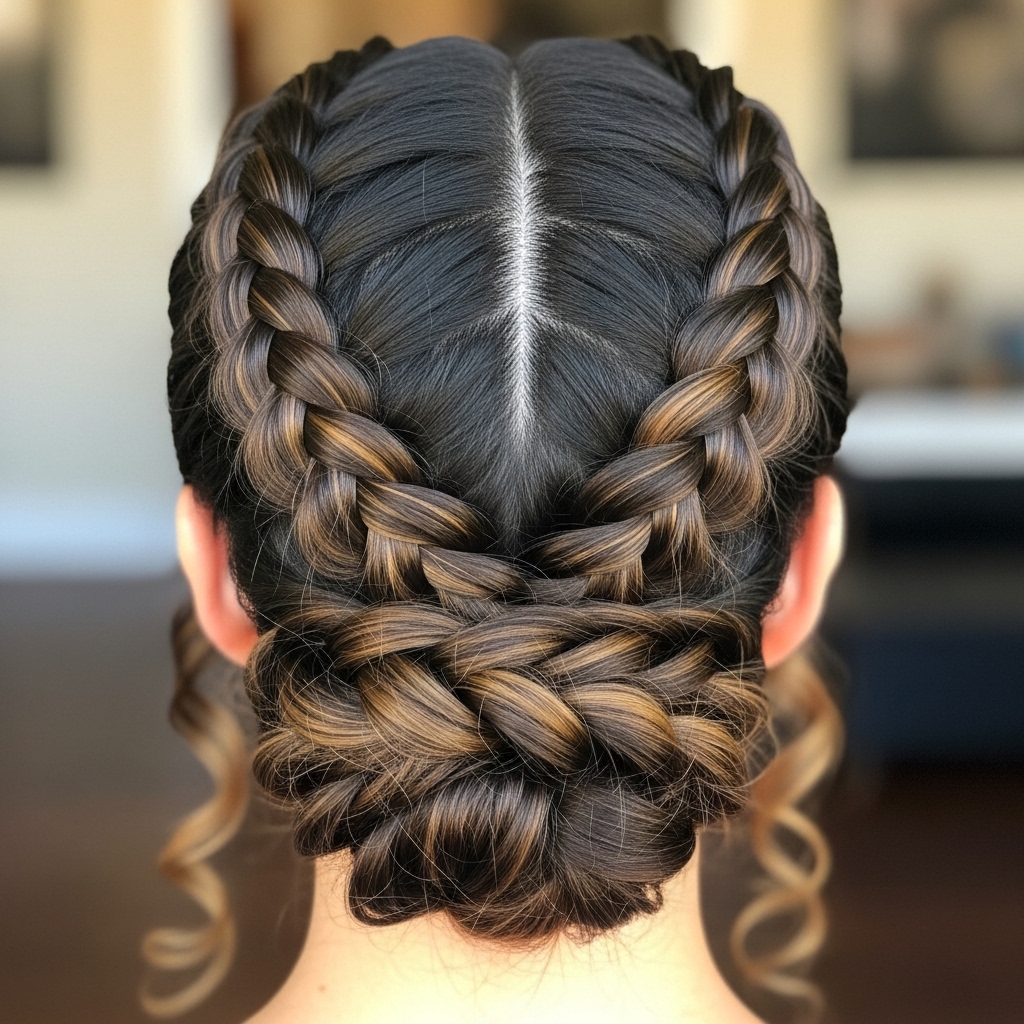
4. The Twist-Back Crown
Feel like a goddess with this elegant style that looks far more complex than it is. It’s perfect for special occasions or when you want to feel a little extra.
How to Do It:
- Part your hair down the middle.
- On one side, take a front section from your hairline and divide it into two.
- Begin a rope twist (as described above), but as you twist, gently add in small sections of hair from the front of your head, similar to a French braid.
- Continue twisting and adding hair until you reach the nape of your neck on that side. Secure temporarily.
- Repeat the process on the other side.
- Once both twists meet at the back, you can join them into a single low ponytail or bun, or cross them over and pin them underneath each other to form a seamless crown.
This style beautifully frames the face and keeps hair neatly contained.
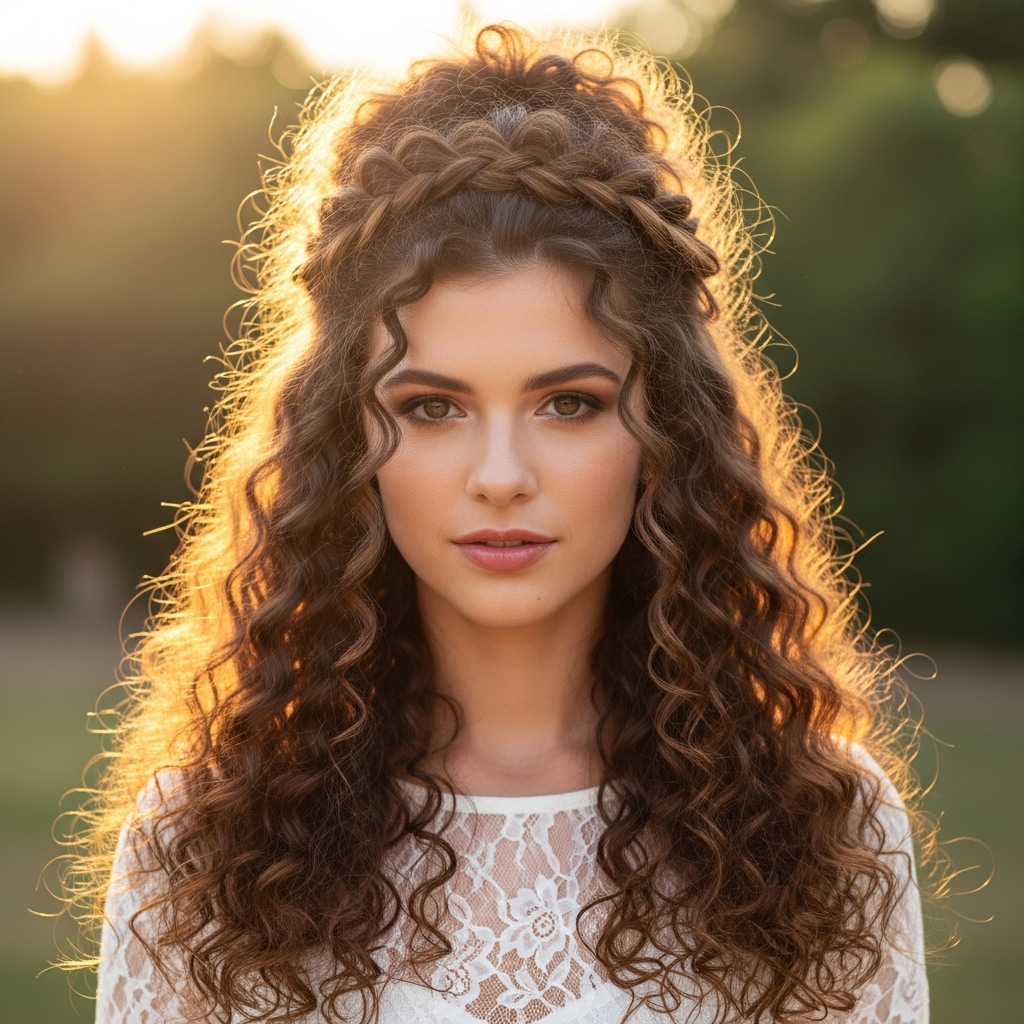
5. The Half-Up Halo Braid
A halo braid can seem intimidating, but the half-up version is a manageable and gorgeous compromise. It gives you the ethereal look without having to braid your entire head of hair.
How to Do It:
- Take a section of hair from the front of your head, from temple to temple, creating a “headband” section.
- Split this section into three parts to start a standard three-strand braid.
- Begin braiding loosely. As you braid, gently angle the braid backwards and upwards, curving it over the top of your head like a crown.
- Once you’ve braided the entire section and reached the other side of your head, secure the end with a small elastic.
- Take the tail of the braid and tuck it under the starting point of the braid, hiding the elastic. Use a bobby pin to secure it discreetly.
- Fluff the braid and pull out a few face-framing curls for a soft, romantic effect.
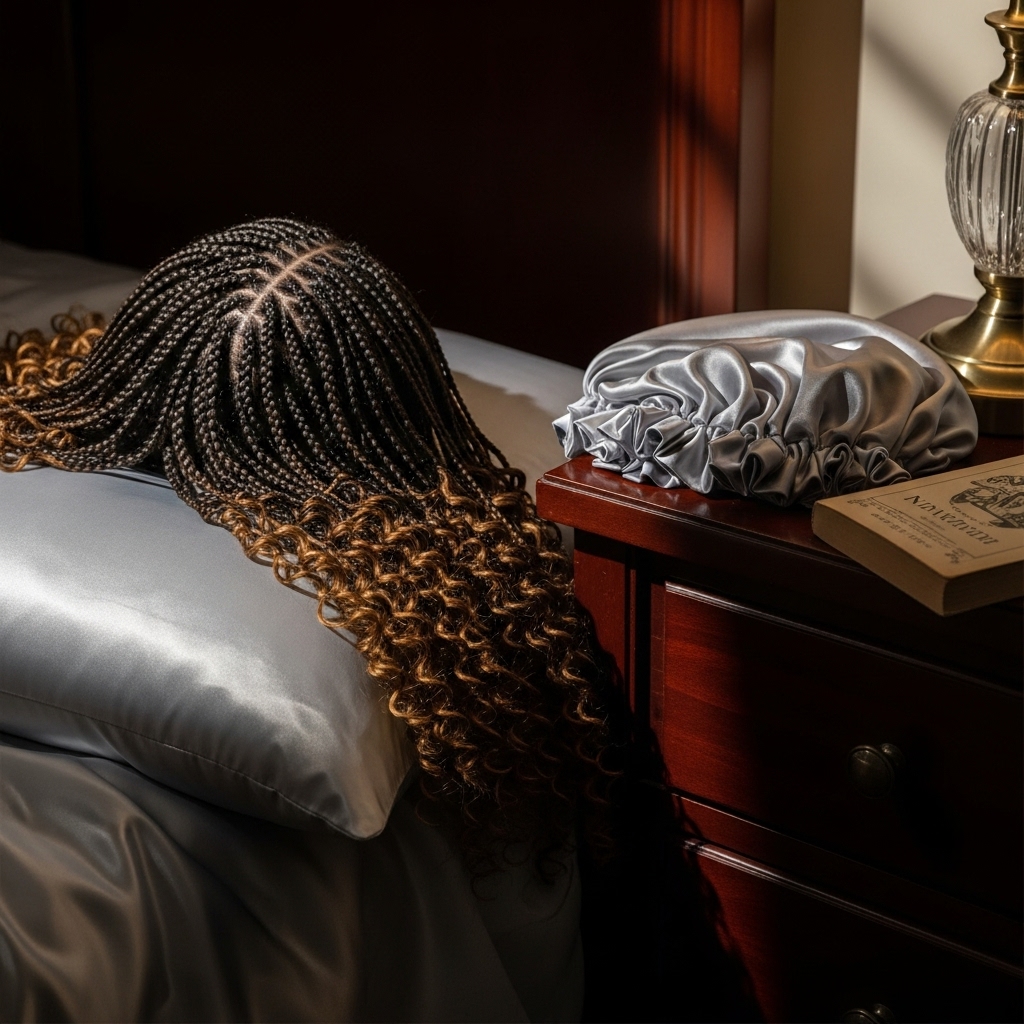
Pro Tips for Maintaining Your Curly Braids
You’ve done the hard work—now make it last!
Satin is Your Savior: Always sleep on a satin or silk pillowcase, or wear a satin bonnet or scarf. This prevents friction that causes frizz and helps maintain your braids’ integrity overnight.
The Refresh Spray: Mix water with a little leave-in conditioner in a spray bottle. In the morning, lightly mist your braids and scrunch gently to reactivate your curls and tame any overnight frizz.
Oil the Scalp (Gently): If you’re wearing your braids for a few days, use a nozzle-tip bottle to apply a light oil (like jojoba or argan) directly to your scalp along the part lines. This keeps your scalp moisturized.
Embrace the Take-Down: When it’s time to remove your braids, do it gently. Use a detangling spray or conditioner and carefully finger-detangle each section to avoid breakage and preserve your curl pattern.
Embrace Your Texture and Experiment!
The most important tool in your curly braiding kit is confidence. Your hair is unique, and your braids don’t need to look like anyone else’s. The beauty of curly braids lies in their texture, their volume, and their slight imperfection.
Start with the rope twist. Master the three-strand braid. Play with the pineapple puff. Each style you try will make your fingers more adept and your confidence grow. So grab your conditioner, your wide-tooth comb, and your sense of adventure. Your next favorite curly braid style is waiting for you to create it.

