
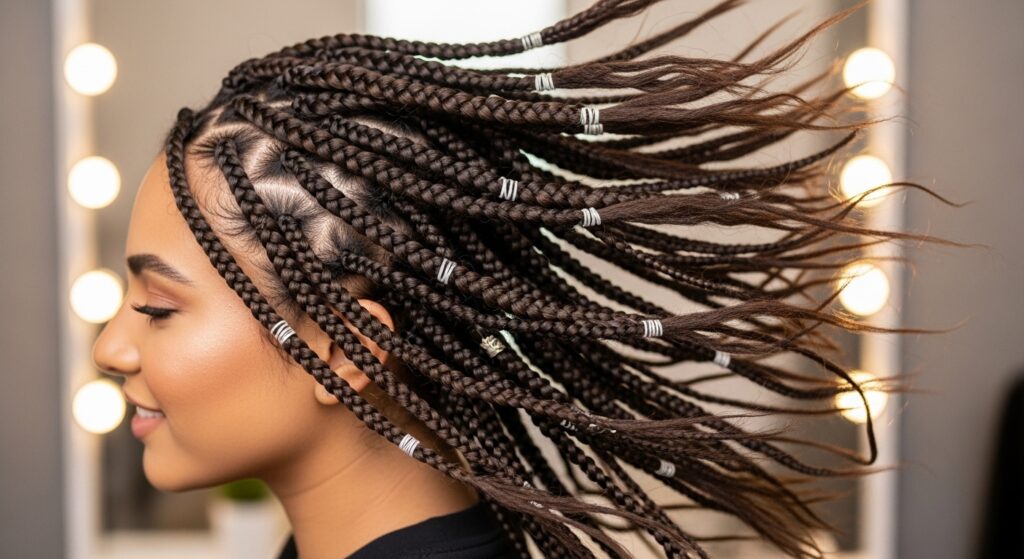
Let’s be real: we all love the look of intricate, stunning braids, but sometimes the process of creating them feels like a part-time job. Between the sectioning, the twisting, the endless tiny elastics, and the hand cramps, it’s easy to feel like your love for textured braids is at war with your desire for a simple, low-maintenance life.
If you’ve ever scrolled through hairstyle tutorials only to close the tab in frustration, this is for you. This list is a celebration of ease, style, and the beautiful texture of your braids. We’ve curated ten incredibly simple hairstyles that require minimal effort, zero professional training, and look effortlessly chic. Get ready to fall in love with your braids all over again, without the complicated routine.
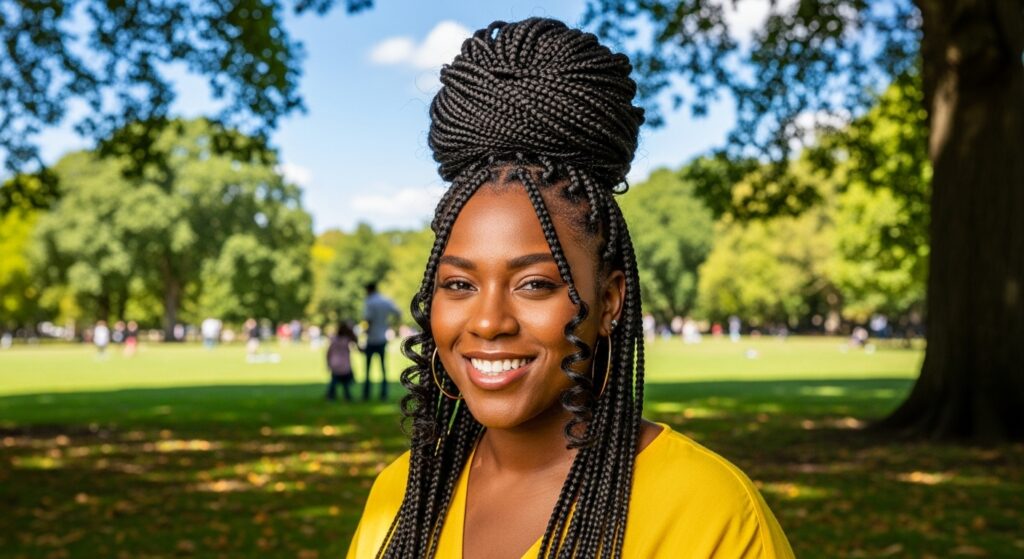
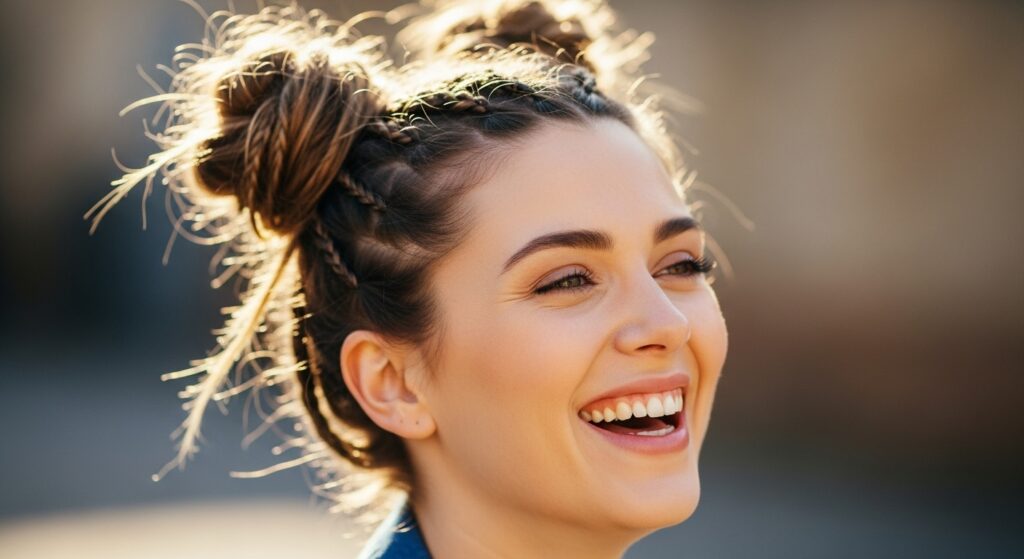
1. The Effortless High Puff
This is the ultimate “I woke up like this” style that packs a powerful style punch. The high puff is a timeless classic for a reason—it’s incredibly simple to achieve and looks fantastic with textured braids like box braids, Senegalese twists, or knotless braids.
How to do it: Simply gather all your braids into a high ponytail at the crown of your head. Use a coiled hair tie or scrunchie for a secure hold that won’t snag. Instead of pulling all the braids completely through the tie on the last loop, leave the ends out to create a full, rounded puff. You can fluff it out with your fingers for more volume. For a sleeker look, use a light-hold edge control or gel to lay down your baby hairs and edges.
Pro Tip: If your braids are on the shorter side, a high puff is still achievable! Use a donut bun form to create a perfect, uniform puff every time.
2. The Half-Up, Half-Down Crown
Why choose between up and down when you can have the best of both worlds? The half-up, half-down style is perfect for showing off the length of your braids while keeping hair out of your face. It adds a touch of regal elegance to any outfit with almost zero effort.
How to do it: Take a section of braids from the top-front of your head, from about temple to temple. Gather this section as if you’re making a half-up ponytail, but instead of securing it with a tie, simply twist the section once or twice and then wrap it around the base to form a small, loose bun or twist. Secure it with a couple of bobby pins tucked underneath. That’s it! You’ve created a beautiful crown-like effect.
Pro Tip: For a bohemian vibe, gently pull apart a few braids in the front to frame your face with tendrils before creating the half-up section.
3. The Simple Side-Swept Style
Sometimes, the simplest move is the most dramatic. Sweeping all your braids to one side is an instant glamour upgrade. It changes your silhouette, highlights your neck and shoulders, and is as easy as, well, moving your hair.
How to do it: Literally, just gather all your braids and drape them over one shoulder. You can leave it at that for a casual look. For a more polished appearance, you can loosely gather the braids at the nape of your neck on the opposite side and secure them with a clear elastic or a stylish scarf before letting them fall over your shoulder.
Pro Tip: To prevent this style from feeling heavy or pulling, switch shoulders throughout the day. It’s a great way to add automatic variety.
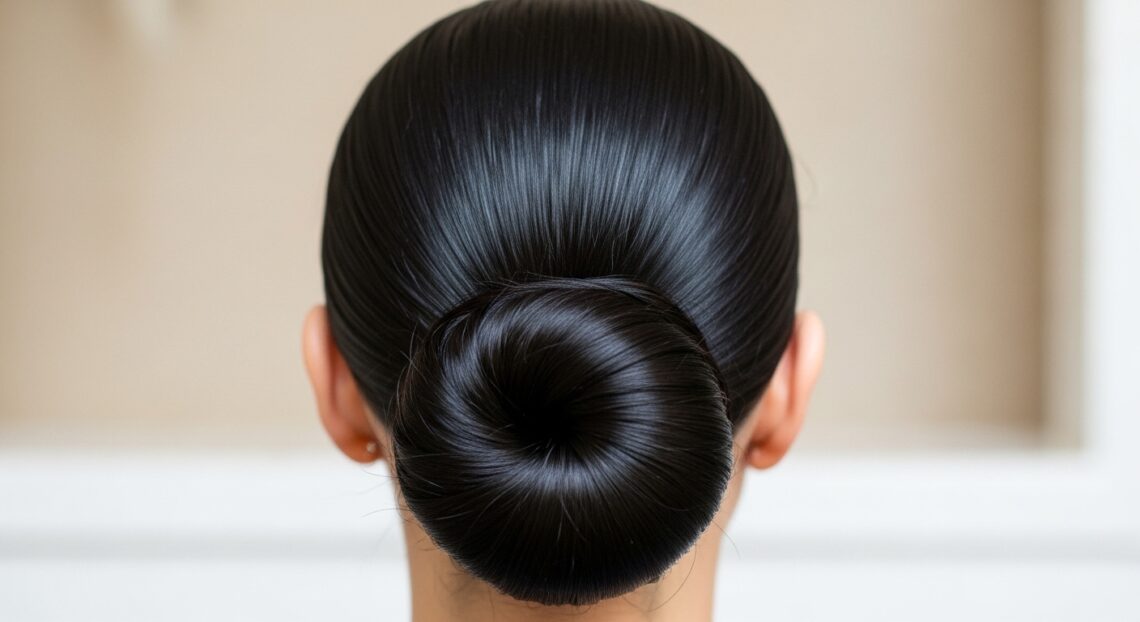
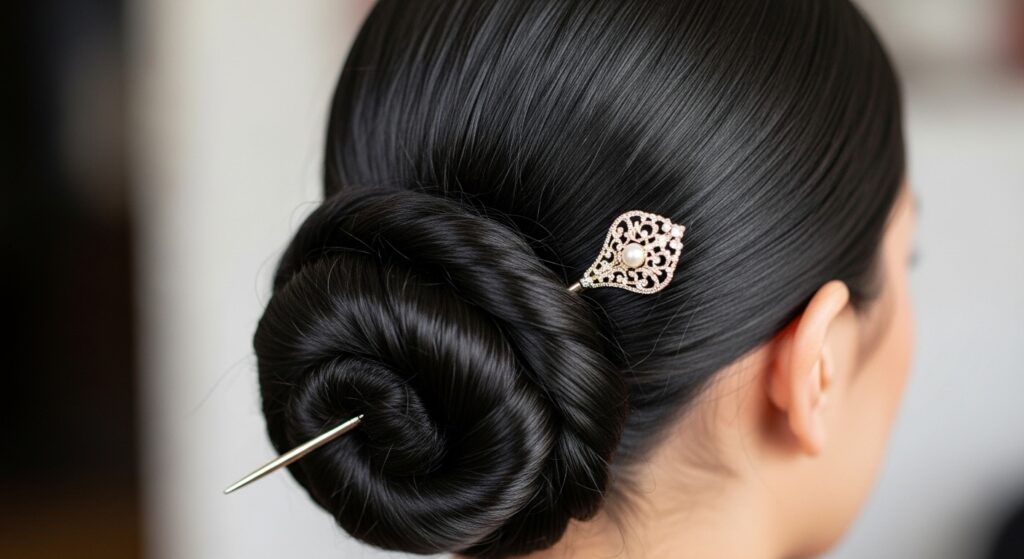
4. The Quick & Chic Low Bun
When you need a style that’s both elegant and takes less than 60 seconds, the low bun is your best friend. It’s perfect for the office, a formal event, or just a day when you want your hair completely out of the way.
How to do it: Gather your braids at the nape of your neck as if making a low ponytail. Twist the entire ponytail until it begins to coil around itself. Wrap this coil around the base of the ponytail to form a bun. Secure it with another hair tie or, for a more seamless look, use a hair pin or several bobby pins to anchor the ends underneath the bun.
Pro Tip: Don’t worry about making it perfect. A slightly loose and textured low bun often looks more modern and effortless than a slick, tight one.
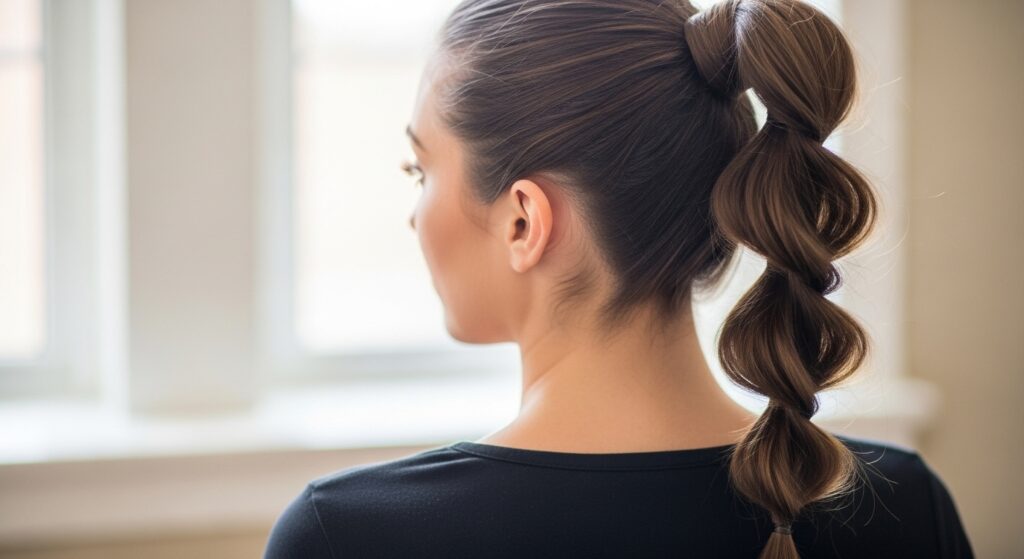
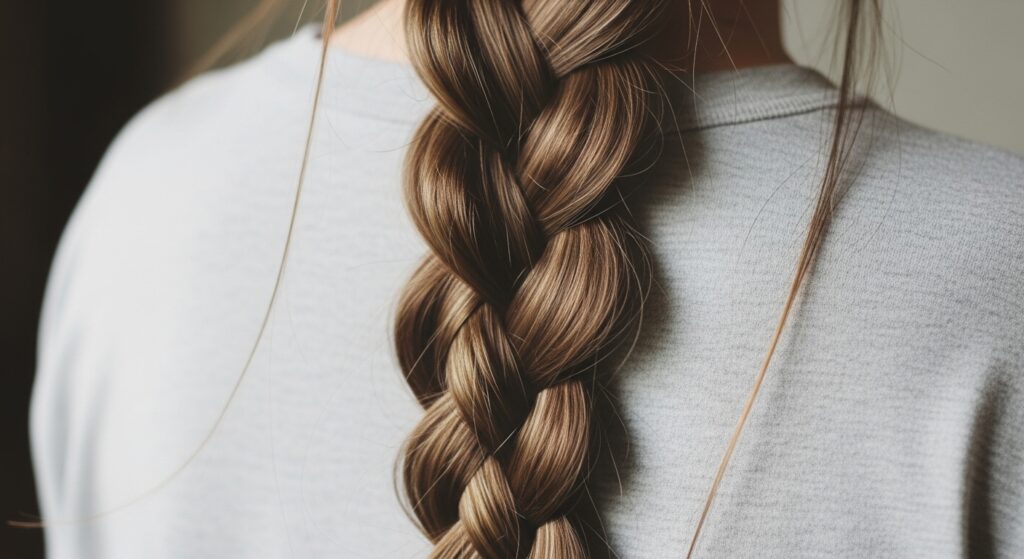
5. The Two-Strand Twist Ponytail
This style sounds fancy but is deceptively simple. By incorporating a two-strand twist, you add a beautiful textural element to a basic ponytail, making it look like you put in much more effort than you actually did.
How to do it: Create a ponytail in your desired position (high, low, or mid-height). Split the ponytail into two equal sections. Now, simply twist these two sections around each other, just like the first step of tying your shoes. Continue twisting all the way down the length of the ponytail. Secure the end with a small elastic.
Pro Tip: For extra hold and flair, you can gently pull the twist apart after it’s secured to make it look fuller and more defined.
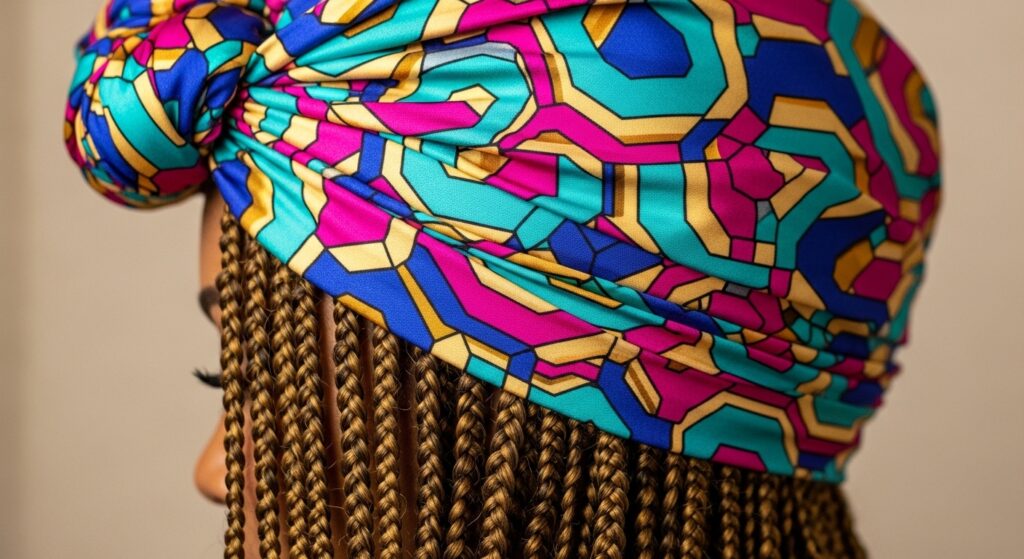
6. The Headscarf Accent
Never underestimate the power of an accessory. A simple headscarf or wrap can transform your basic down-or-up style into a statement look. It’s the ultimate shortcut to looking put-together.
How to do it: Fold a square scarf into a triangle and then into a long strip. Place the center of the strip at the nape of your neck, bring the two ends up to the top of your head, and tie them into a simple knot or a bow. You can wear all your braids out, or tuck them into the scarf at the back for a pseudo-updo. Alternatively, you can use the scarf as a headband, tying it at the base of your neck.
Pro Tip: Silk or satin scarves are not only stylish but also help to reduce friction and maintain moisture in your braids while you sleep or style.
7. The “Bunched” Braids Look
This is less of a “style” and more of a clever trick to change the feel of your braids without any styling tools. “Bunching” creates volume and a beautiful, cascading effect that breaks up the uniform look of long braids.
How to do it: With your braids down, take two or three adjacent braids from the front. Gather them together about halfway down their length and secure them with a small, clear elastic. Repeat this process every few braids around your head, working your way back. You’re essentially creating small, random ponytails within the body of your hair.
Pro Tip: Vary the height at which you place the elastics for a more dynamic, organic look. This is a fantastic way to add visual interest for a festival or a fun day out.
8. The Messy Space Buns
Playful, youthful, and incredibly easy, space buns are a fun way to wear your hair up. The key here is “messy”—perfection is not the goal, so you can’t get it wrong!
How to do it: Part your hair down the middle. Gather all the braids on one side and form a high ponytail. Twist the ponytail into a bun and secure it with hair ties or pins. Repeat on the other side. Once both buns are secure, gently pull at them with your fingers to loosen and fluff them, creating a fuller, “messier” appearance.
Pro Tip: For a quirky twist, make one bun high and one bun low, or make them slightly off-center. Asymmetry adds to the cool, effortless vibe.
9. The Single Rope Braid
If you can make a ponytail, you can make a rope braid. This style looks intricate but is one of the simplest braiding techniques to master. It keeps all your braids neatly contained in a beautiful, textured rope.
How to do it: Gather all your hair into a low, side, or high ponytail and secure it. Split the ponytail into two equal sections. Now, twist each section *individually* in the same direction (e.g., both clockwise). Then, twist these two pre-twisted sections *around each other* in the *opposite* direction (e.g., counter-clockwise). The pre-twisting is what locks the braid in place. Secure the end with an elastic.
Pro Tip: The tighter you pre-twist the individual sections, the more defined and secure your rope braid will be.
10. The Tucked-Under “Phantom” Bun
This style is our secret weapon. It gives the illusion of a chic, short bob or a neat updo without any pins or ties. It’s magically simple.
How to do it: Gather your braids at the nape of your neck as if for a low ponytail. Instead of tying them, flip the ends of the braids upward and tuck them under themselves, through the space between your head and the gathered hair. Pull the ends through to create a seamless bun that looks like it’s tucked into itself. You can adjust the tightness and position until it feels secure.
Pro Tip: This works best on braids that are at least shoulder-length. If it feels loose, a single, well-hidden bobby pin at the base will lock it in place for the whole day.

Embrace the Ease, Love Your Braids
Having textured braids should be a joy, not a chore. These ten easy hairstyles prove that you don’t need to spend hours in front of a mirror to look and feel amazing. The goal is to work with your beautiful braids, not against them, using simple techniques and a little creativity.
So the next time you’re short on time, patience, or energy, come back to this list. Pick a style, give it a try, and remember that the best hairstyle is one that makes you feel confident and comfortable. Now go forth and rock your braids with effortless style!

