
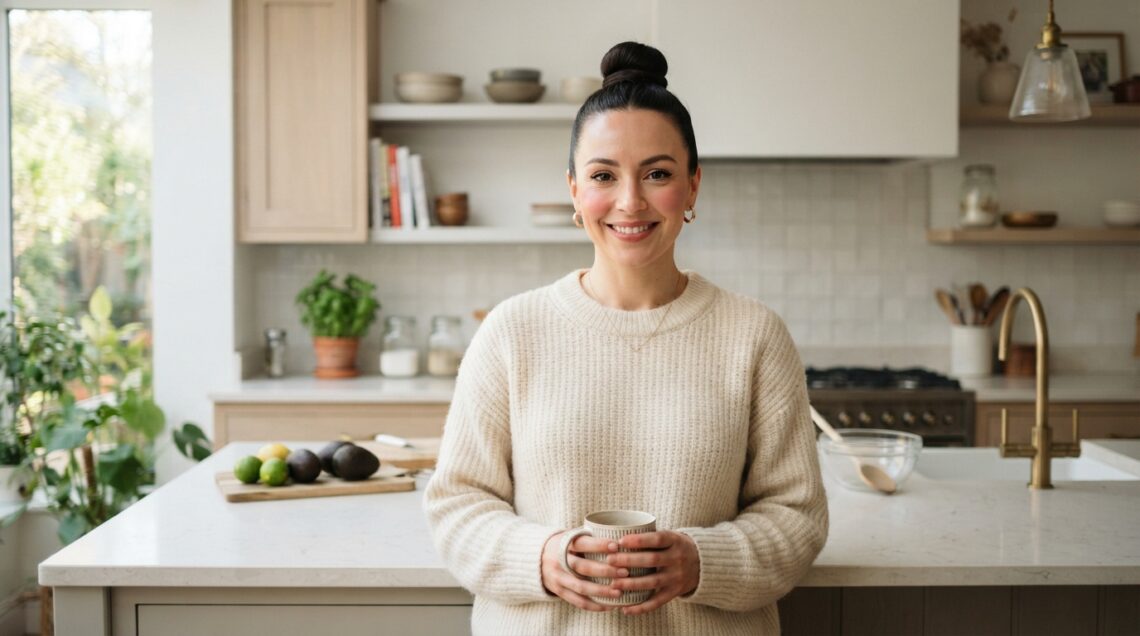
Starting with the Introduction right away.
We all know that feeling: you watch a tutorial, attempt the perfect top knot, and end up with something that looks more like a sleepy bun. But what if I told you the secret to that effortless, salon-style look is actually simpler than you think? It’s not about having a fancy stylist on speed dial, it’s about technique.
I’m going to walk you through my exact routine for getting a chic, polished top knot right in your own bathroom. We are talking about the kind of style that looks like you spent an hour on it, but actually takes less time than brewing your morning coffee.
Get ready to elevate your everyday look with some seriously easy tricks. Whether you have fine hair, thick curls, or a sleek **quiet luxury bob** you want to protect, this guide is your golden ticket.
Let’s dive in and master this styling hero together.
Why the Top Knot is Your Secret Weapon
The top knot is more than just a bad-hair-day savior. It is a statement. It says you are put together, even when your schedule is chaotic. It works for the gym, for zoom meetings, and for brunch with your friends.
It’s also the ultimate accessory for showing off your facial features. Pulling your hair up instantly highlights your cheekbones and jawline. It streamlines your whole silhouette and makes any outfit look instantly more intentional.
Plus, it protects your ends. Giving your hair a break from constant down-styling helps prevent breakage. This makes it a go-to for anyone exploring **2026 hairstyles** that focus on health and length retention.
The Proper Prep: Start with the Right Texture
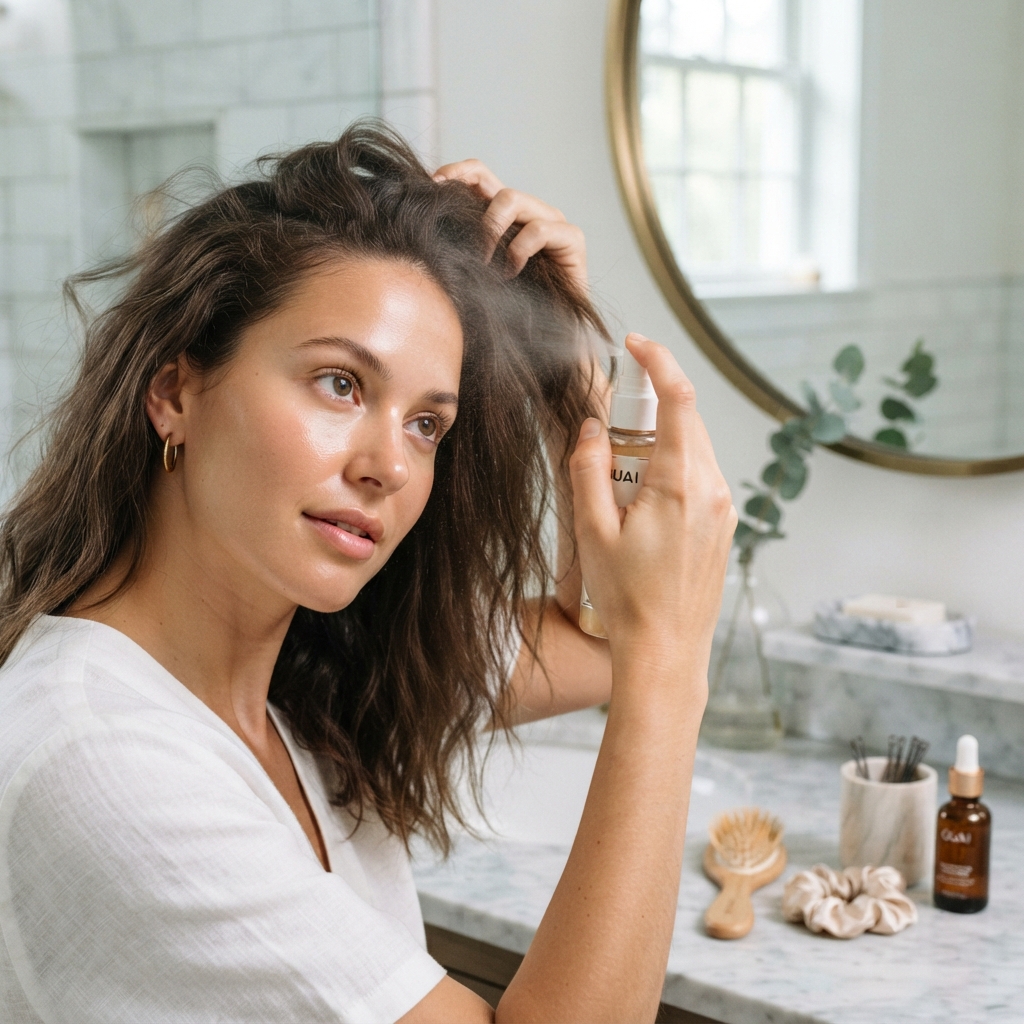
The biggest mistake I see is trying to style hair that is either soaking wet or has too much slip. You need a little bit of “grip” to make the knot stay in place but still look sleek.
If your hair is freshly washed, add a small amount of dry shampoo or texture spray at the roots. This isn’t just for oil—it creates friction. Friction is what keeps your hair from sliding out of the knot within ten minutes.
For my curly girls, a little bit of styling cream helps to tame flyaways while keeping the shape soft. Remember, you want the base to be smooth but not flat. The texture is the foundation for a long-lasting hold.
Gather Your Tools: What You Actually Need
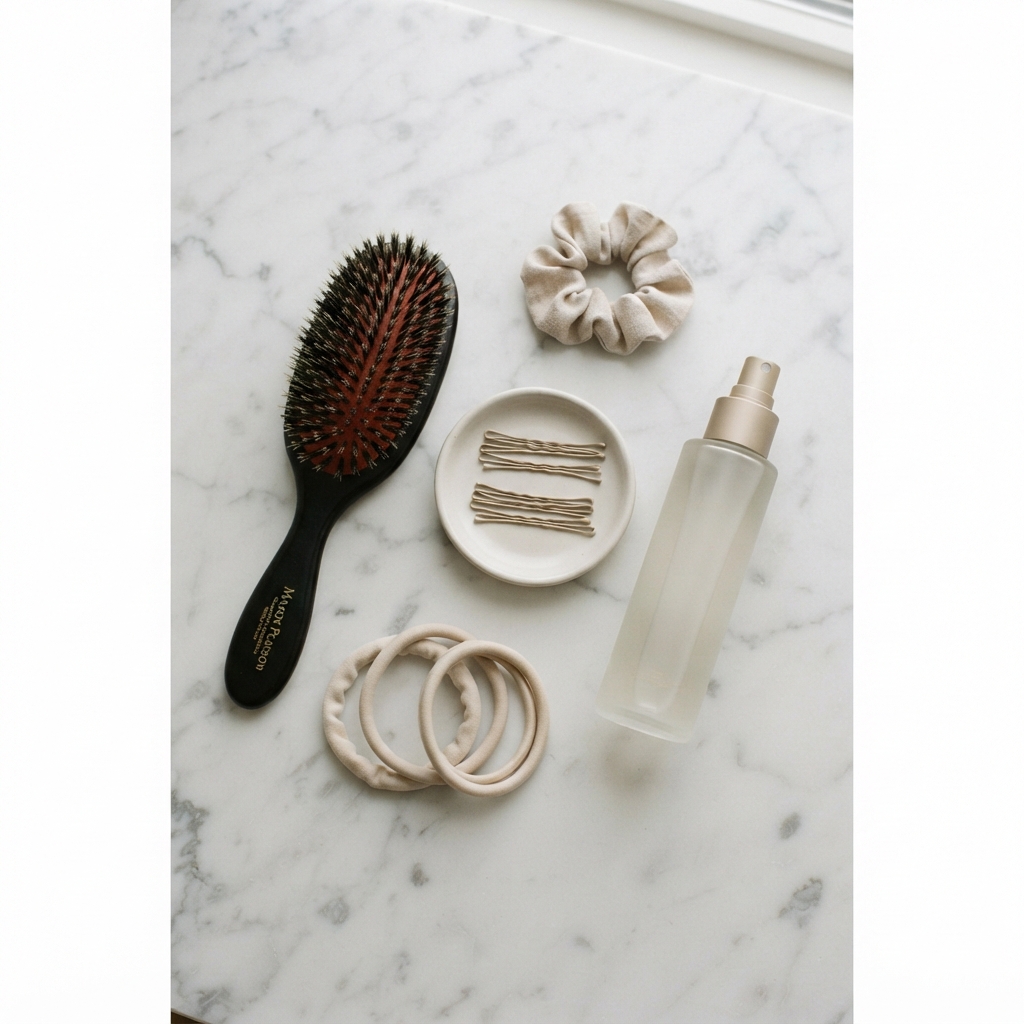
You don’t need a drawer full of professional gear to get this look. In fact, simplifying your tools makes the process faster and less stressful. I always keep my kit minimal and efficient.
Here is my non-negotiable list for the perfect knot:
– **A soft boar-bristle brush** to smooth the hair down without pulling.
– **Snag-free elastic ties** (the fabric-covered ones are key).
– **A handful of bobby pins** that match your hair color.
– **A light-hold hairspray** for finishing, not for the initial styling.
That’s honestly it. No heat tools required. This is a protective style that relies on finger dexterity rather than equipment.
The High vs. Low Knot Decision
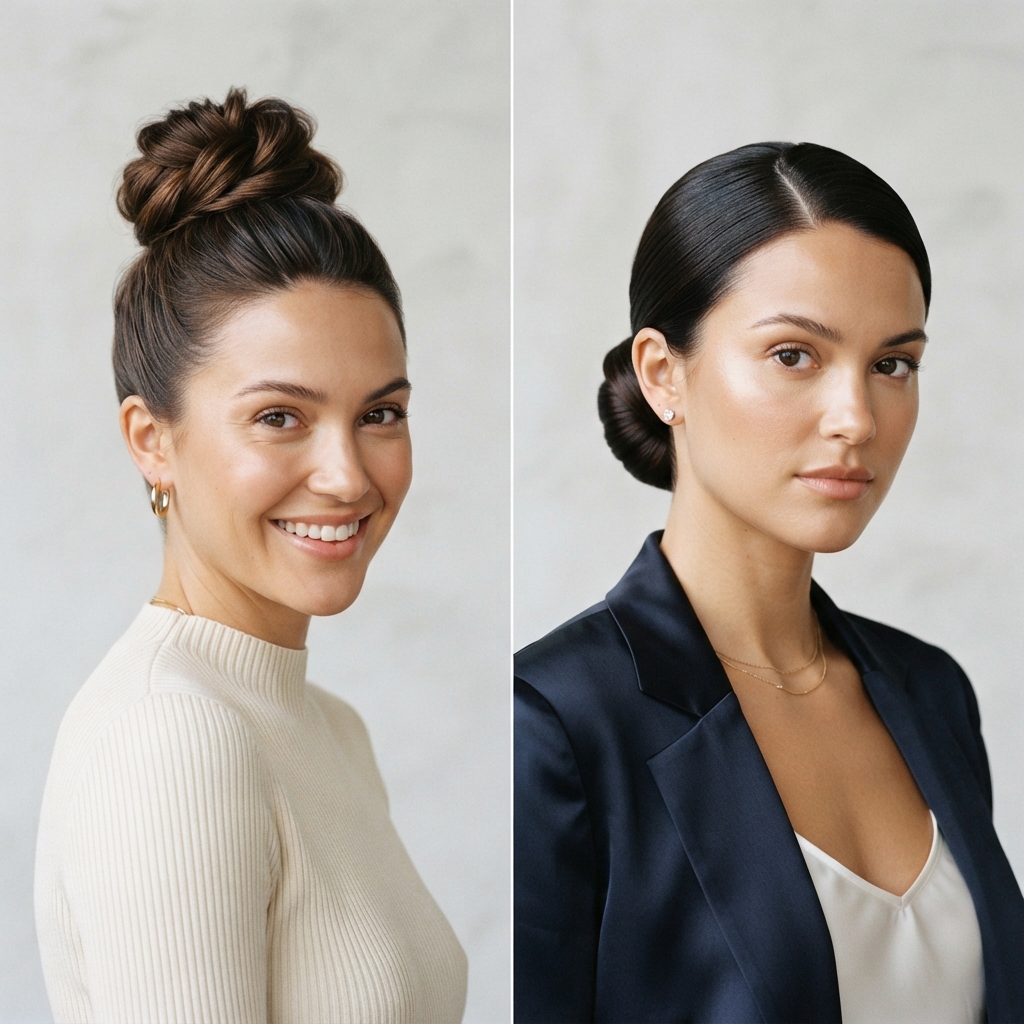
Before you even touch your hair, decide where you want the knot to sit. High knots are playful and mirror that ballet-core aesthetic. They lift the face and are perfect for an energetic boost.
Low knots are the epitome of **old money hair**. They sit at the nape of the neck and scream quiet elegance. This is a great way to keep hair off your neck without looking like you are trying too hard.
A mid-height knot is the “safe zone” that works for almost every face shape. Take a second to look in the mirror and see which placement flatters your features most. There is no wrong answer, just the right vibe for the day.
Step 1: The Perfect Ponytail Base
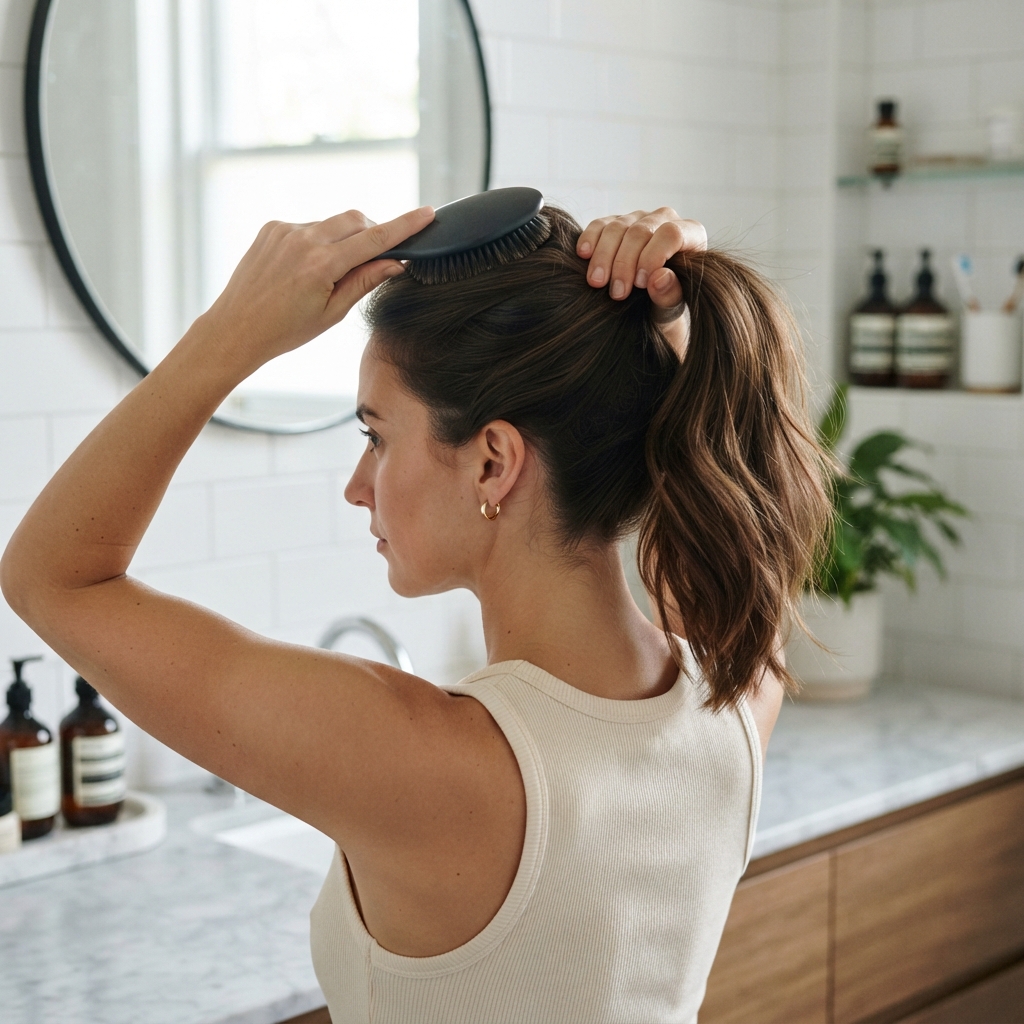
Everything starts with the ponytail. If this is wonky, your top knot will be too. Start by tilting your head forward to get all the hair gathered at the crown, or tilt back for a lower knot.
Smooth the hair with your brush, but don’t be a perfectionist about it. Leaving a little bit of natural volume at the roots looks more modern and less harsh than pulling it drum-tight. This helps avoid that “plastic” look.
Secure it with your elastic tightly enough that it doesn’t sag. If the ponytail moves, the knot will move. This is your anchor, so make sure it feels sturdy.
Step 2: The Twirl and Wrap Technique
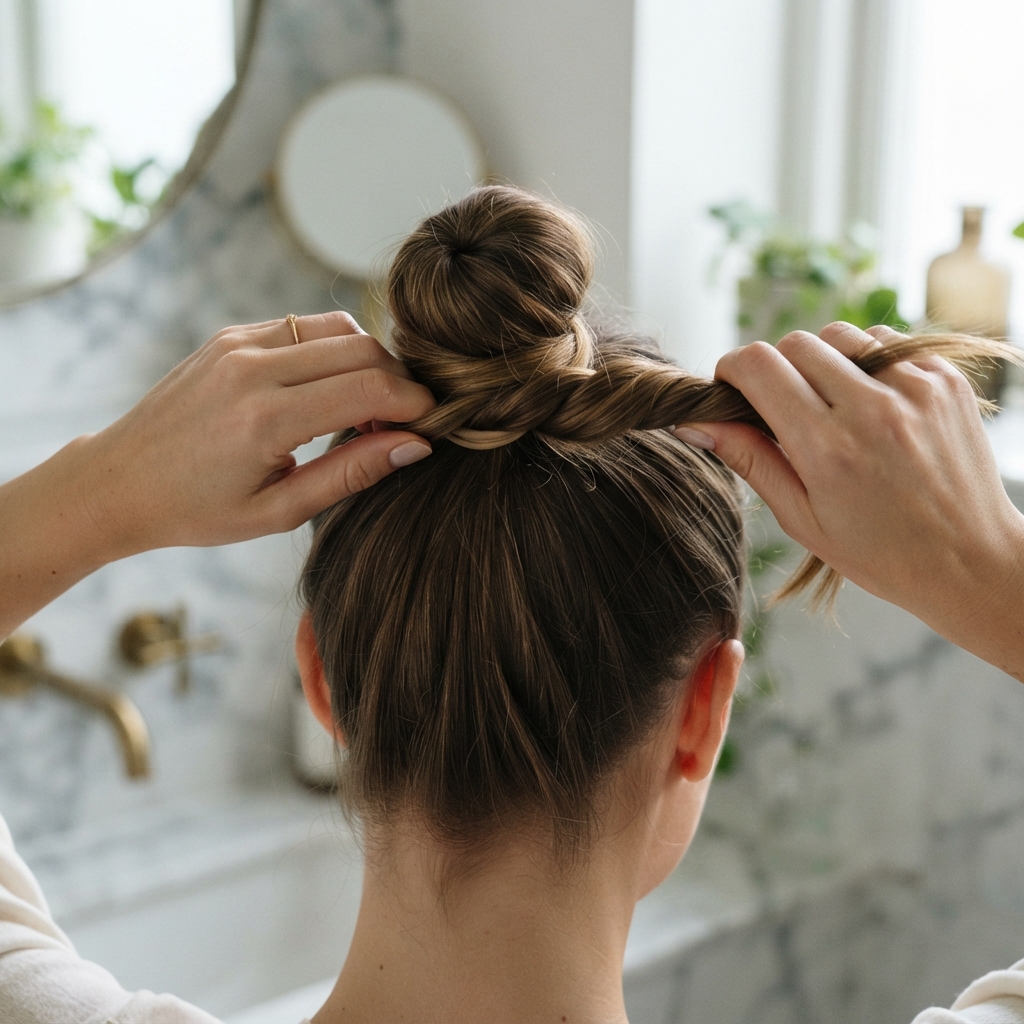
Now for the fun part. Take your ponytail and start twisting it from root to tip. You want to create a tight, uniform rope. This will keep the hair contained and prevent stragglers from escaping.
Once twisted, start wrapping that rope around the elastic at the base of your ponytail. Don’t wrap it too tightly against the scalp—let it sit slightly loose on top. This gives the “bun” its volume.
Tuck the ends of the hair under the bun. Make sure you are holding the coil with one hand while you tuck with the other to prevent it from unraveling. It takes a little coordination but gets easier every time.
Step 3: Pinning Like a Pro
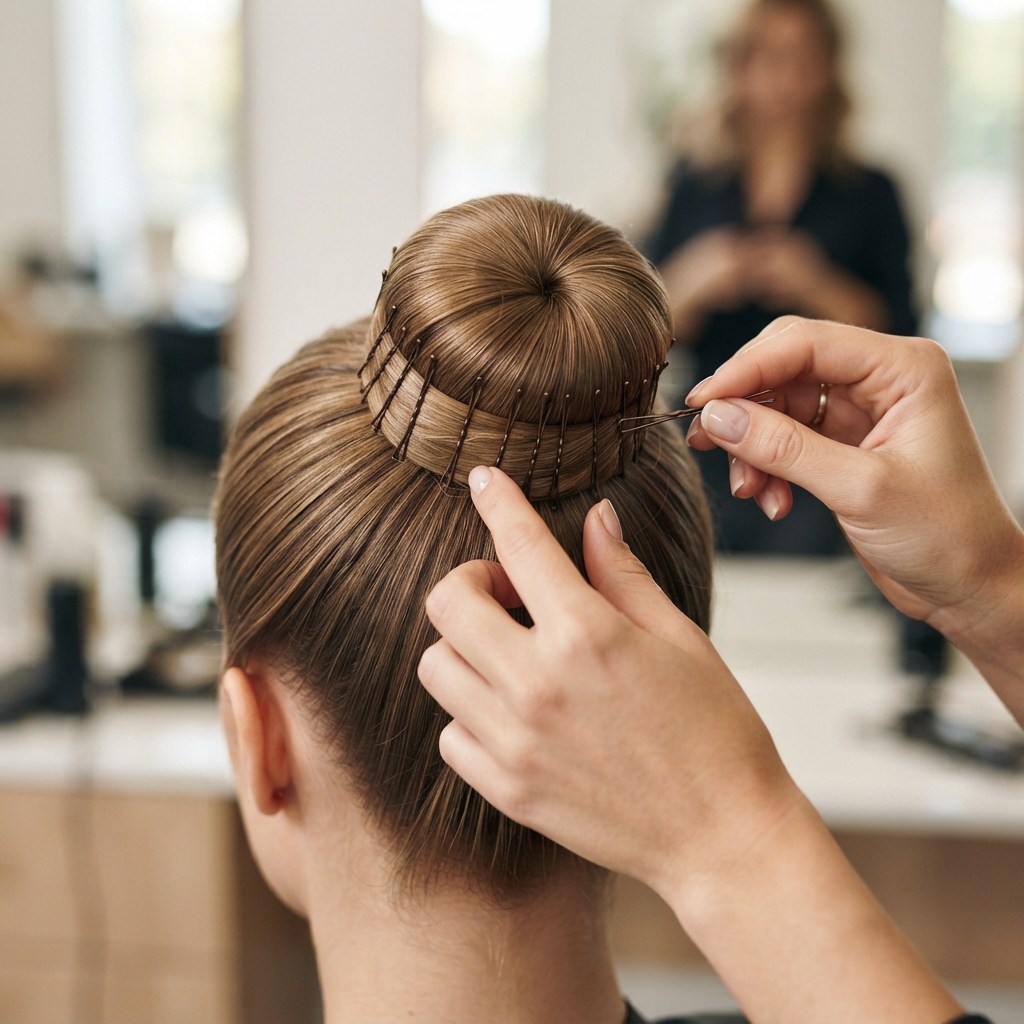
This is where the “salon” quality really shows. You don’t just stab pins in randomly. You slide them in at an angle against the elastic to lock the hair in place securely.
Take a pin and push it into the bun, catching the elastic underneath. Professional stylists call this “threading” the pin. It grabs the tension point, so the knot stays put all day.
Use at least three or four pins. Place them at the top, bottom, and sides of the bun. If you have heavy hair, use larger pins or even small clips to distribute the weight.
Creating the Sleek “Invisible” Look
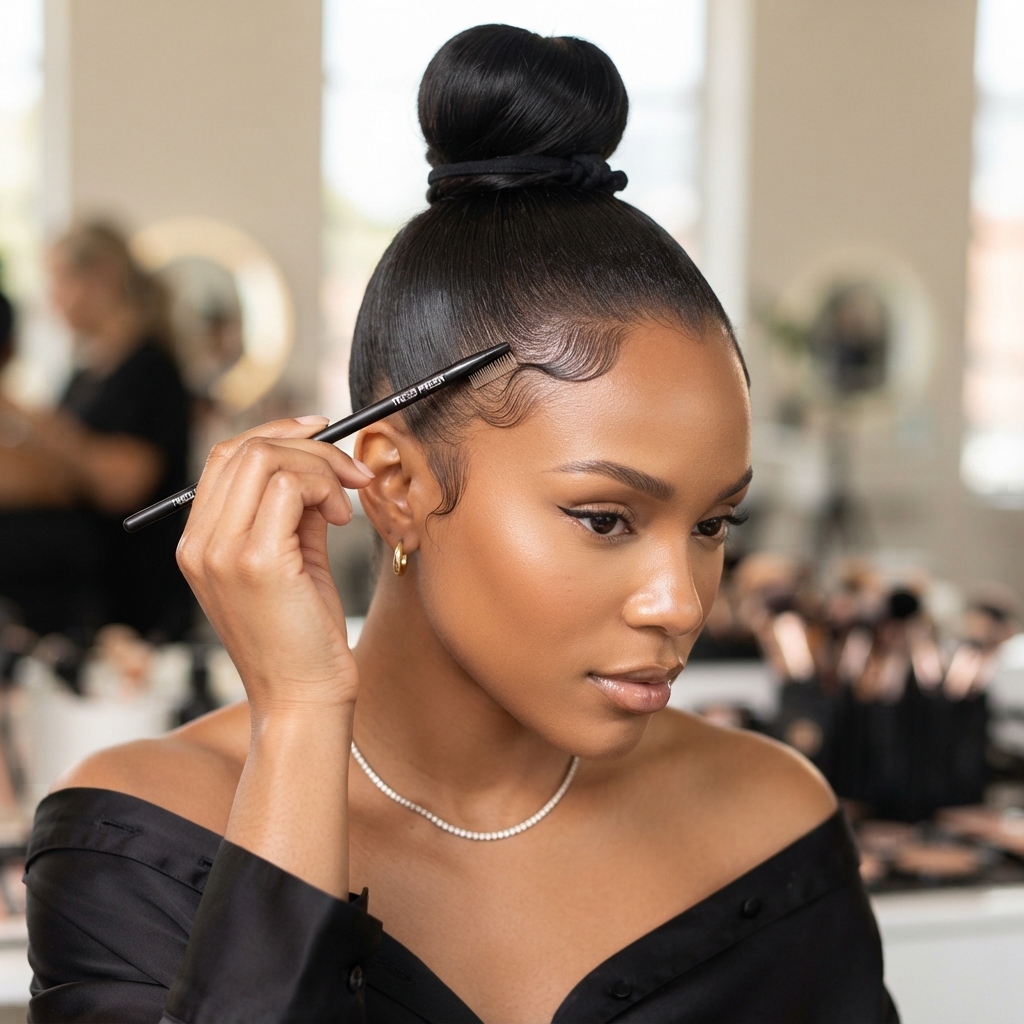
If you are going for the **glitchy glam hair** vibe or just a clean aesthetic, you want zero bumps. Use a soft-bristle toothbrush or an edge brush to lay down the baby hairs.
Apply a tiny dab of gel or pomade to the brush. Brush back the hair around your hairline with gentle tension. This creates that “invisible” slick look that celebrities love on the red carpet.
The key is to do this *after* the bun is secure. If you do it before, the hair will slip out. Finish by blasting the area with cold air or a fixing spray to set the smoothness.
The Messy Chic Variation (Easy Version)
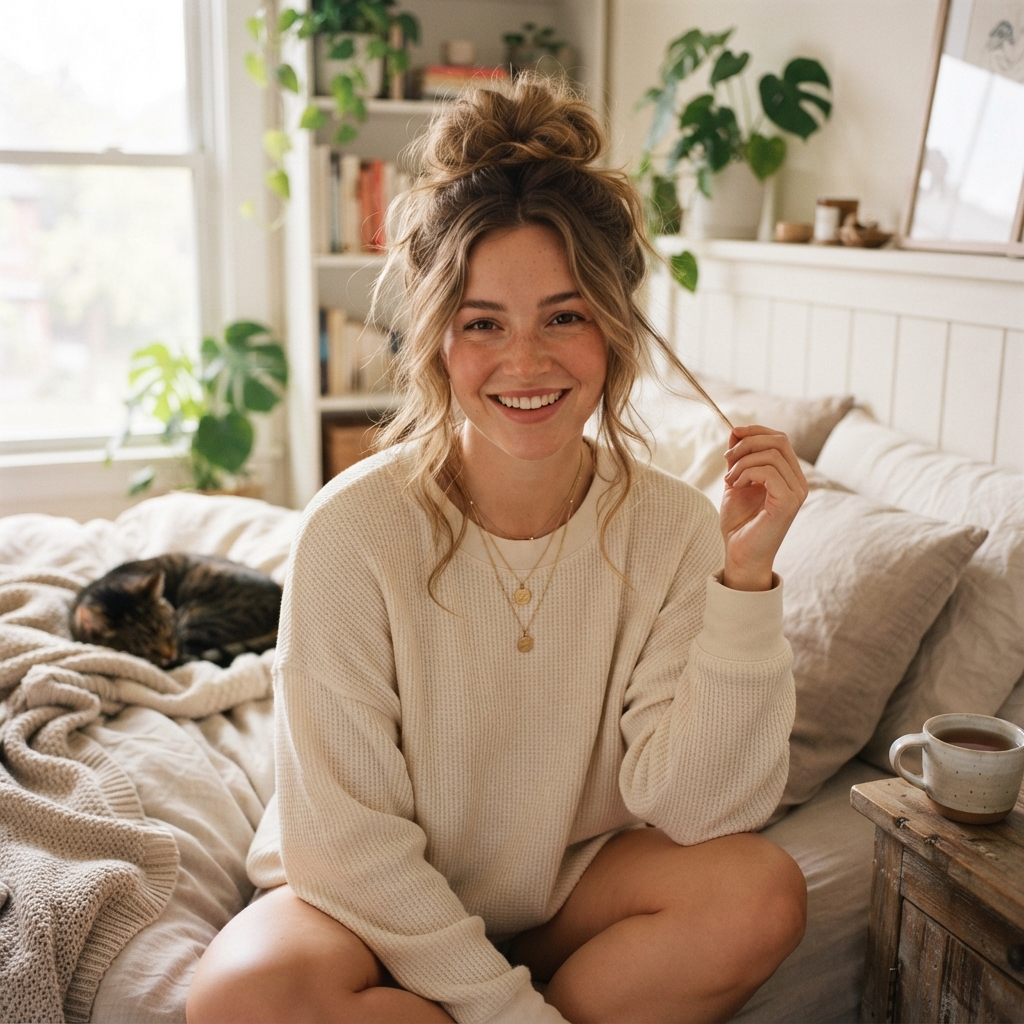
Not every day calls for sleek. Sometimes we want that effortless, “I woke up like this” vibe. To get the messy knot, skip the brush entirely and use your fingers to gather the hair.
Pull the ponytail through the elastic, but on the last loop, don’t pull the hair all the way through. Leave a loop of hair hanging out. Tug on the sides of the knot to loosen it and pull out a few strands.
This is perfect for the **romantic goth hairstyles** trend or just for a casual Sunday. It’s forgiving and looks better when it’s imperfect. Just make sure the base is secure, or you might drop loops throughout the day.
Finishing Touches: Break the “Stiff” Look
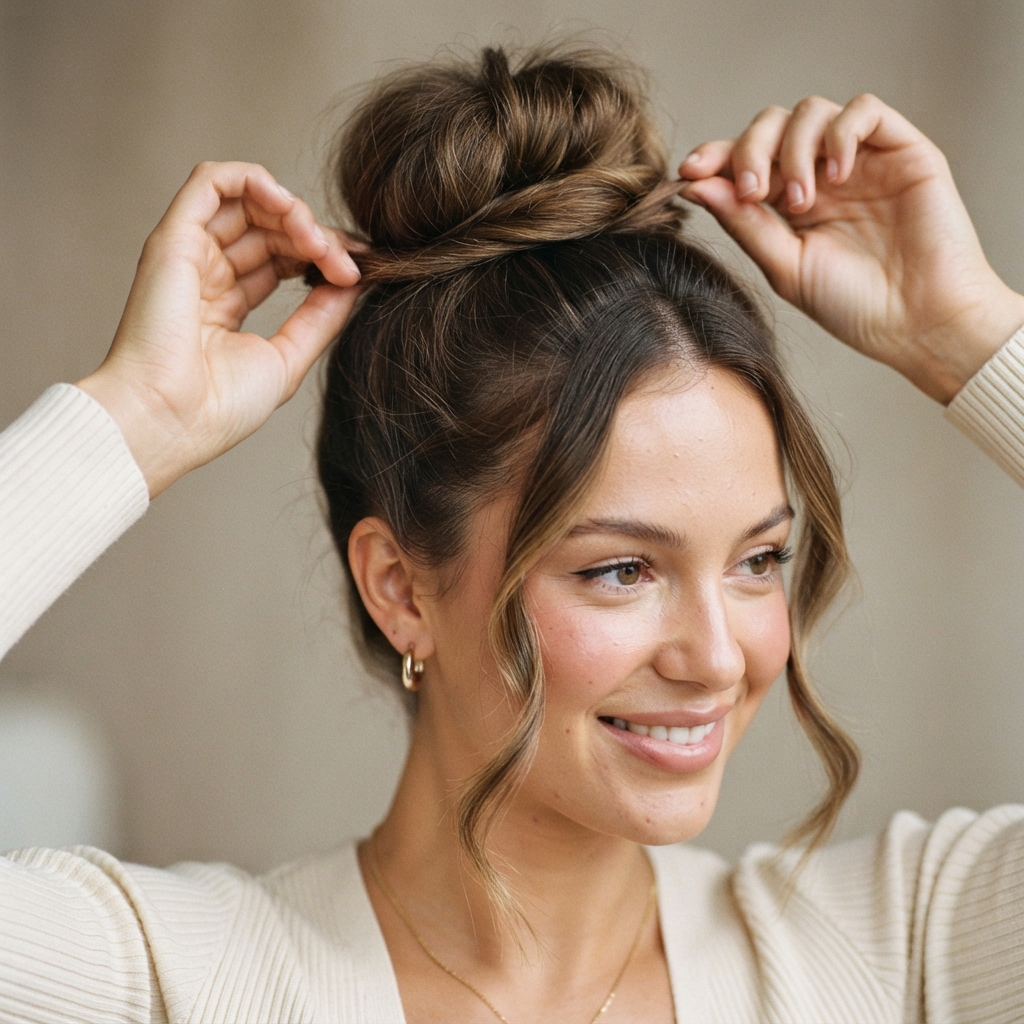
This step is my favorite. It’s the difference between a bun and a *hairlook*. Once your knot is pinned, take your fingertips and gently tug at the outer edges of the bun.
You want to loosen the coil slightly to create a fuller shape. If you have fine hair, this is essential. It makes a tiny bun look substantial and expensive.
Pull out two small pieces of hair to frame your face. This softens the feature lift and ensures you don’t look like a ballerina going on stage unless that’s your goal.
How to Make Your Knot Last All Day
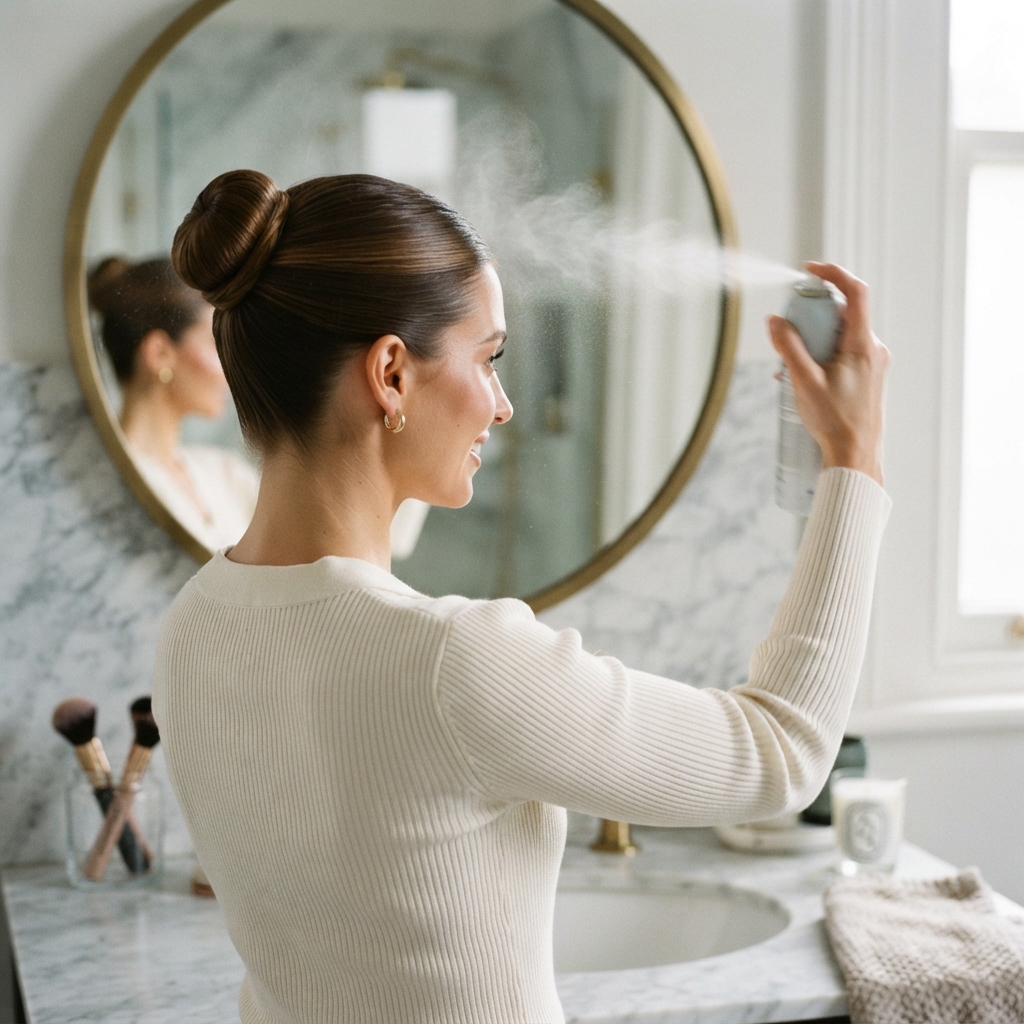
The worst thing is spending time on this and having it fall apart by noon. The fix is strategic hairspraying. Do not spray your entire head like a helmet; just target the base.
Lift the bun slightly and spray the roots underneath. Then spray a fine mist over the top of the bun. This holds the shape without making the hair crunchy.
If you are active or in humid weather, carry a tiny travel spray in your bag. A quick touch-up on the flyways mid-day keeps the look salon-fresh for hours. It’s simple maintenance.
Protecting Your Length While Styling
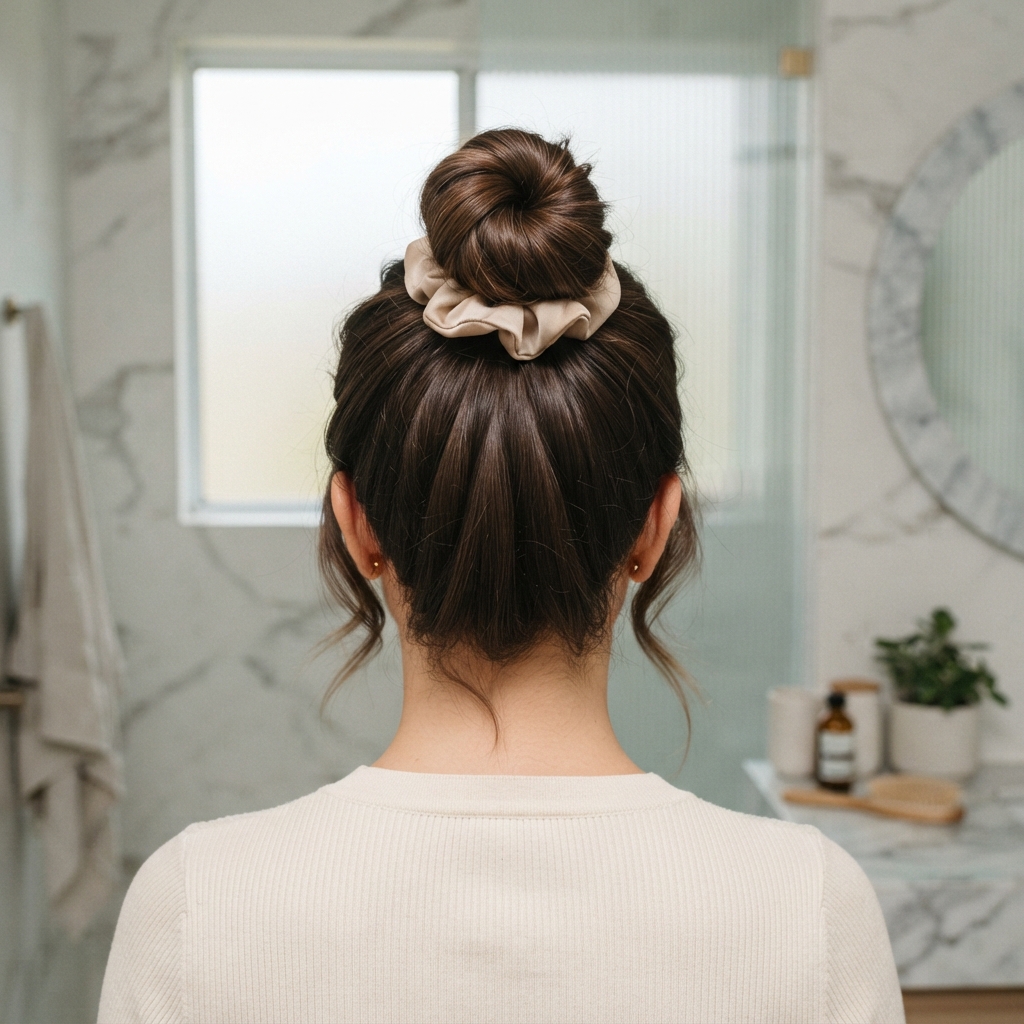
Hair health is the ultimate flex in **2026 hairstyles**. The top knot is lifesaver for those growing out a **hime cut** or a **vampire haircut** because it keeps the sharp ends tucked away.
Always use a fabric-covered hair tie. The rubber ones pull and snap the hair, creating split ends. Also, try to move the position of your knot—high one day, low the next—to avoid tension in one specific spot.
This style is actually a treatment for your hair. By keeping it up, you prevent tangles and reduce friction against your clothing. It helps maintain that expensive shine without heat styling.
Accessorizing Your Top Knot
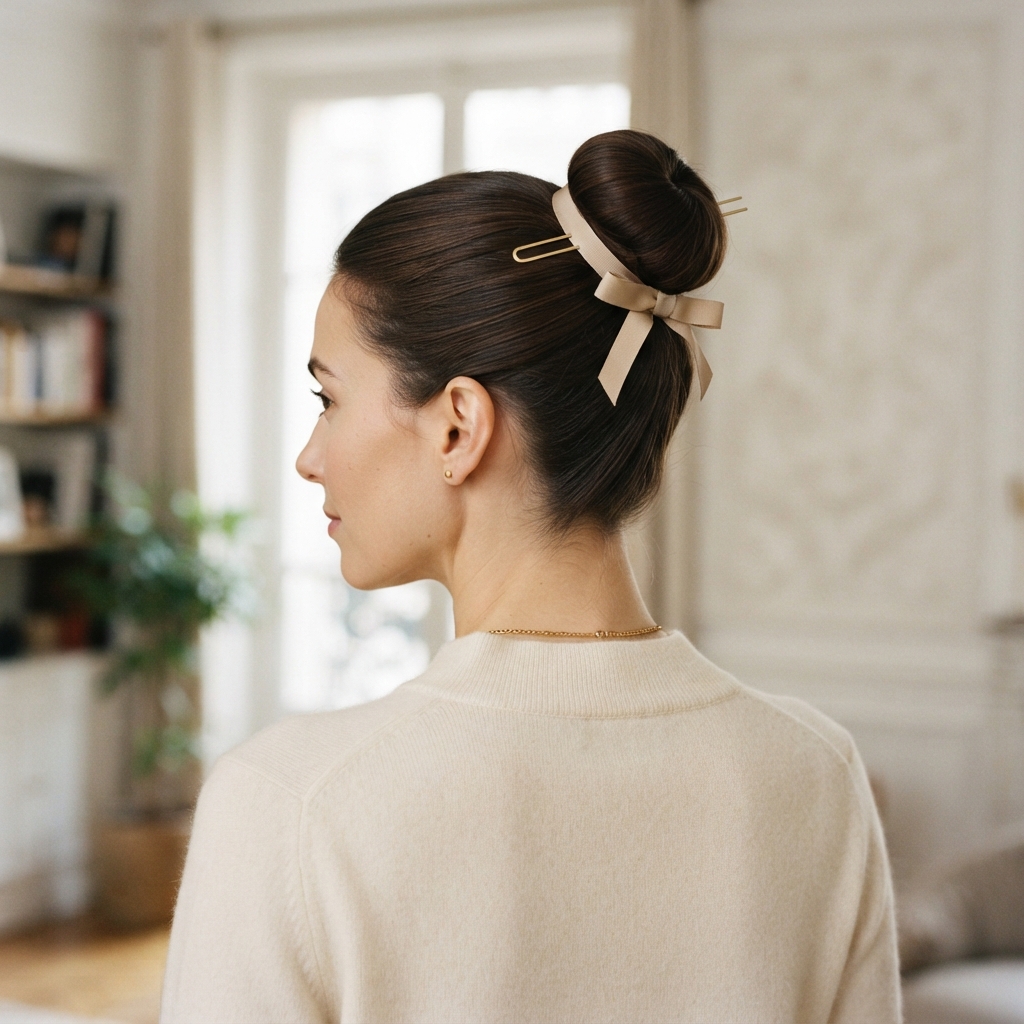
Accessories are the fastest way to take this from “basic” to “editorial.” A sleek silver claw clip can add a cool girl edge. A silk ribbon tied around the base screams quiet luxury.
For a night out, place a decorative pin through the bun. Even a simple silk scarf wrapped around the base can elevate the whole look. This is how you make the style your own.
Accessories also serve a practical purpose; they help camouflage any loose pins or awkward shaping. If you are having a stubborn hair day, just add a cool piece of hardware.
Refreshing Second-Day Hair with a Knot
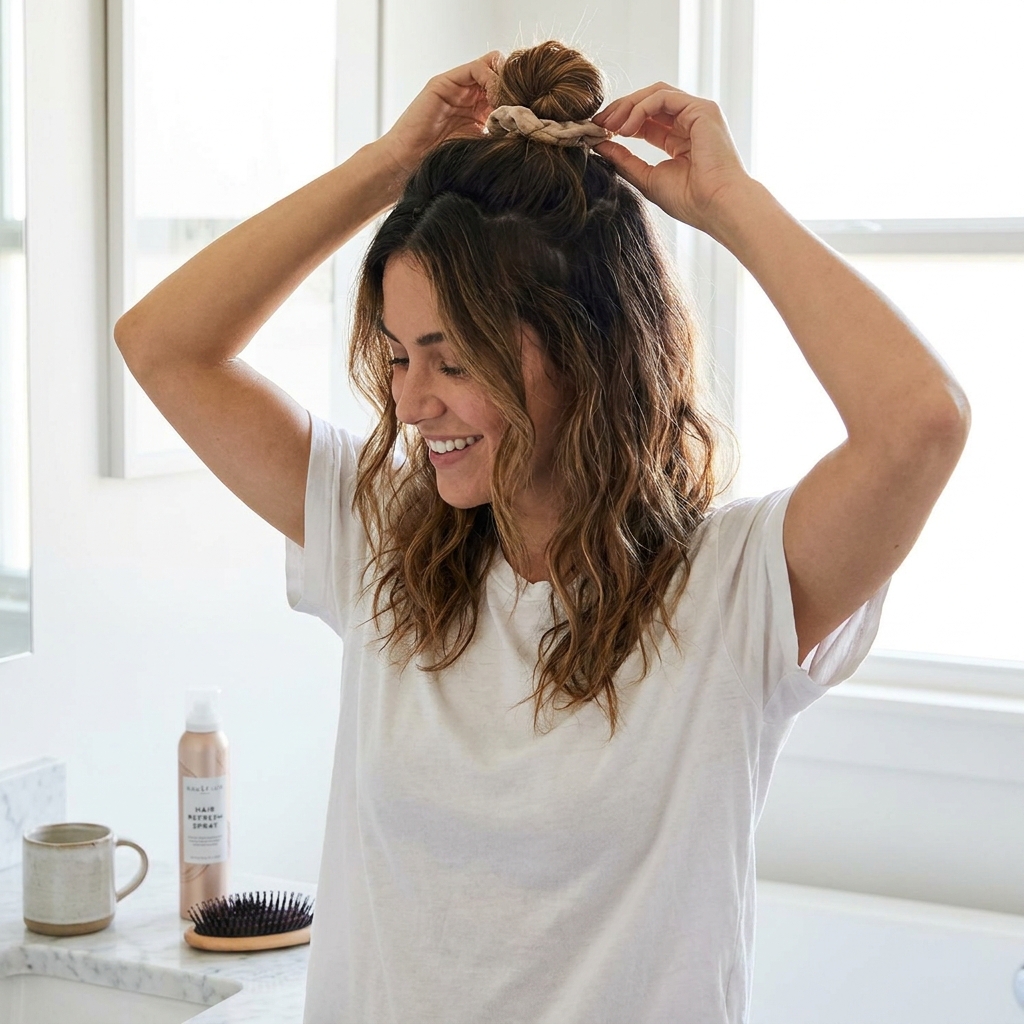
a top knot is the ultimate rescue for day-old hair. The texture from yesterday is actually *perfect* for holding a bun. It grips better than fresh hair ever will.
Start by spraying a little water on your hands and smoothing down the halo of frizz. Or use a dry brush. Then, simply repeat the steps—gather, twist, wrap, pin.
Skip the wash and embrace the bun! This is a massive time-saver. It adds a day to your hairstyle cycle and saves your scalp from over-washing. Your hair will thank you for the break.
Why Your Knot Might Be Falling Out
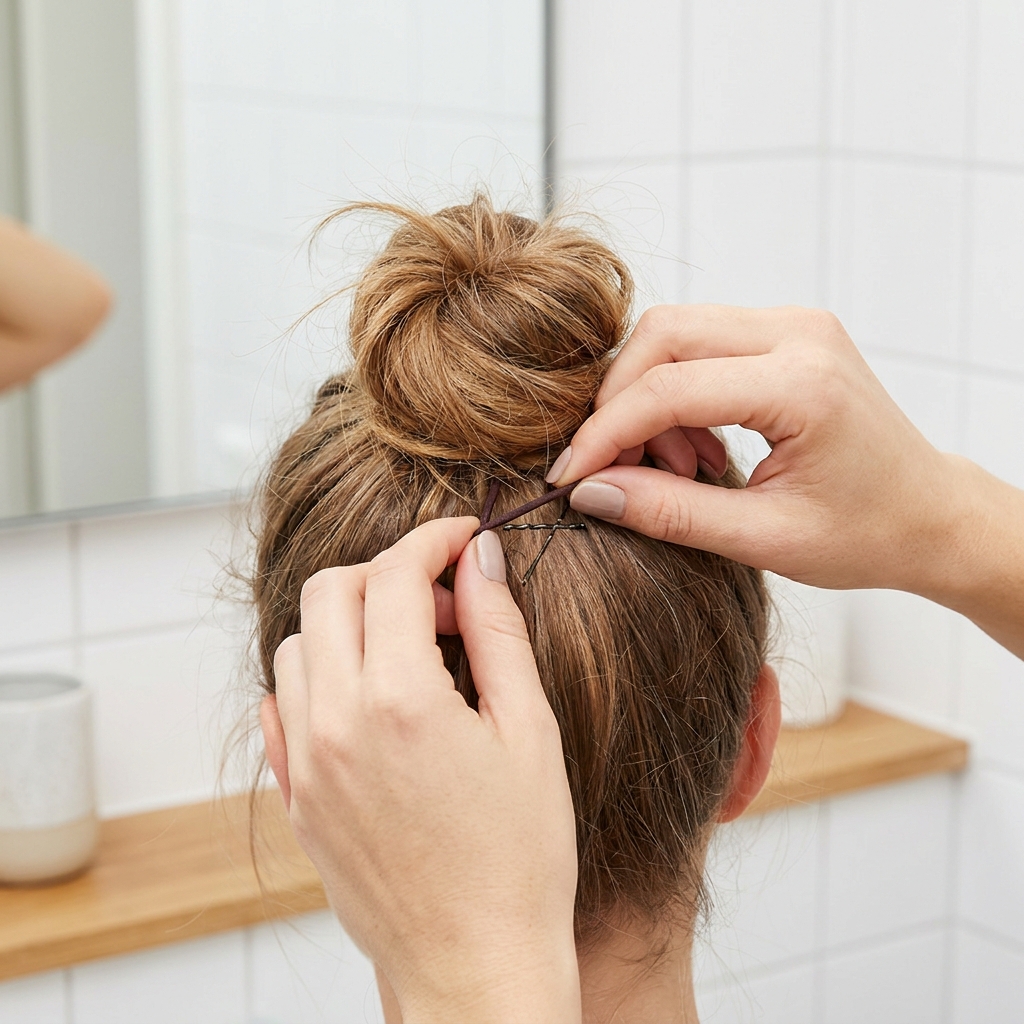
If your knot keeps collapsing, it’s almost always one of two things: the elastic is too loose, or the pins aren’t through the base. It happens to me too.
First, check your elastic. If it stretches out easily, it’s time to retire it. A fresh, tight elastic is non-negotiable. Second, make sure your pins are actually catching the elastic band at the base of the ponytail.
Another quick fix is to add a second elastic around the bun itself. This acts like a net to hold the mass of hair together. It’s a hidden secret that hairstylists use on runway models.
Top Knots for Every Hair Texture
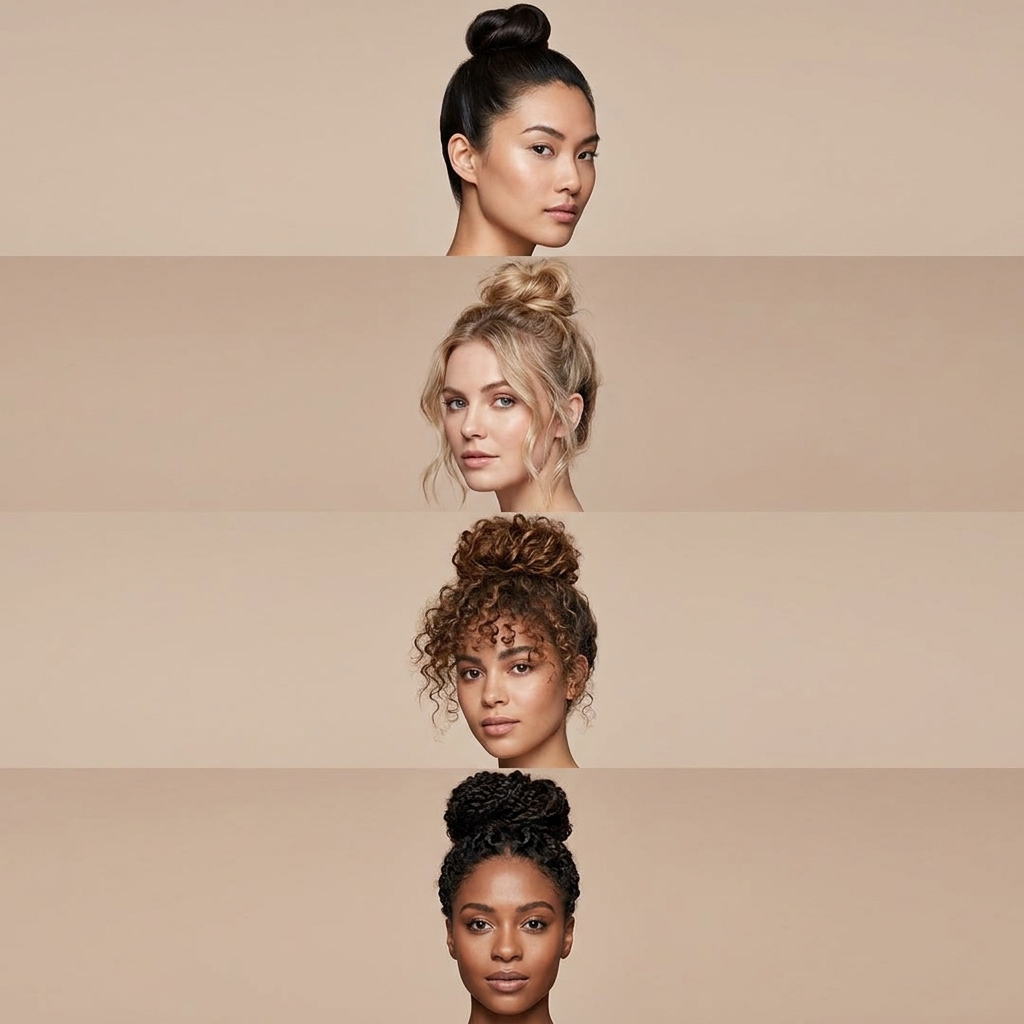
This style is universal. For straight hair, you might need a bit more texture spray to keep it from slipping. For curly or coily hair, the style actually has more natural volume and stays put easier.
Don’t fight your hair’s natural texture. If you have curls, let them spring free around the bun. A “pineapple” top knot is a well-known protective style for curly girls at night.
For those with layers or a **asymmetrical lob**, you might have shorter strands that fall out. Embrace them as face-framing pieces. Or tuck them behind your ears for a sleeker look. Adapt the technique to your hair type.
Quick Fix: The “Donut” Bun Upgrade
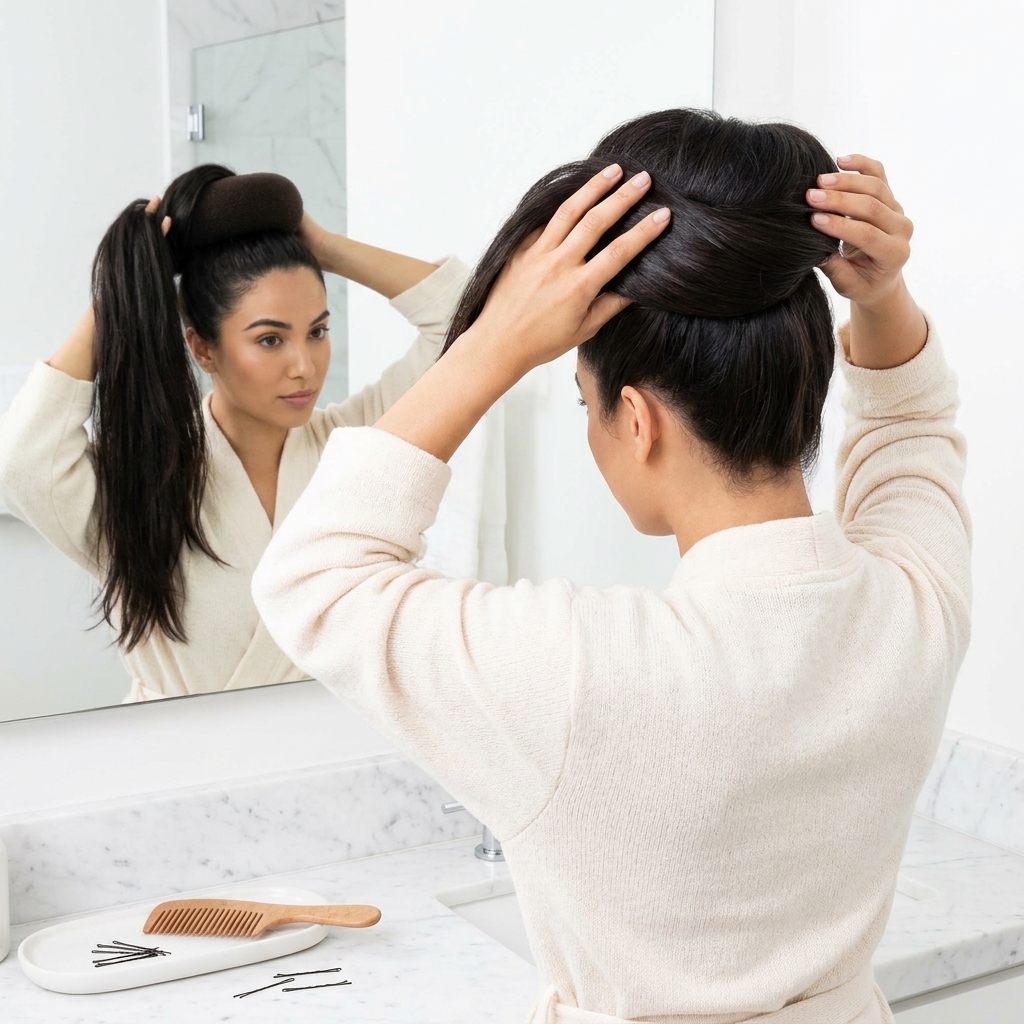
If you have fine hair and want a giant, juicy bun, it’s time to meet the sock donut. This little foam circle is a lifesaver for achieving that large, voluminous look.
After you make your ponytail, thread it through the donut. Spread your hair over the donut to cover it completely, then tuck the ends around the base and pin. It sounds complicated, but it takes seconds.
This trick is great for staying on trend with **quiet luxury** aesthetics. It creates a clean, polished shape that looks like you spent an hour at the hairdresser. Get the perfect circle every time.
Transitioning from Day to Night
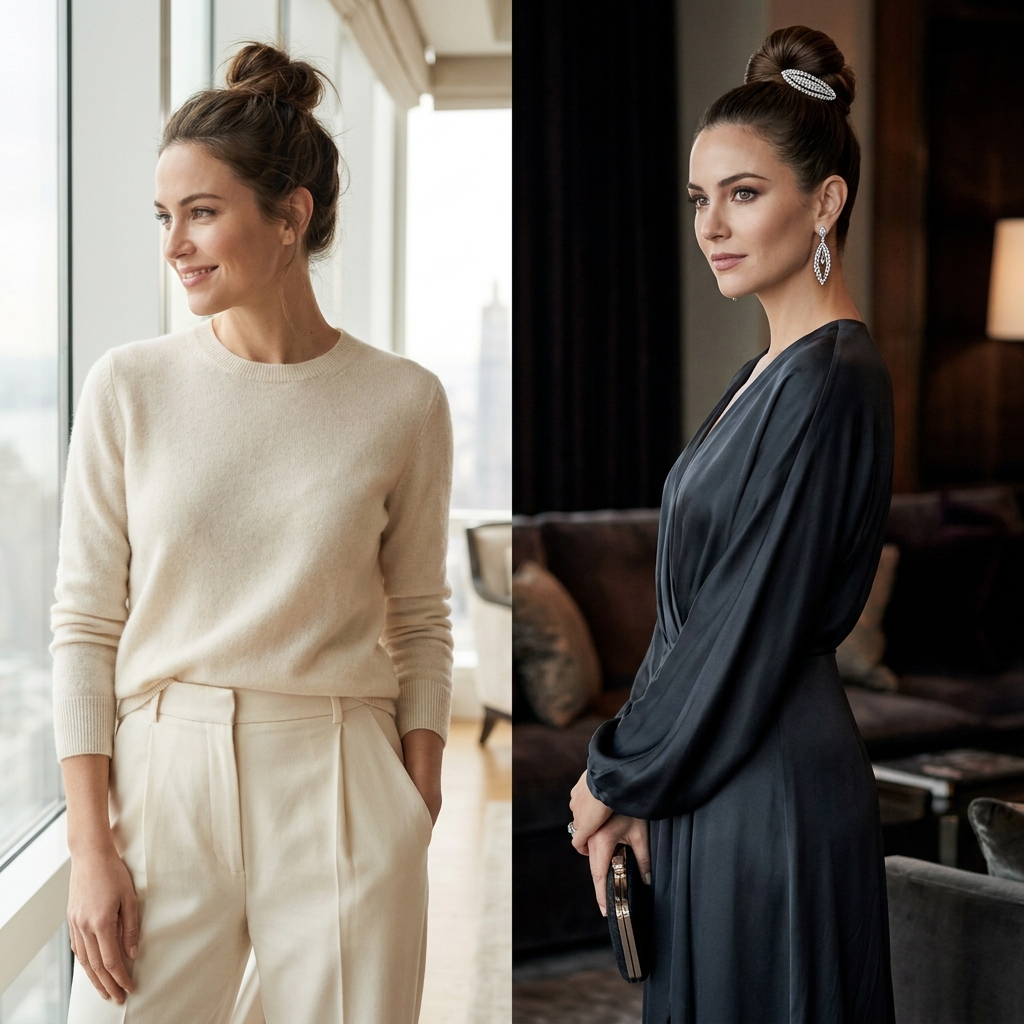
The best part about this hairstyle is its versatility. You can wear it to the grocery store and then to a cocktail hour without redoing it. You just need a slight tweak.
For daytime, leave it slightly messy and relaxed. For night, take a comb and sleek down the sides with a bit of serum. Change the part or add a jeweled accessory. It instantly dresses up the look.
A top knot transitions from office to elegance seamlessly. This saves you so much time when you have back-to-back plans. You are essentially paying for one hairstyle but getting two distinct looks.
Washing Your Hair Post-Bun
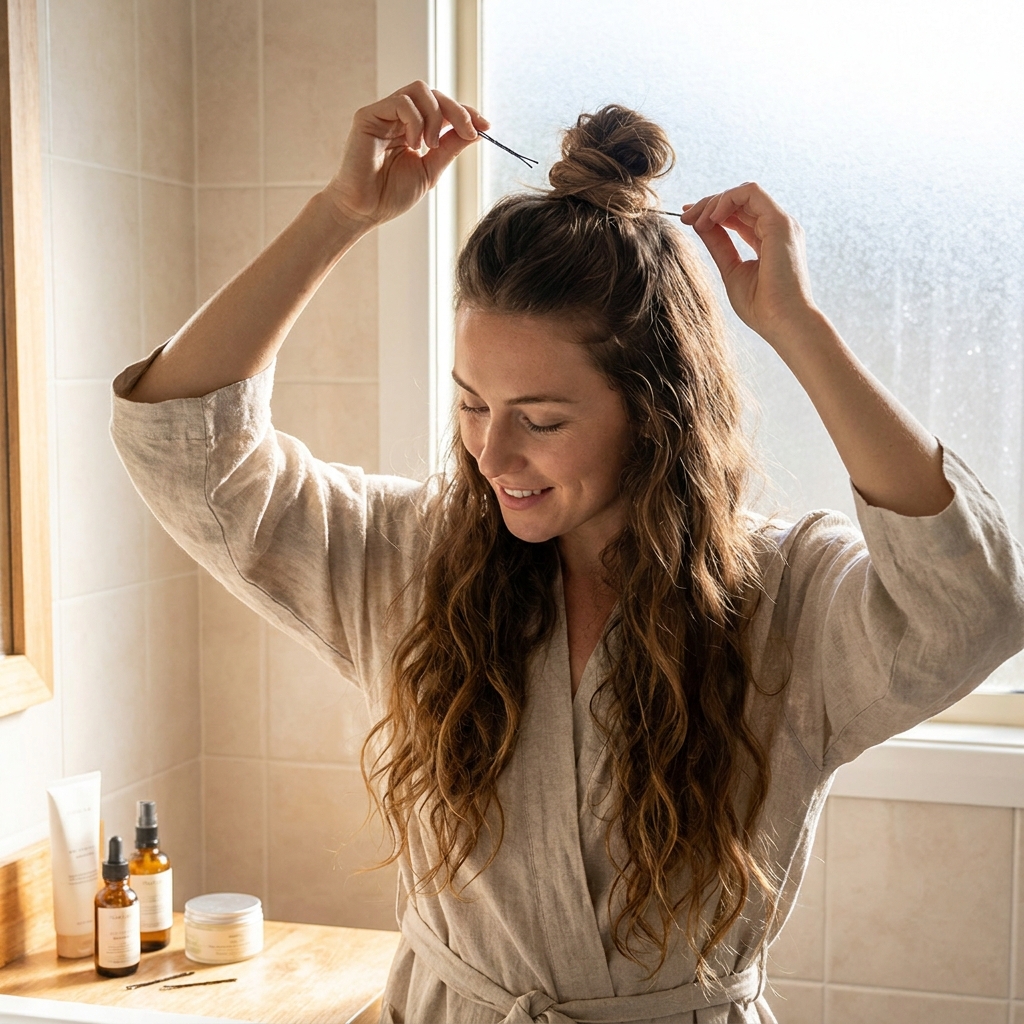
You wore the bun, now you have to take it out gently! Ripping out the pins and yanking your hair will cause breakage. Be super gentle. Remove the pins first, then carefully untwist the coil.
Give your scalp a nice massage once your hair is down. This increases blood flow to the follicles and keeps your roots healthy. Let your hair rest down for a bit if you can.
If you’ve used a lot of product, wash with a clarifying shampoo. If it was a relaxed style, just a regular rinse is fine. Treat your hair kindly so it stays beautiful.
Finding Your Signature Style
Don’t be afraid to experiment. The more you practice this, the more you will discover what looks best for your face shape and lifestyle. I change mine up every week based on my mood.
Some days I want the severe, slick look. Other days, I want the soft, baby-hair tendrils framing my face. There are no strict rules. The goal is to feel confident and comfortable in your skin.
Make the top knot your own. Whether you color your hair a vibrant fashion shade or keep it classic, this styling technique will always be your reliable companion.
—
Whew, we covered a lot! I hope you feel ready to go tackle that hair with confidence. It really is just about practicing the twist-and-pin motion until it feels natural. Once you hit your stride, it will be your go-to for days when you want to look expensive but sleep in a little later.
Don’t stress about making it perfect the first time. Even I have to re-do mine sometimes. The beauty of this style is its flexibility. There is a version for every head of hair.
I would love to see how you style your own knot! The messy is just as cute as the neat. **Save this post to Pinterest** so you have the cheat sheet ready for your next wash day.
And tell me below—what is your biggest struggle with updos? Let’s chat in the comments!

