
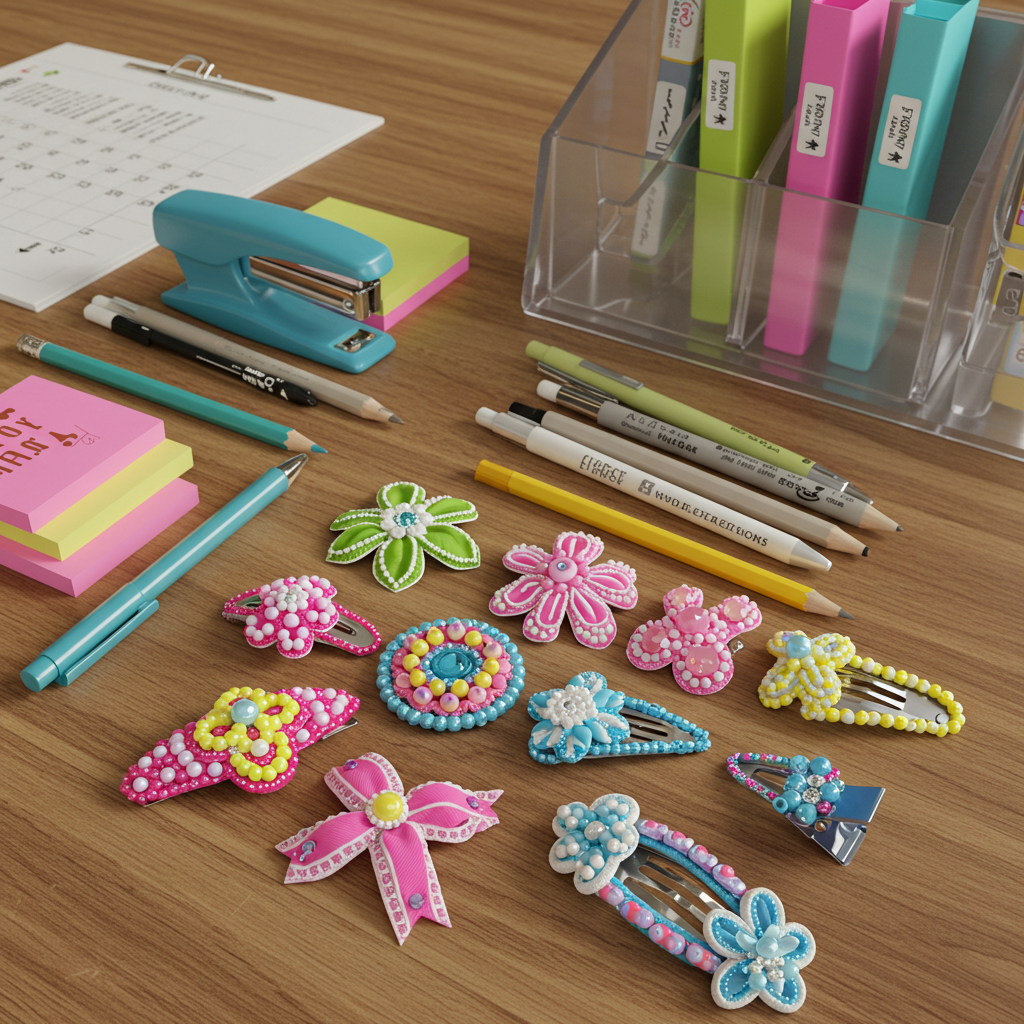
Have you ever looked at your desk drawer full of office supplies and imagined they could become something beautiful? What if we told you those paperclips, binder clips, and rubber bands could transform into stylish hair accessories? In this creative guide, we’ll show you how to upcycle common office items into professional-looking hair clips that rival store-bought accessories.
Not only is this project incredibly budget-friendly, but it’s also a fantastic way to repurpose supplies you already have. Whether you need a quick hair solution for the office, want to create unique gifts, or simply enjoy DIY fashion projects, these techniques will open up a world of creative possibilities.
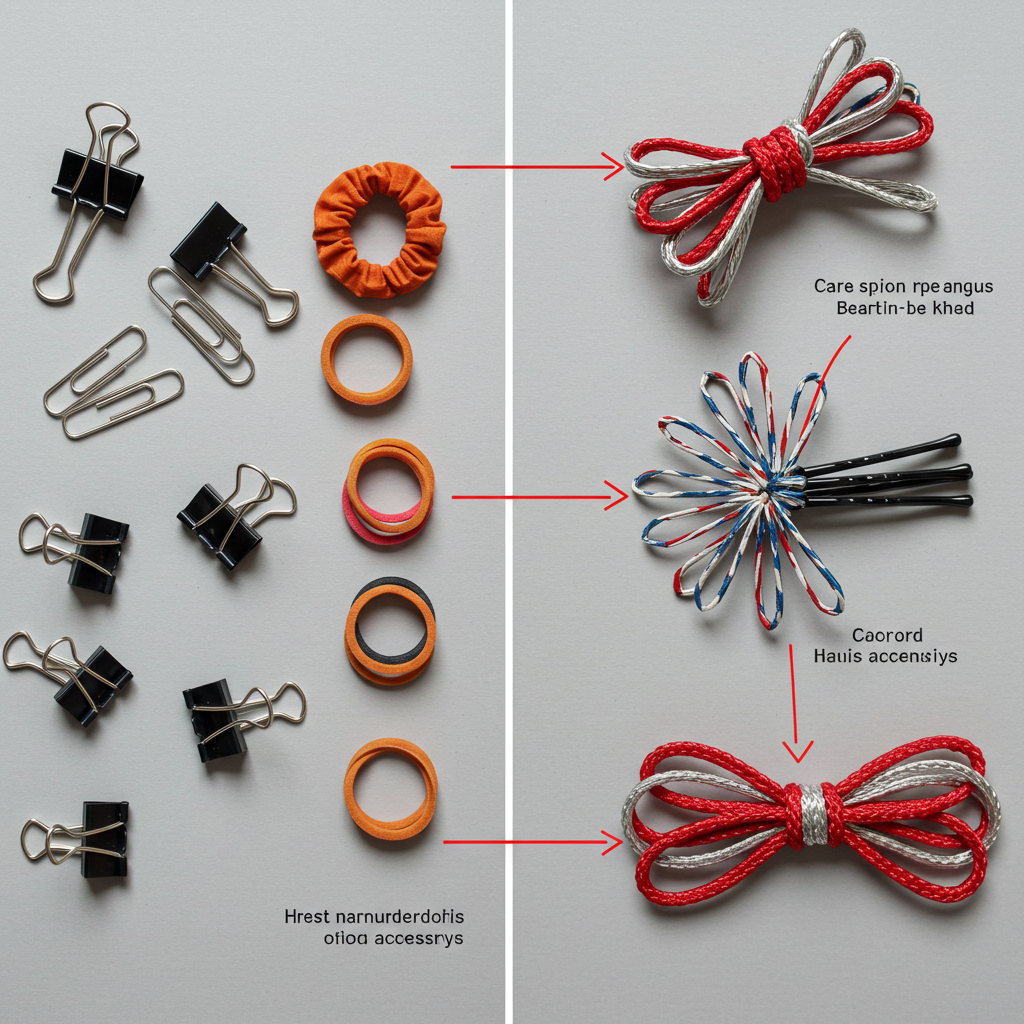
Gathering Your Office Supply Hair Clip Materials
Before we dive into the creative process, let’s take inventory of what you might already have in your office that can become hair accessories. The beauty of this project is its flexibility – you can adapt based on what’s available.
Essential supplies to look for:
- Large binder clips (medium and small sizes work too)
- Colorful paperclips (especially the coated ones)
- Rubber bands in various colors
- Push pins with decorative heads
- Binder clips with silver or colored metal
- Washi tape or decorative duct tape
- Paper fasteners (the colorful ones with two prongs)
Pro tip: Raid the supply closet for items that might otherwise get thrown away during office cleanouts. Those “extra” supplies that never get used are perfect for this project!
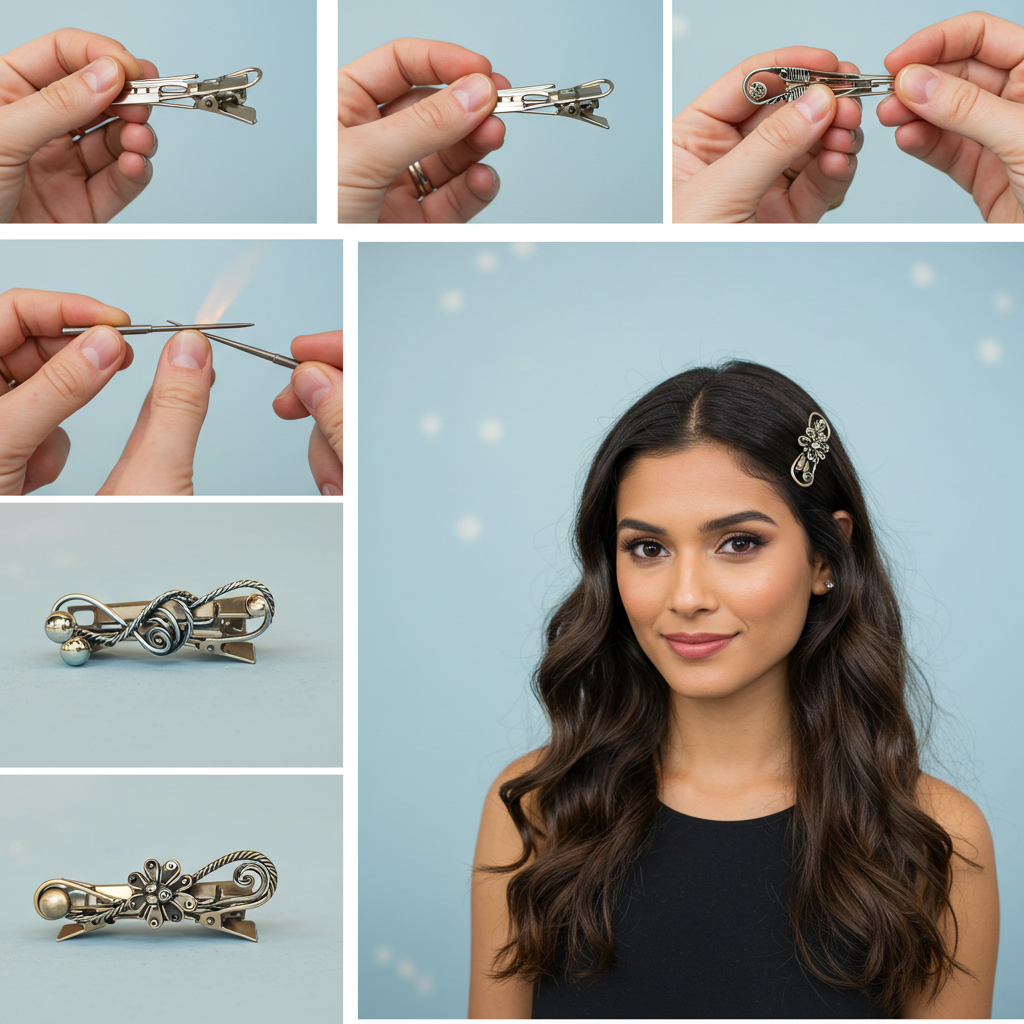
Transforming Binder Clips into Chic Hair Clips
Binder clips make excellent bases for hair accessories because of their strong grip and smooth surface. Here’s how to turn them from mundane office tools to fashion statements:
Step 1: Remove the metal arms by pinching the sides and pulling them out. These can be saved for another project or recycled.
Step 2: Decorate the clip surface using washi tape, nail polish, or acrylic paint. Create patterns or cover completely for a solid color look.
Step 3: For added glam, glue small decorative elements to the top of the clip – consider beads, sequins, or even the heads of push pins.
Step 4: Let dry completely before use. The finished clip can be used to pin back sections of hair or as a decorative accent on a ponytail.
Design idea: Create a set of coordinating clips in your favorite colors by using different tapes or paint colors on several binder clips.
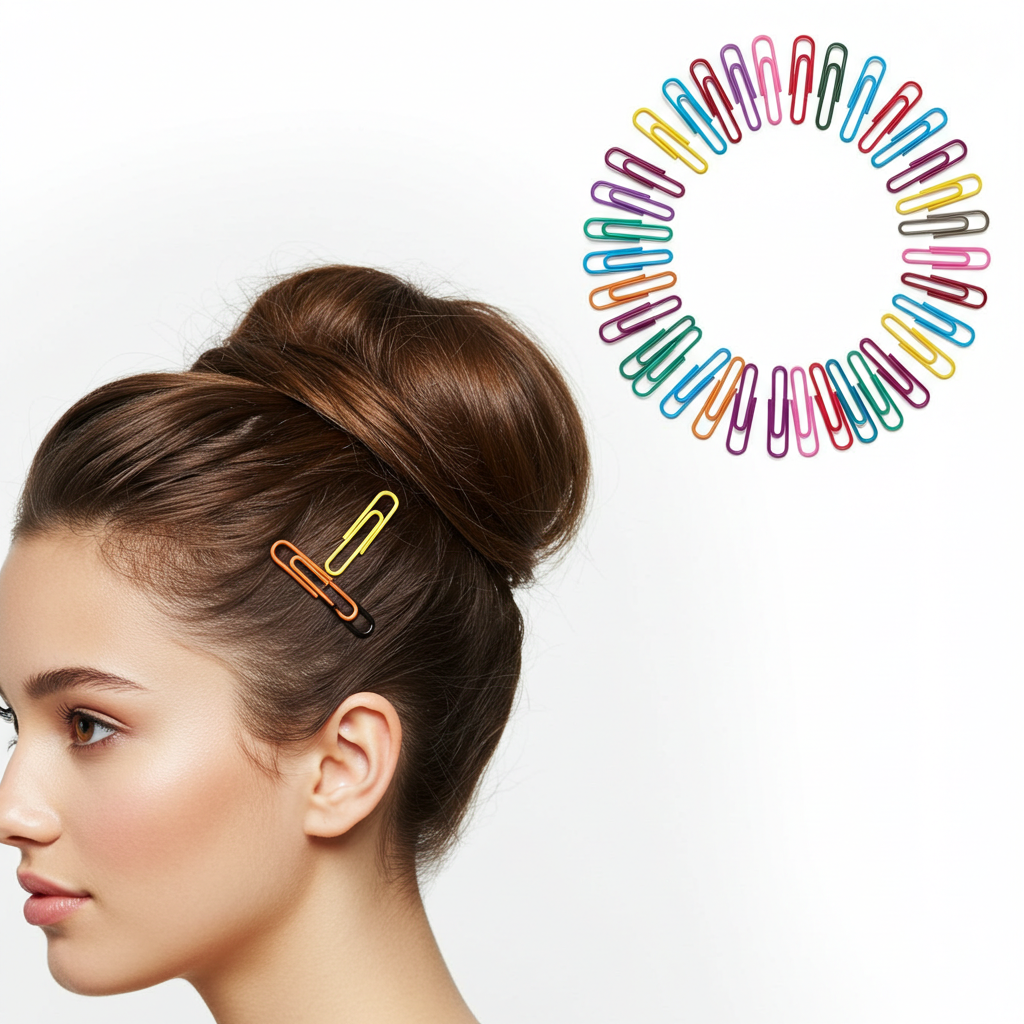
Creating Elegant Hair Pins from Paperclips
Those colorful paperclips in your drawer can become delicate hair pins perfect for securing updos or adding subtle sparkle to your style. Follow this simple technique:
Step 1: Choose larger paperclips (about 2 inches works best) and straighten them completely using pliers.
Step 2: Bend one end into a small loop or decorative shape using needle-nose pliers. This prevents the pin from scratching and adds visual interest.
Step 3: For colored paperclips, you can use them as-is. For silver ones, consider painting with nail polish or wrapping with thin ribbon.
Step 4: To use, simply slide into your hairstyle like a bobby pin. The natural tension of the metal will hold it securely.
Advanced tip: Connect multiple paperclips together to create intricate designs before bending into hairpin shapes.
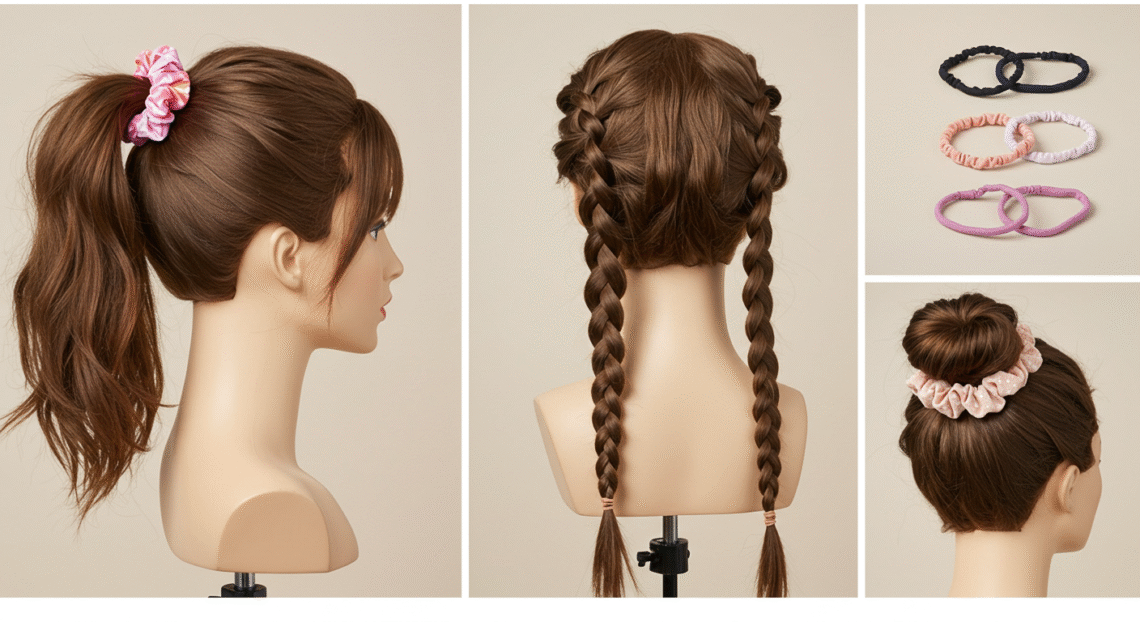
Rubber Band Hair Accessories with a Twist
Don’t overlook the humble rubber band – with a little creativity, it can become a stylish hair accessory that’s both functional and fashionable.
Method 1 – The Decorated Elastic: Take a standard rubber band and wrap it completely with colorful embroidery floss or thin yarn. Secure the ends with a dot of glue for a bohemian hair tie.
Method 2 – The Beaded Beauty: String small beads onto a rubber band before joining the ends. When stretched, the beads will gather for a decorative effect.
Method 3 – The Office Chic: Use those colorful rubber bands as-is for a pop of color in braids or ponytails. Layer multiple colors for a fun effect.
Important note: Be gentle when removing rubber bands from hair to prevent breakage. Always unwind rather than pull straight out.

Professional Finishing Touches for Your DIY Hair Clips
To make your office supply creations look truly professional, follow these expert finishing techniques:
1. Smooth All Edges: Use a nail file to gently smooth any rough metal edges, especially on modified paperclips or binder clips.
2. Seal Your Designs: Apply a clear nail polish or decoupage medium to decorated surfaces to prevent chipping.
3. Add Non-Slip Grip: For better hold, apply small dots of hot glue or silicone to the inside of clips where they contact hair.
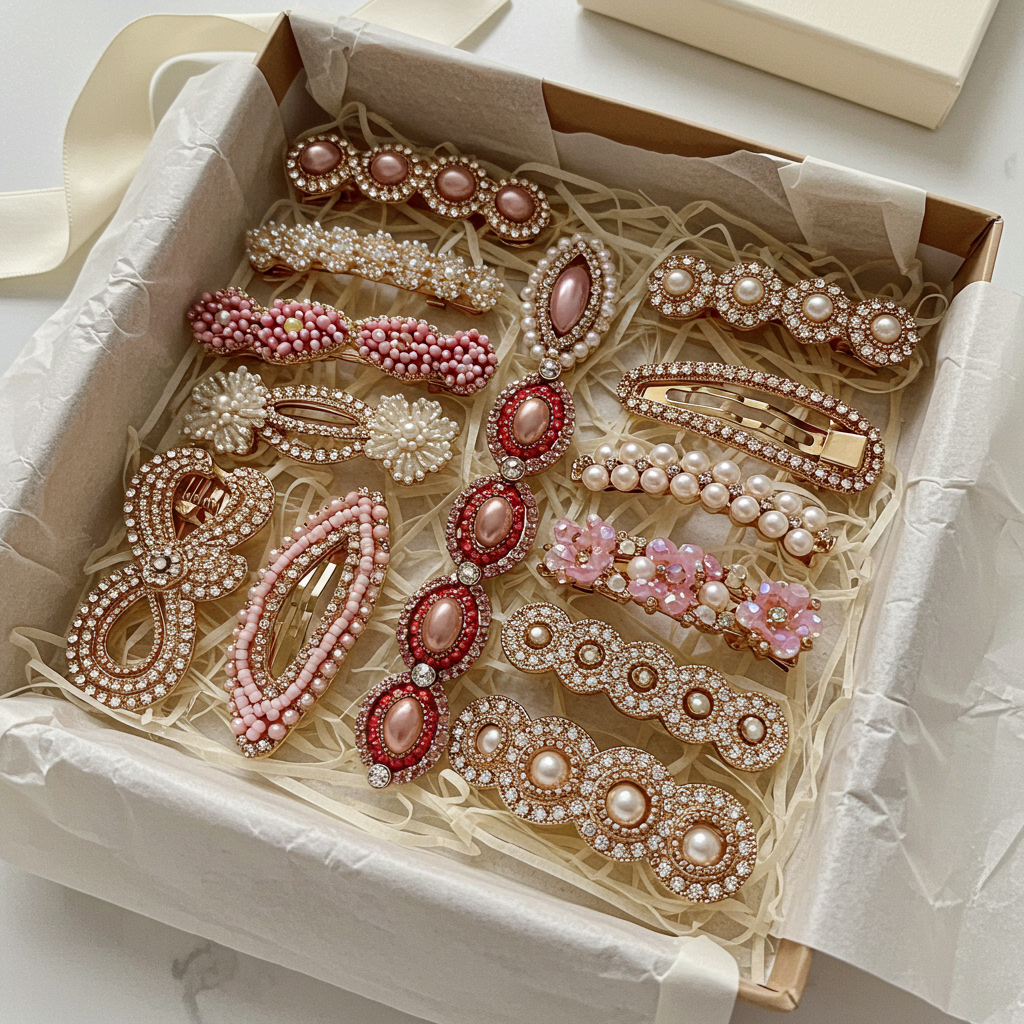
4. Create Sets: Make coordinating sets of 3-5 pieces for a more professional presentation, perfect for gifting.
5. Packaging Matters: Present your finished clips on small cards or in clear bags with decorative labels for that boutique-quality look.
Creative Variations to Try
Once you’ve mastered the basics, experiment with these creative variations to make your office supply hair accessories truly unique:
The Paper Fastener Flower: Bend the prongs of colorful paper fasteners outward to create flower shapes, then attach to a clip base.
Push Pin Sparkle: Use decorative push pins as the center of floral designs or as standalone accents on larger clips.
Binder Clip Barrette: Connect multiple small binder clips together with jump rings to create an adjustable-width barrette.
Rubber Band Chain: Interlink colorful rubber bands to make stretchy headbands or decorative hair chains.
Paperclip Mosaic: Flatten and arrange cut pieces of colored paperclips into geometric patterns on clip bases.
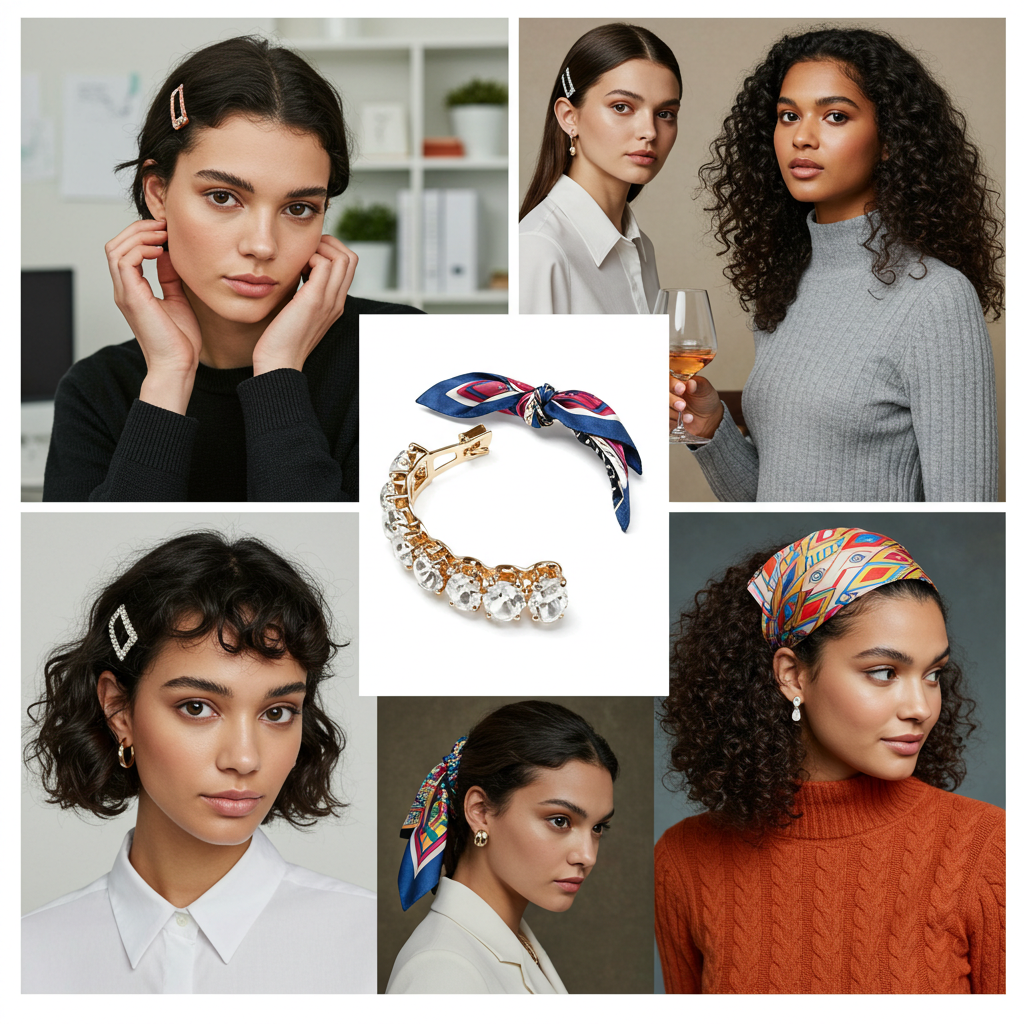
Styling Your Office Supply Hair Accessories
Now that you’ve created these unique pieces, here are some stylish ways to wear them:
Office Chic: Use subtle metallic or neutral-toned clips to pin back one side of your hair for a professional look.
Weekend Vibes: Go bold with colorful rubber band ties for messy buns or braids during your off hours.
Special Occasions: Create an elegant updo secured with your most decorative paperclip pins for weddings or parties.
Gift Giving: Package sets of coordinated clips with handwritten notes for thoughtful, handmade presents.
Seasonal Themes: Change up your color schemes and decorations to match holidays or seasons throughout the year.
Remember: The beauty of these accessories is that they’re completely customizable to match your personal style or outfit choices.
Why This DIY Project is Worth Your Time
Creating hair accessories from office supplies isn’t just about saving money (though that’s a great benefit!). This project offers multiple advantages:
Sustainability: You’re repurposing items that might otherwise go unused or be discarded, reducing waste.
Customization: Unlike store-bought accessories, you can create pieces that perfectly match your wardrobe and personal style.
Instant Gratification: Most of these projects can be completed in under 30 minutes – perfect for when you need a quick style update.
Problem Solving: Never be caught without a hair tie again when you can fashion one from a rubber band in seconds.
Conversation Starter: Be prepared for compliments and questions when people discover your stylish accessories started as office supplies!
Final Thoughts
Transforming office supplies into professional-looking hair clips is more than just a craft project – it’s a creative exercise that challenges you to see everyday objects in new ways. With the techniques we’ve shared, you can build an entire collection of unique hair accessories without spending a fortune or making a trip to the store.
The next time you’re stuck in a boring meeting, let your mind wander to the creative possibilities hiding in your office supplies. Those colorful paperclips? Potential hairpins. That box of rubber bands? A rainbow of hair ties waiting to happen. Even the most mundane stapler might contain decorative elements you could repurpose!
We’d love to see your office supply hair clip creations! Share your photos and innovative designs in the comments below. What unexpected office items have you transformed into hair accessories? Your unique ideas might inspire others to see their workspace in a whole new light.

