
Okay, let’s be real. You’ve been scrolling through your feed, seeing all those amazing, bold, glitchy glam hair looks. It’s giving 2026 hairstyles energy right now. It looks incredible, but also… kind of intimidating. Like, where do you even start? Do you have to bleach your whole head? Is it a total nightmare to maintain?
I felt the exact same way. That’s why I went on a mission to figure out the most beginner-friendly, low-commitment way to get that cool, color-blocked effect. No salon trip required if you don’t want one.
This method is all about playing with pieces, not dyeing your whole life. It’s practical, it’s fun, and it lets you test the waters of this huge trend without the panic. Think of it as your gateway to glitchy glam hair.
Let’s break it down into the simplest steps possible. You’ve got this.
What Is Glitchy Glam Hair, Really?
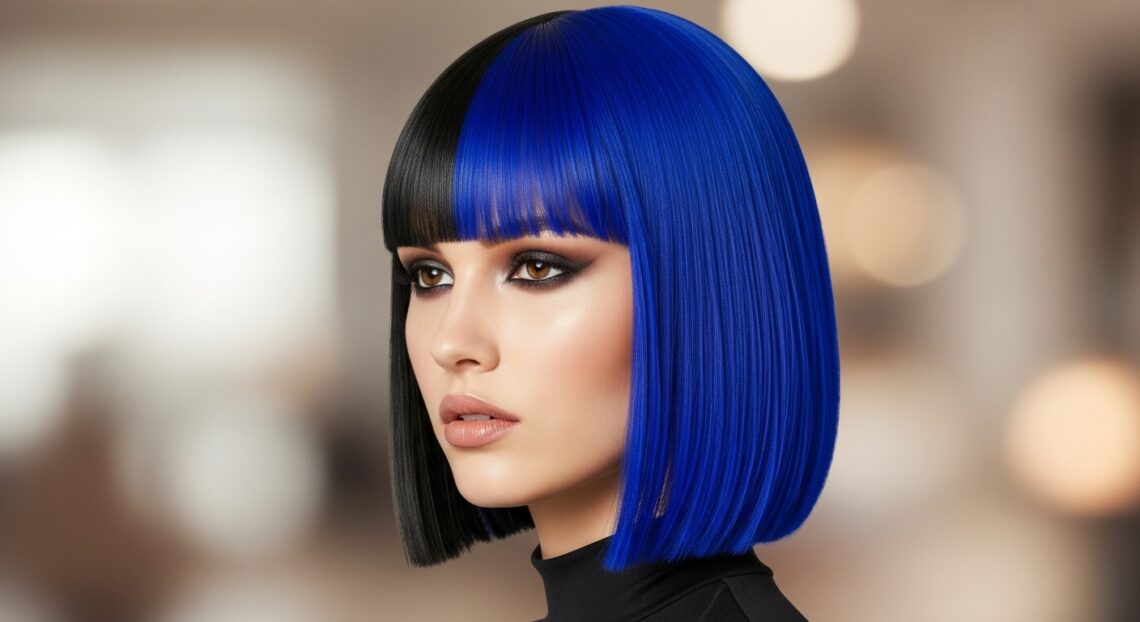
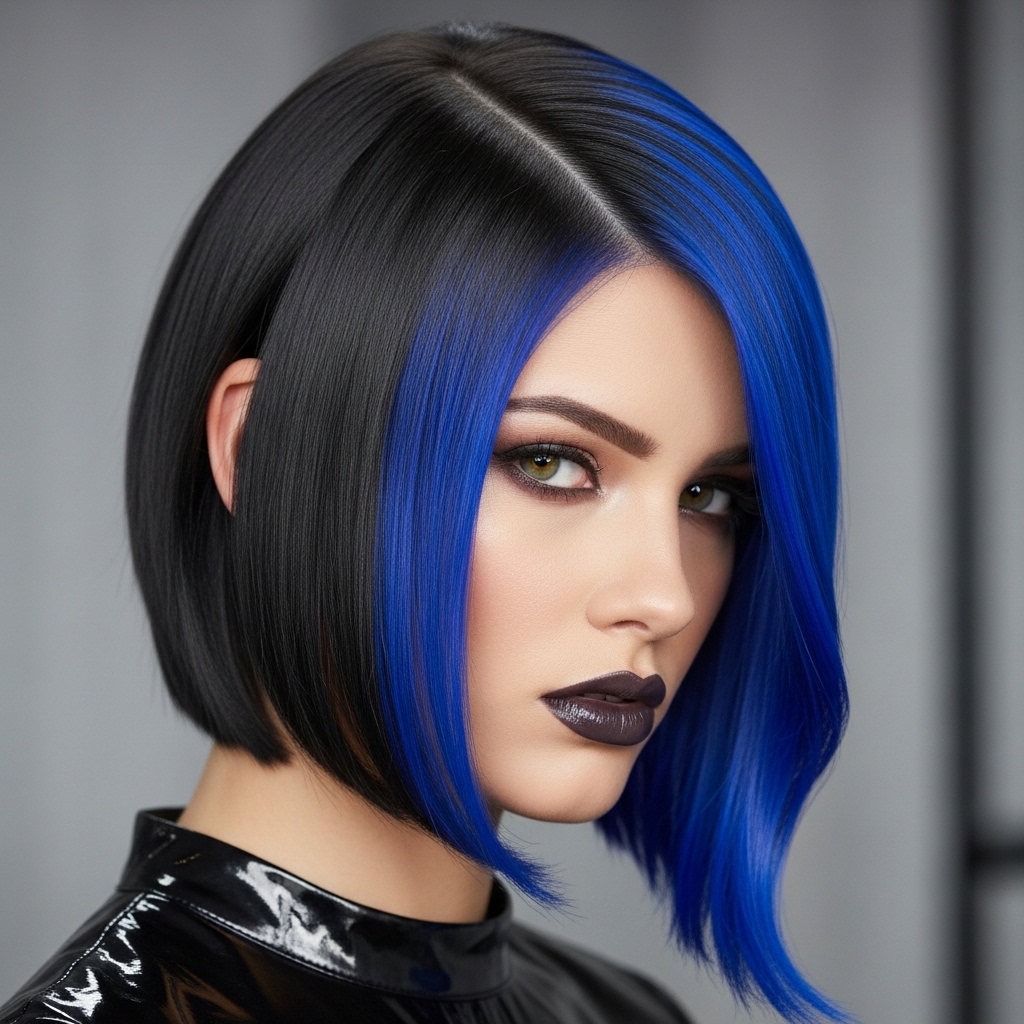
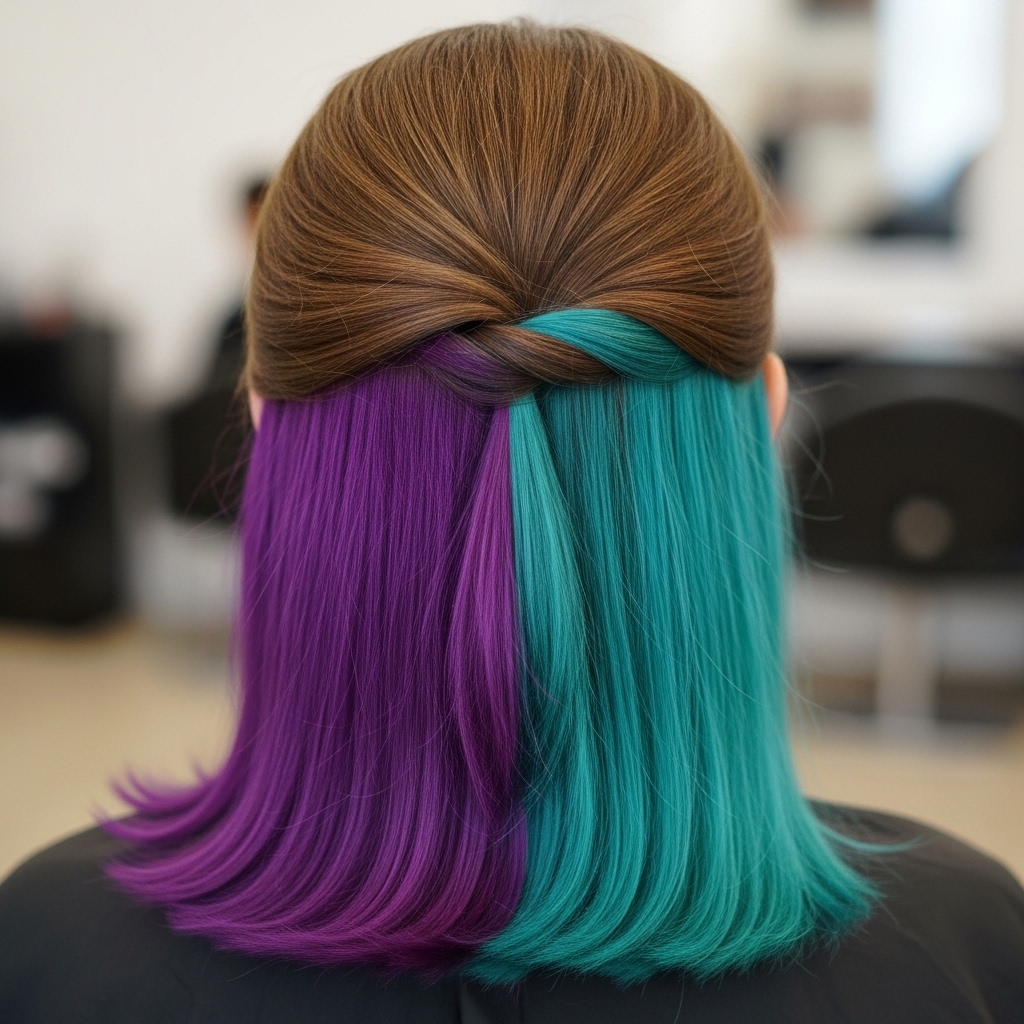
Imagine if a computer glitch met a disco ball, but make it chic. That’s the vibe. It’s not one solid color. It’s blocks or panels of contrasting shades placed in a strategic, almost digital-looking way.
Unlike the soft blends of balayage, this is graphic. Think a chunk of platinum next to jet black, or a slice of neon pink peeking out from under dark brown. It’s a standout look that plays with light and perception.
Why This “Beginner” Method is a Game-Changer
Most tutorials assume you’re ready for a full head bleach. We are not. This approach focuses on two key things: placement and temporary color. We’re working with sections you can easily hide or show off.
It’s also way cheaper. You’re only coloring small pieces. If you hate it, it grows out fast or washes out. It’s the perfect low-stakes experiment to see if the bold hair life is for you.
Gathering Your Tools (The Simple List)
You don’t need a salon’s worth of gear. Here’s the basic kit:
- Clips to section your hair.
- A fine-tail comb for precise parting.
- Your color (we’ll talk types next).
- Foils or plastic wrap to process the pieces.
- Gloves. Always gloves.
- An old towel you don’t love.

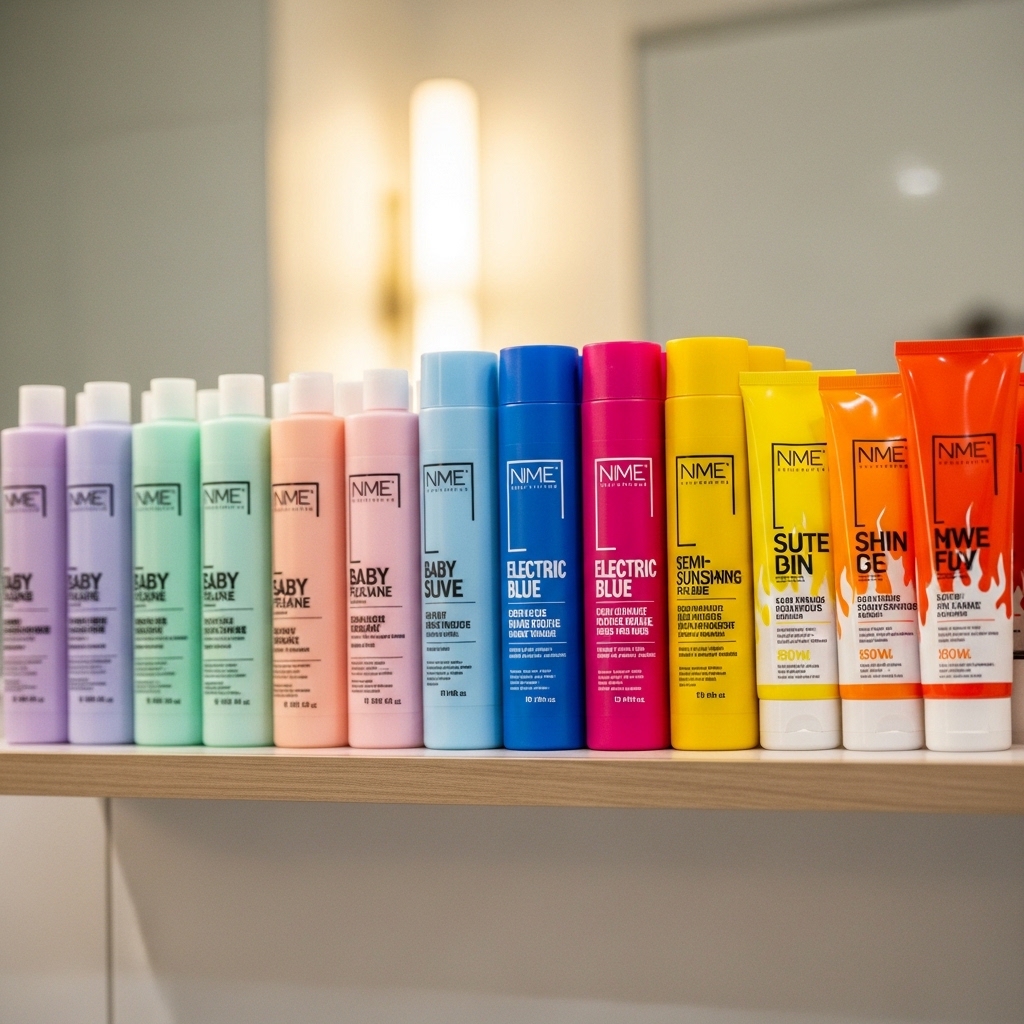
Choosing Your First Color: Go Temporary!
For your first try, I beg you: use a semi-permanent or even a wash-out color spray or gel. Brands like Overtone, Arctic Fox, or even a colored hair wax are perfect.
Why? Zero commitment. If the placement feels off, you can wash it and start over tomorrow. It lets you practice the technique without the permanent panic. Save the permanent dye for when you’re absolutely sure.
The Perfect Placement for Hiding (or Showing Off)
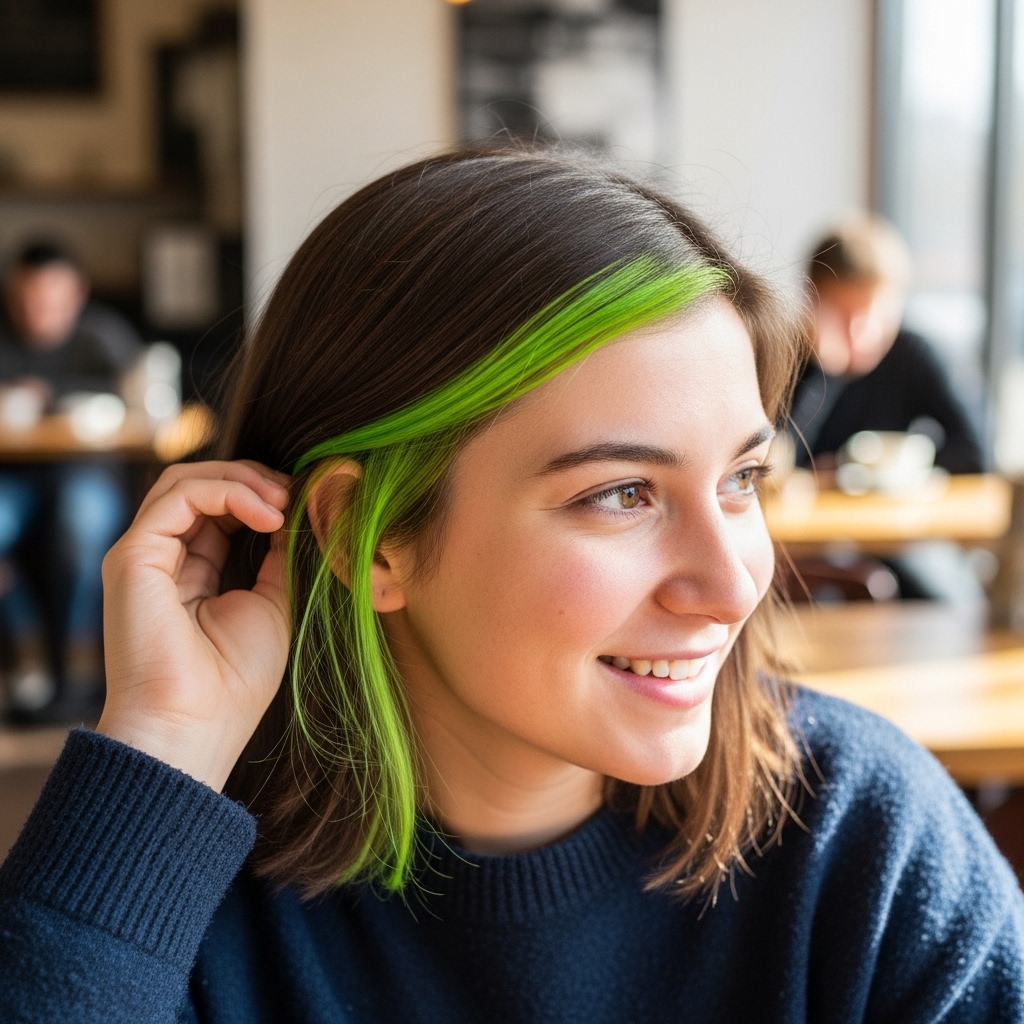
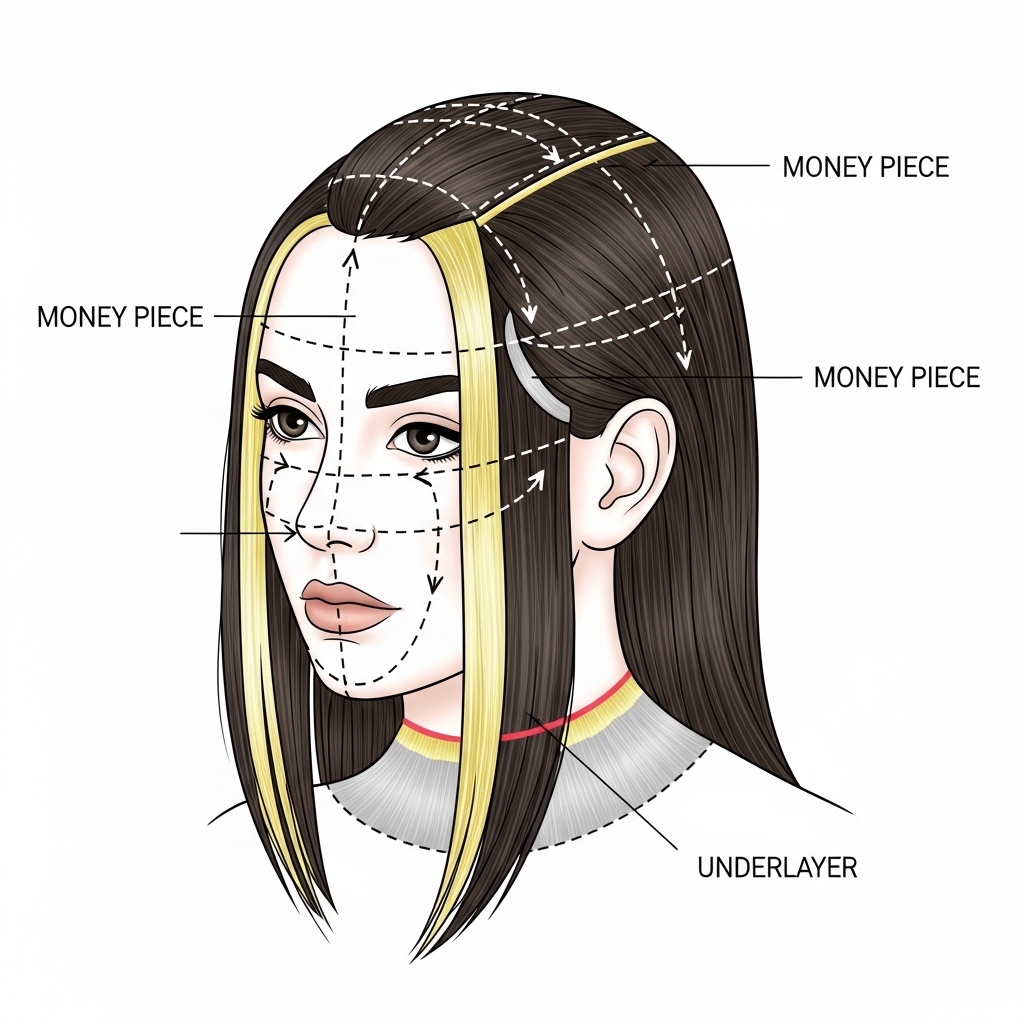
Start with the “money piece” – the front sections that frame your face. This is the most forgiving spot. You can see it when you want to, but you can also blend it back if needed.
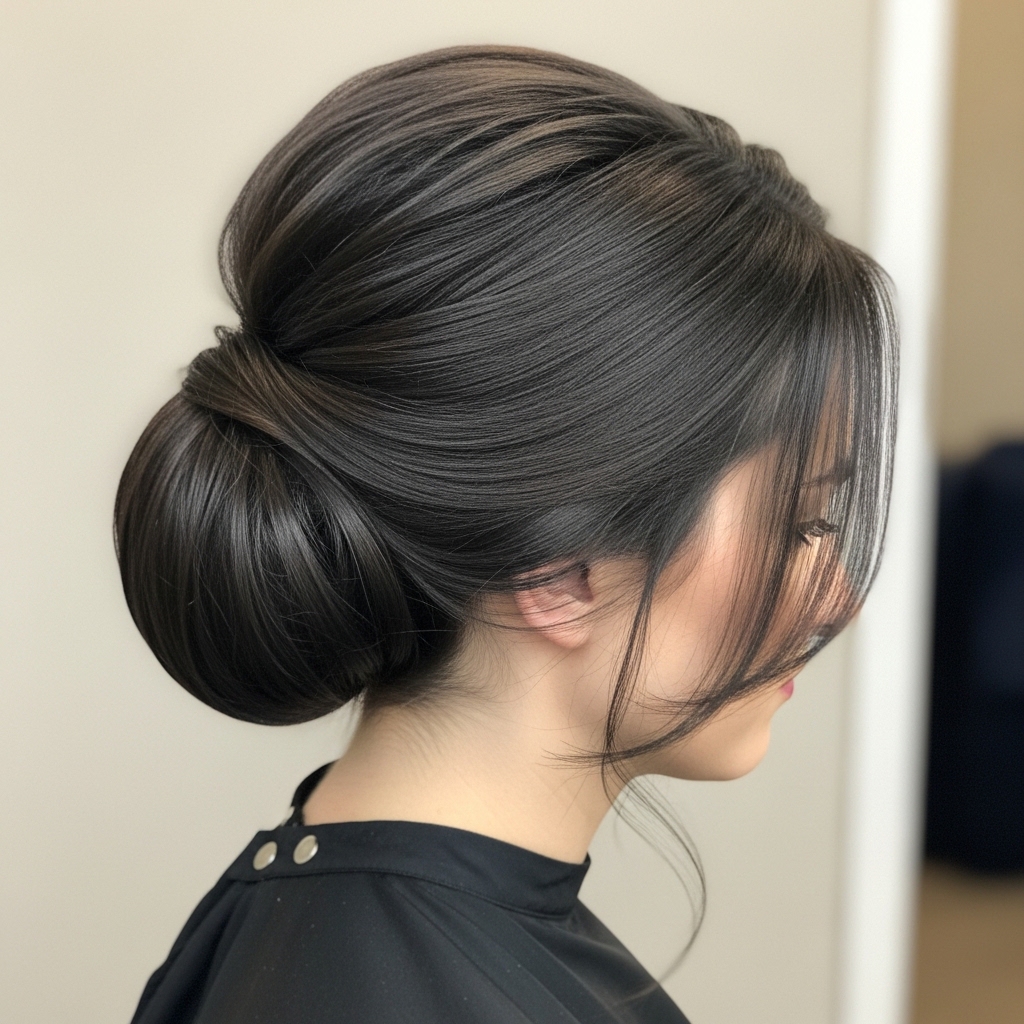
Another great spot is the underlayer, near the nape of your neck. It creates an amazing surprise pop when you put your hair up. These areas let you control the visibility of your experiment 100%.
Step 1: Sectioning Like a Pro
Start with clean, dry hair. Use the tail of your comb to draw a clean, straight part. For a front piece, take a triangle section from your temple back.
Isolate that section and clip the rest of your hair completely out of the way. You want a clean canvas. Precision here makes the final “block” look intentional and cool, not messy.

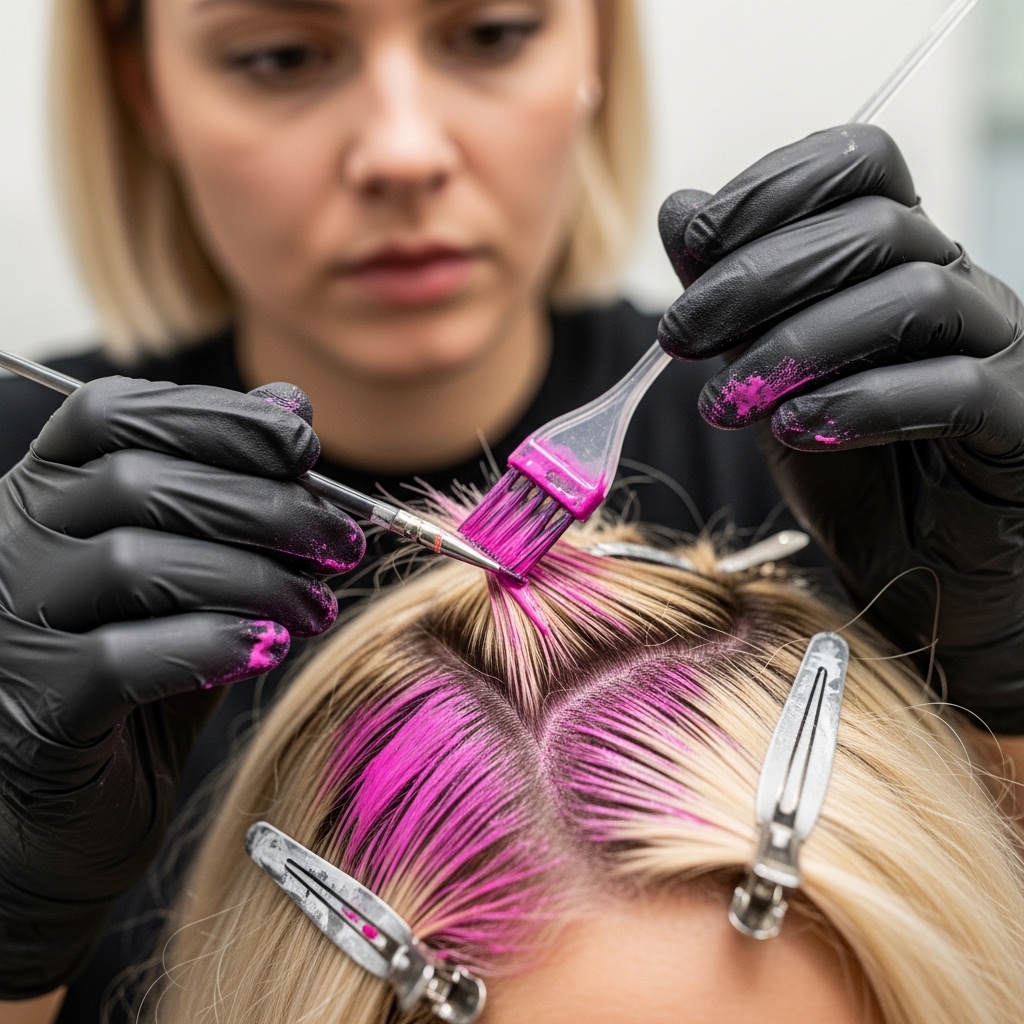
Step 2: Applying Your Color
Follow the directions on your chosen product. For creams or gels, saturate that small section thoroughly from root to tip. Really work it in.
If you’re using a spray or wax, layer it on until the color is vibrant and even. This is the fun part! Don’t be shy with the product on just that one piece.
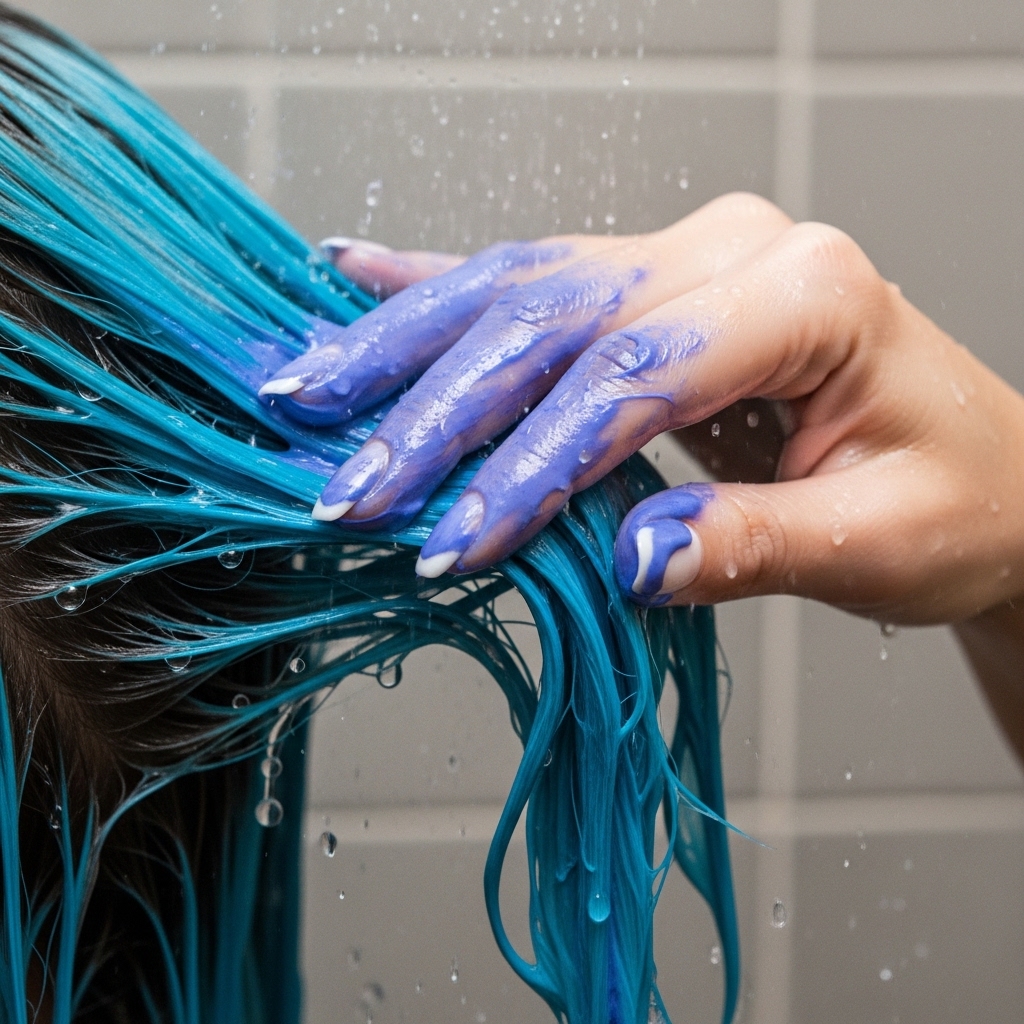
Step 3: Processing and Washing Out
If your dye needs processing time, you can wrap the piece in a little foil or plastic wrap to keep it from touching other hair. Set a timer!
When time’s up, rinse that section first, if you can, before washing the rest of your hair. Use cool water to help lock in the color and prevent bleeding onto your other strands.

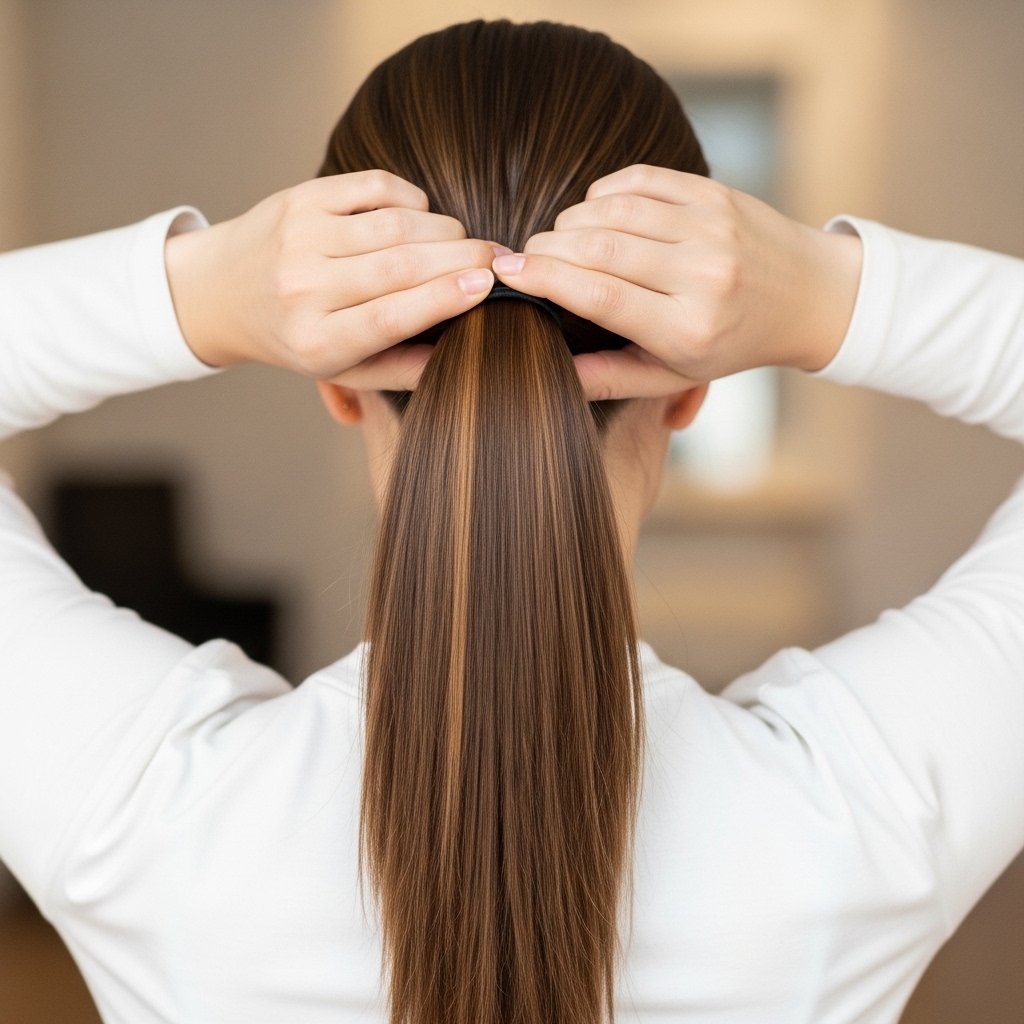
How to Style Your New Glitchy Pieces
This is where it comes to life! Straighten your hair to make the color blocks look super graphic and sharp. Or, add loose waves to let the colors blend and peek through in a softer way.
Try a half-up style to showcase a front piece, or a low ponytail to highlight an underlayer. Play with it! Styling changes the whole effect.
Mixing This Trend with Others
The cool thing about glitchy glam is it works with almost any cut. Try it with an asymmetrical lob for a modern edge. It can add a punk twist to an old money hair aesthetic.
Pair a dark base with a blood-red block for a vampire haircut feel. Or, add a colored panel to a hime cut for an anime-inspired twist. It’s incredibly versatile.
Taking It Up a Notch: Adding a Second Color
Once you’re comfy with one block, try two. Place a second color on the opposite side or layer it underneath your first piece.
Keep the colors complementary or go for high-contrast. The key is to keep the sections clean and separate. Too many pieces can start to look muddy instead of graphic.
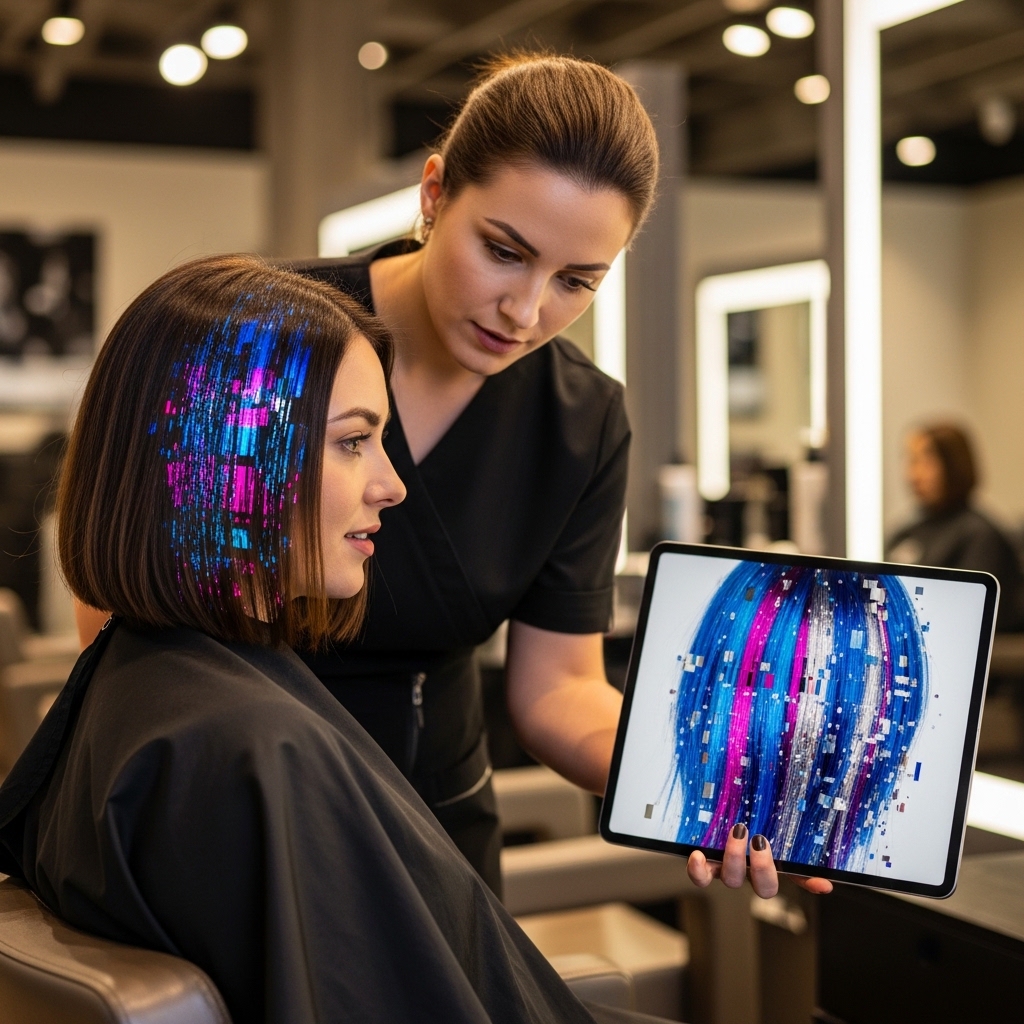
When to Consider a Salon Visit
If you fall in love with the look and want to go permanent or need major lightening (like going from dark brown to platinum), book a pro. A good colorist can execute this precisely.
Bring clear photos of the placement you want. This is especially key for high-contrast looks, as bleaching needs to be done carefully to protect your hair’s health.
Maintenance: Keeping It Fresh
For semi-permanent color, use sulfate-free shampoo and wash in cool water. This makes your color last weeks longer. Touch up the color as needed with a little leftover dye.
For permanent color, use a color-depositing conditioner or mask in a similar shade to combat fading. Protect your hair from sun and heat styling to keep the blocks vibrant.
What If I Don’t Like It?
This is the beauty of the beginner method! If you used temporary color, just wash it repeatedly with clarifying shampoo. It will fade.
If it’s a small enough permanent piece, you can sometimes dye it back to a shade close to your natural color, or style your hair to cover it. Remember, it’s just hair—it grows and changes.
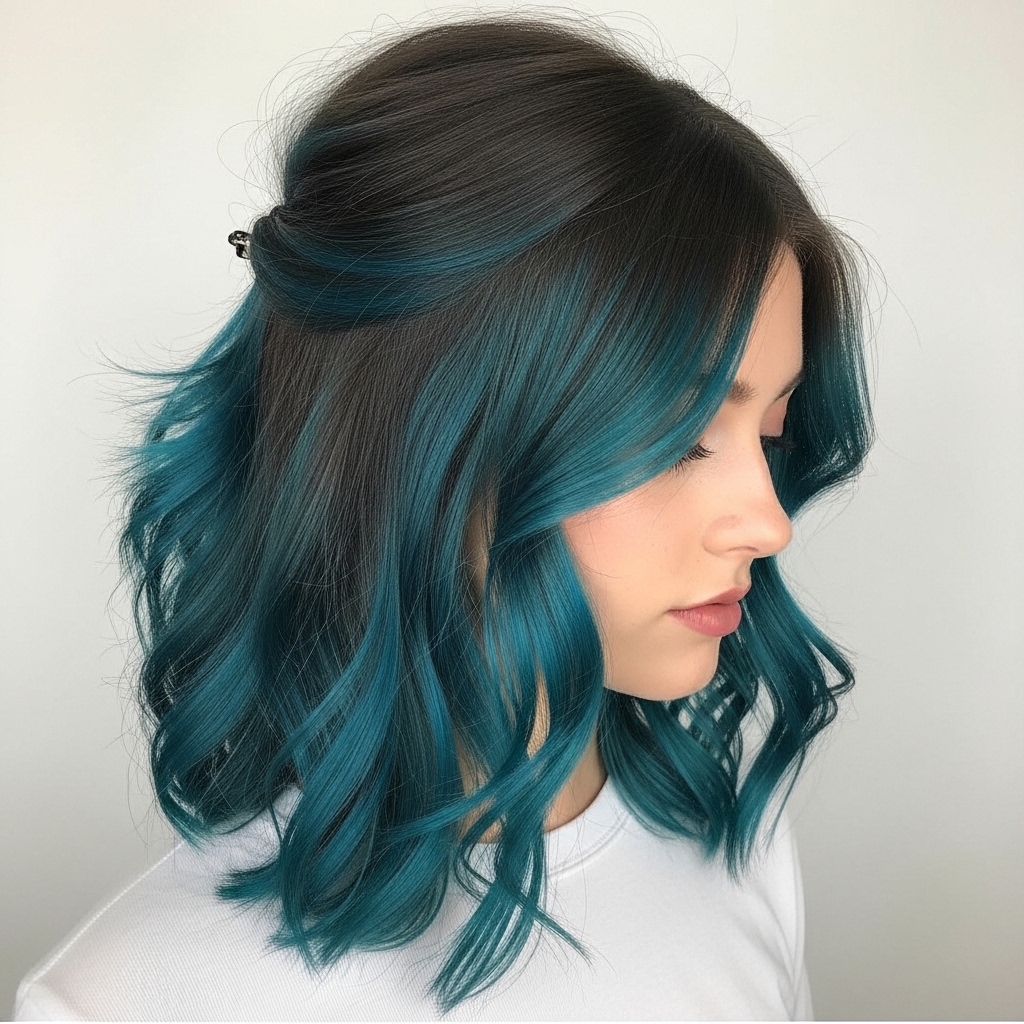
Glitchy Glam on Dark Hair Without Bleach
Yes, it’s possible! Look for direct-dye colors made for dark hair, like deep burgundies, emerald greens, or navy blues. They won’t be neon, but they’ll give a rich, tonal block of color.
Colored hair waxes, gels, and sprays are also your best friend here. They sit on top of the hair and wash out in one go, giving you that bold pop with zero damage.
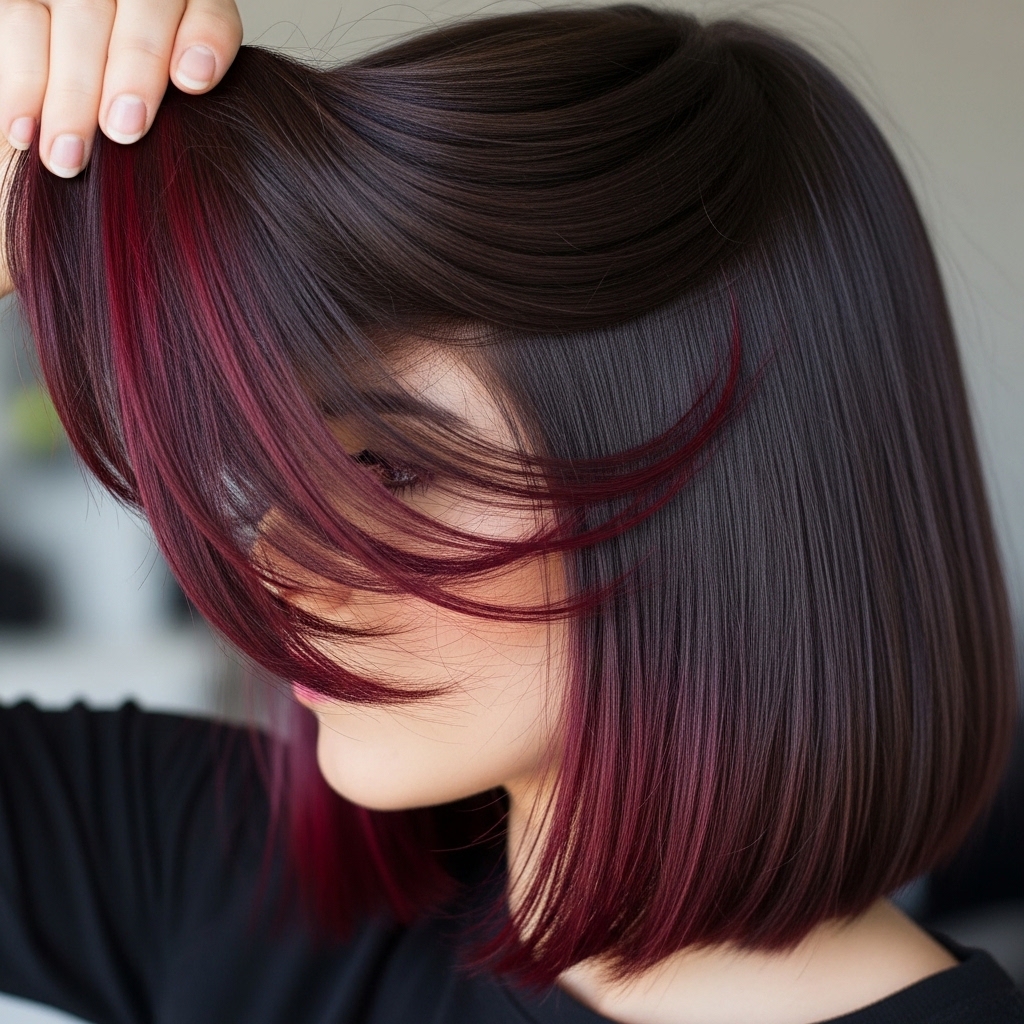
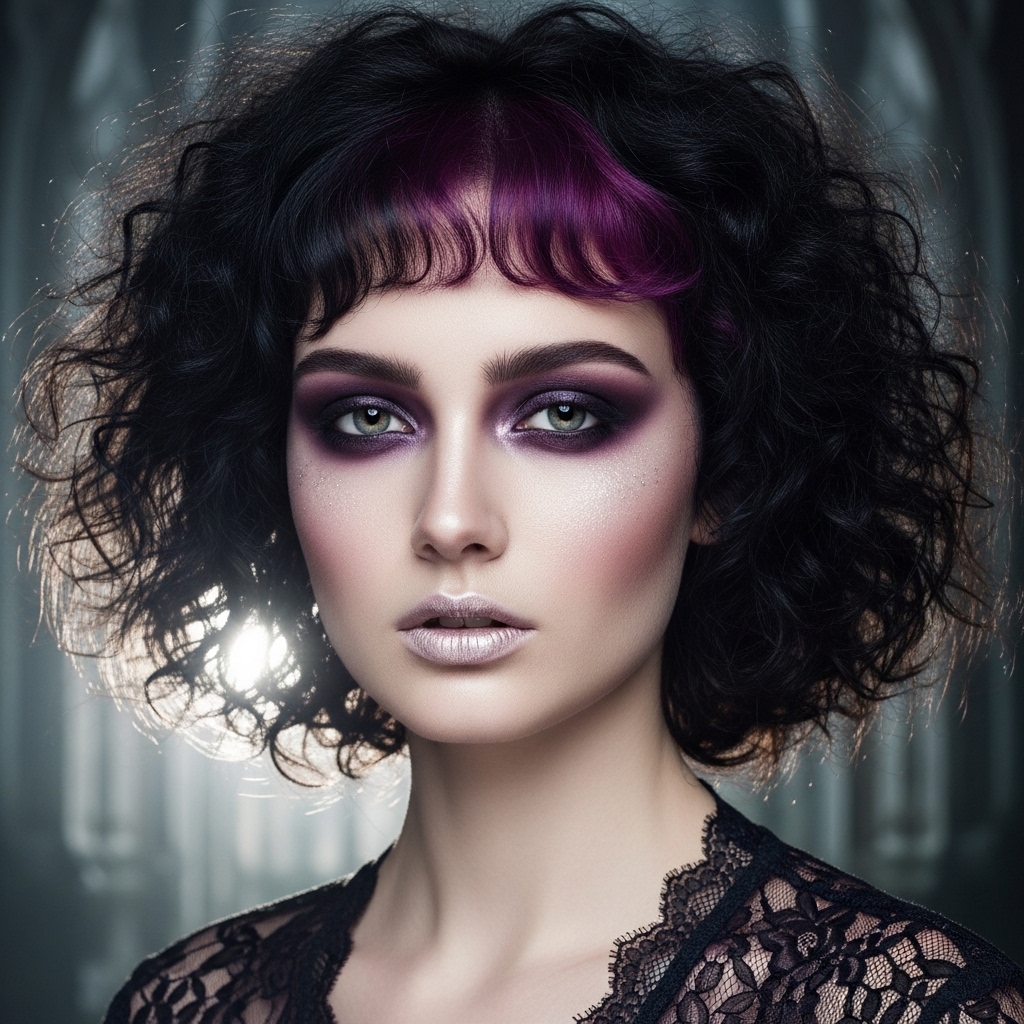
Inspiration: The Romantic Goth Twist
For a romantic goth hairstyles take, think deep colors and soft texture. Try a jet black base with a hidden block of deep violet or blood crimson.
Style it with lots of volume and soft curls. Add some face-framing pieces. It’s a beautiful way to blend drama with a touch of softness, perfect for this trend.
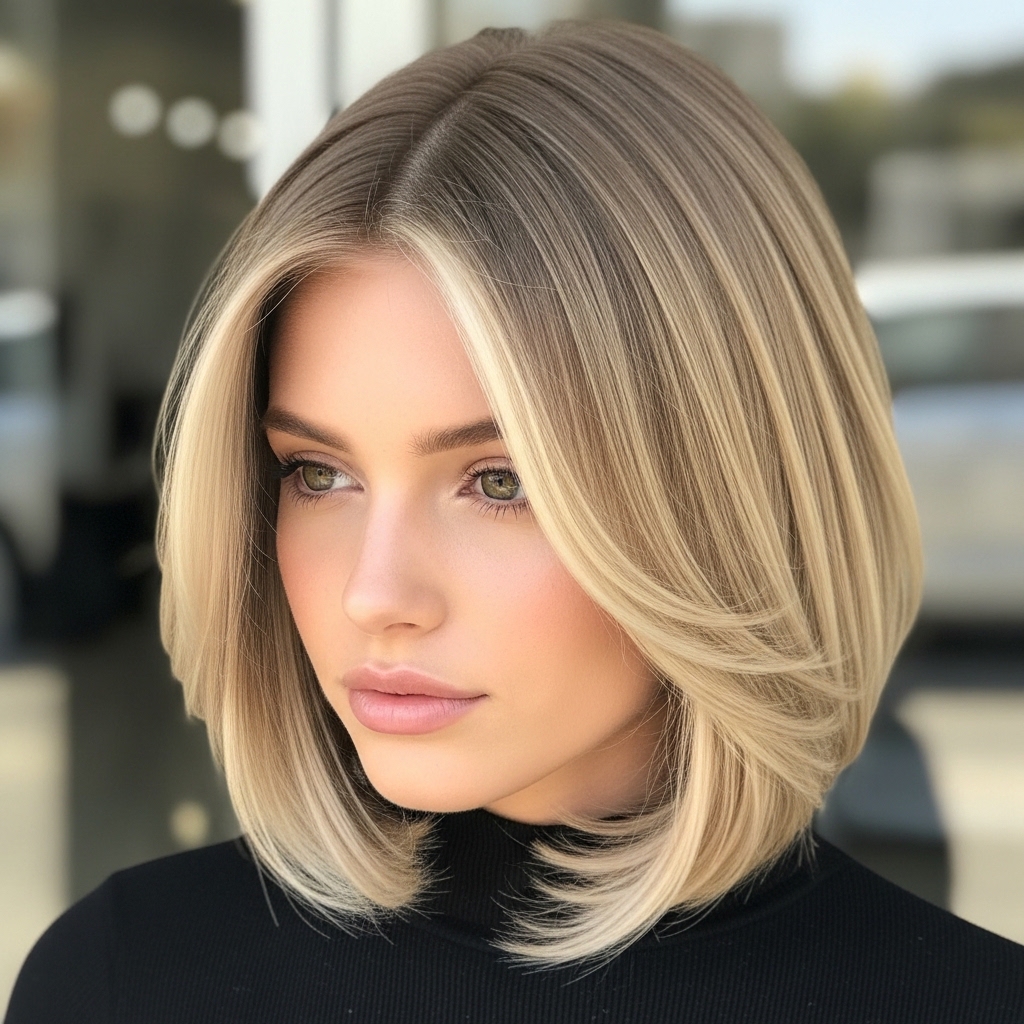
Inspiration: The Quiet Luxury Version
Sounds opposite, right? But a quiet luxury bob with a single, subtle block of tonal color is everything. Think a honey blonde bob with one piece in a slightly warmer caramel.
The difference is subtle, not stark. It’s for the person who wants a hint of “something different” that’s noticed only when the light hits just right. It’s so chic.
Common Mistakes to Avoid
- Going too big too fast. Start small.
- Using permanent dye on your first try. Just don’t.
- Sloppy sectioning. Ragged lines look accidental, not cool.
- Forgetting a strand test. Always test color on a hidden piece first.

Your FAQs Answered Quickly
Will it damage my hair? Not with temporary color or careful, small-section permanent dye.
Can I do this on curly hair? Absolutely! The blocks look amazing defined in curls.
How long does it last? Semi-permanent: 2-6 weeks. Temporary spray: until your next wash.

Final Pep Talk Before You Start
Honestly, the biggest barrier is just starting. Pick an afternoon where you have nothing to do, grab a temporary color, and just try it on one tiny piece.
Worst case, you don’t love it and you wash it out. Best case, you discover a fun, new side of your style. Hair is one of the easiest ways to express a mood or try on a new personality. Have fun with it.
So, that’s the full breakdown. The beginner’s map to getting that awesome, glitchy glam look without losing your mind. It’s really just about breaking a big trend into a tiny, manageable step.
Remember, all those amazing 2026 hairstyles you see started as someone’s experiment, too. Yours is just as valid. The goal is to feel cool, confident, and like you played with your look—not to achieve perfection.
I’d love to see what you create! Did you try a front piece? An underlayer? What color did you choose? Tell me all about your experiment in the comments below!
Save this post to Pinterest so you have the steps handy for your next color adventure!

