
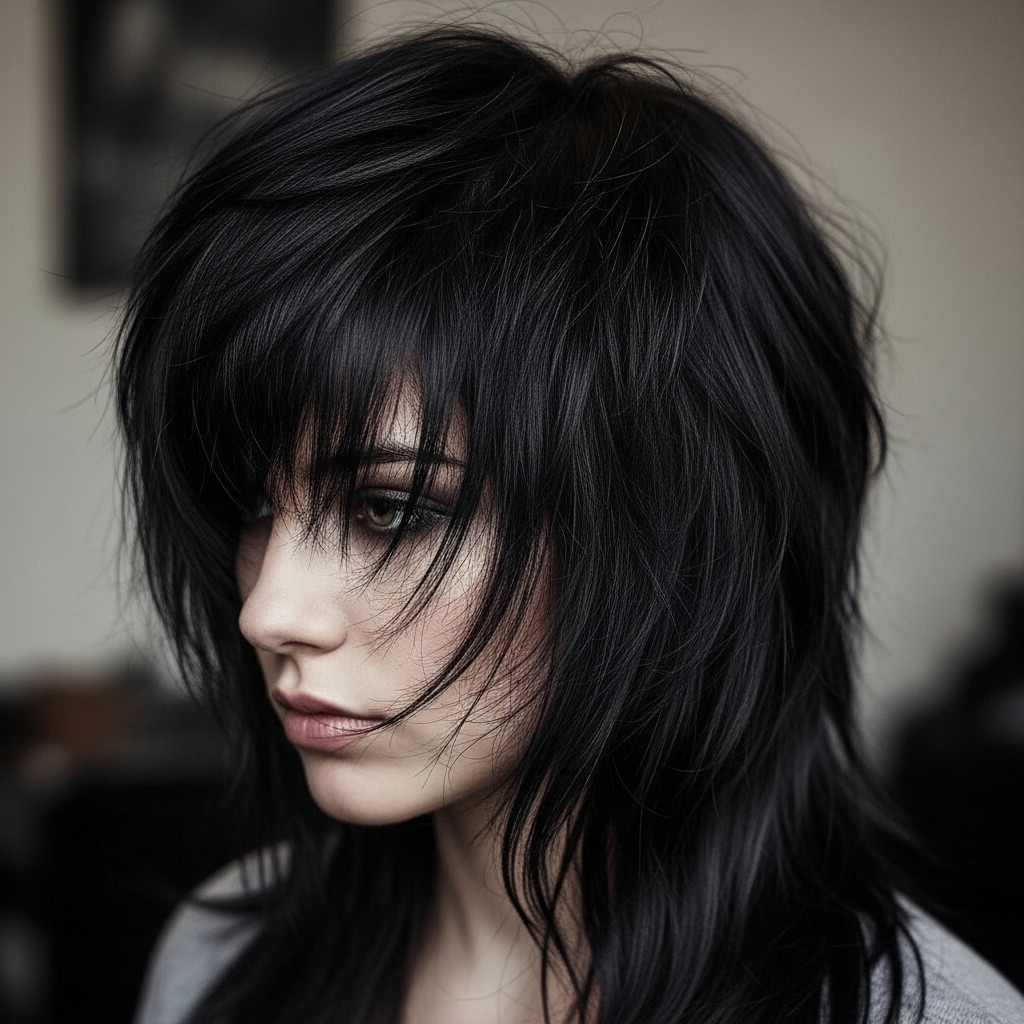
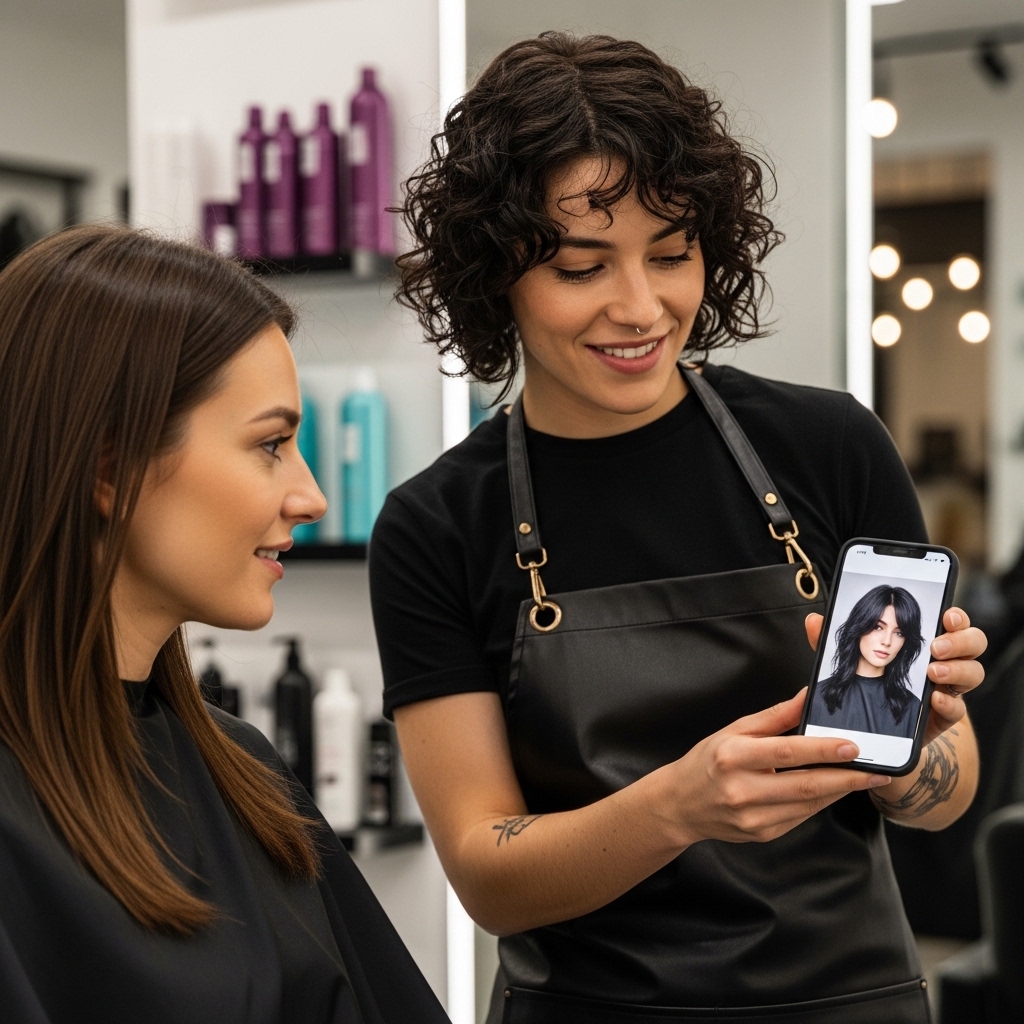
Okay, let’s talk about the haircut that’s *everywhere* right now. You’ve seen it on your feed, right? That perfect mix of edgy and elegant, a little bit romantic goth, a whole lot of cool. It’s the vampire haircut, and I promise it’s not as scary as it sounds.
If you’re looking at 2026 hairstyles already, this is a huge trend that’s sticking around. It’s all about that lived-in, effortlessly cool vibe with lots of texture and personality. Think of it as the rebellious cousin of the quiet luxury bob.
The best part? You don’t need to be a pro to get this look. I’m breaking it down into the simplest steps possible. Whether you’re dreaming of a full hime cut or just some killer face-framing pieces, this tutorial is for you. Grab your scissors, and let’s give your hair some serious attitude.
What Exactly Is A Vampire Haircut?
Let’s clear this up first. The vampire haircut isn’t one single style. It’s more of a mood. It combines elements from different edgy, textured cuts to create something unique and personal.
Imagine taking the blunt, heavy fringe of a hime cut, the choppy layers of a wolf cut, and the cool-girl vibe of an asymmetrical lob, then mixing them all together. The result is a look that’s intentionally imperfect, full of movement, and seriously charismatic.
Why This Cut Is Perfect For Beginners
This might sound crazy, but this is a great first DIY cut. Why? Because perfection is not the goal. The choppy, layered finish is very forgiving. Small mistakes just add to the textured, lived-in feel.
You’re not aiming for a sleek, salon-perfect line. You’re creating texture and removing bulk. This takes a lot of pressure off. If you’ve ever been scared to cut your own hair, this is the style to try.

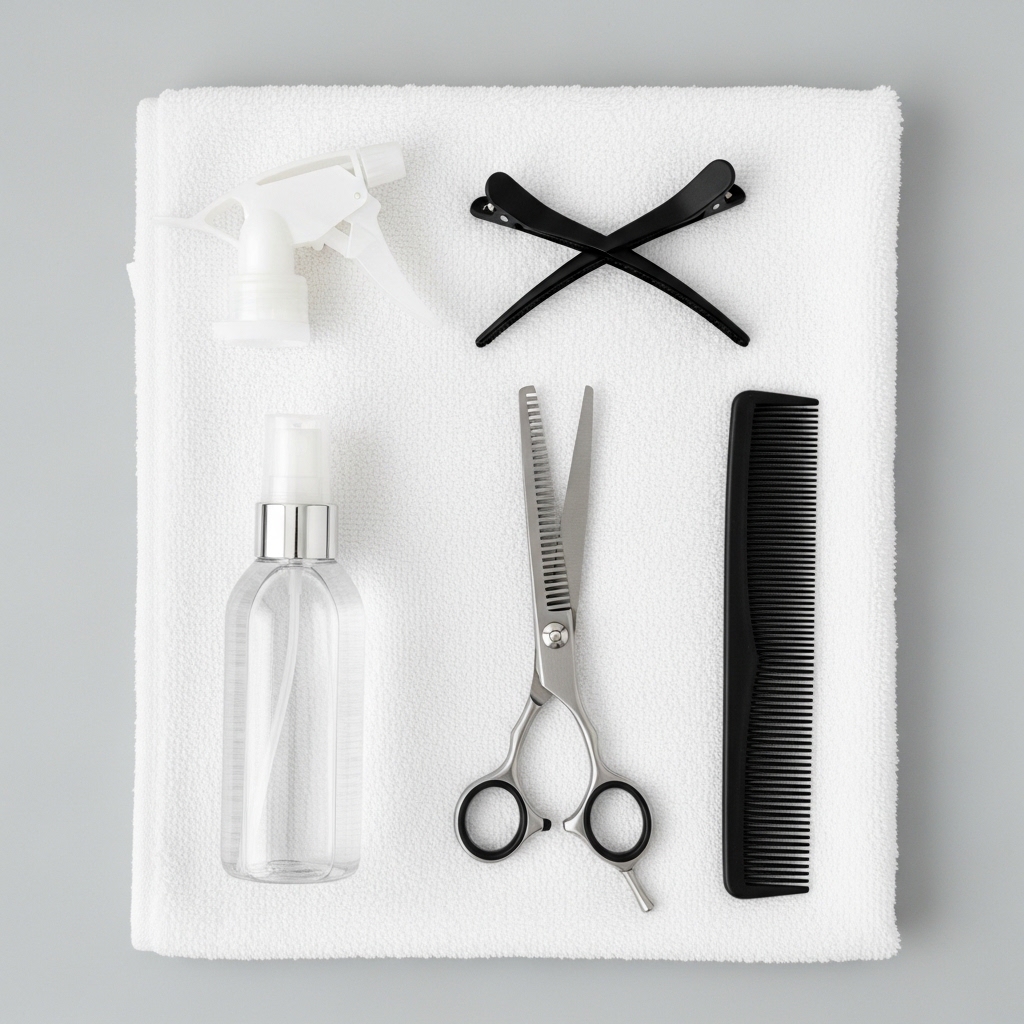
Tools You Absolutely Need
Don’t even start without these. Using the right tools is what separates a good DIY from a hair disaster. You don’t need a ton, but you need the correct ones.
- Sharp Haircutting Shears: Not kitchen scissors. This is crucial for clean cuts.
- Fine-Tooth Comb: For precise sectioning.
- Hair Clips: To keep sections separate and tidy.
- Spray Bottle with Water: Damp hair is easier to cut evenly.
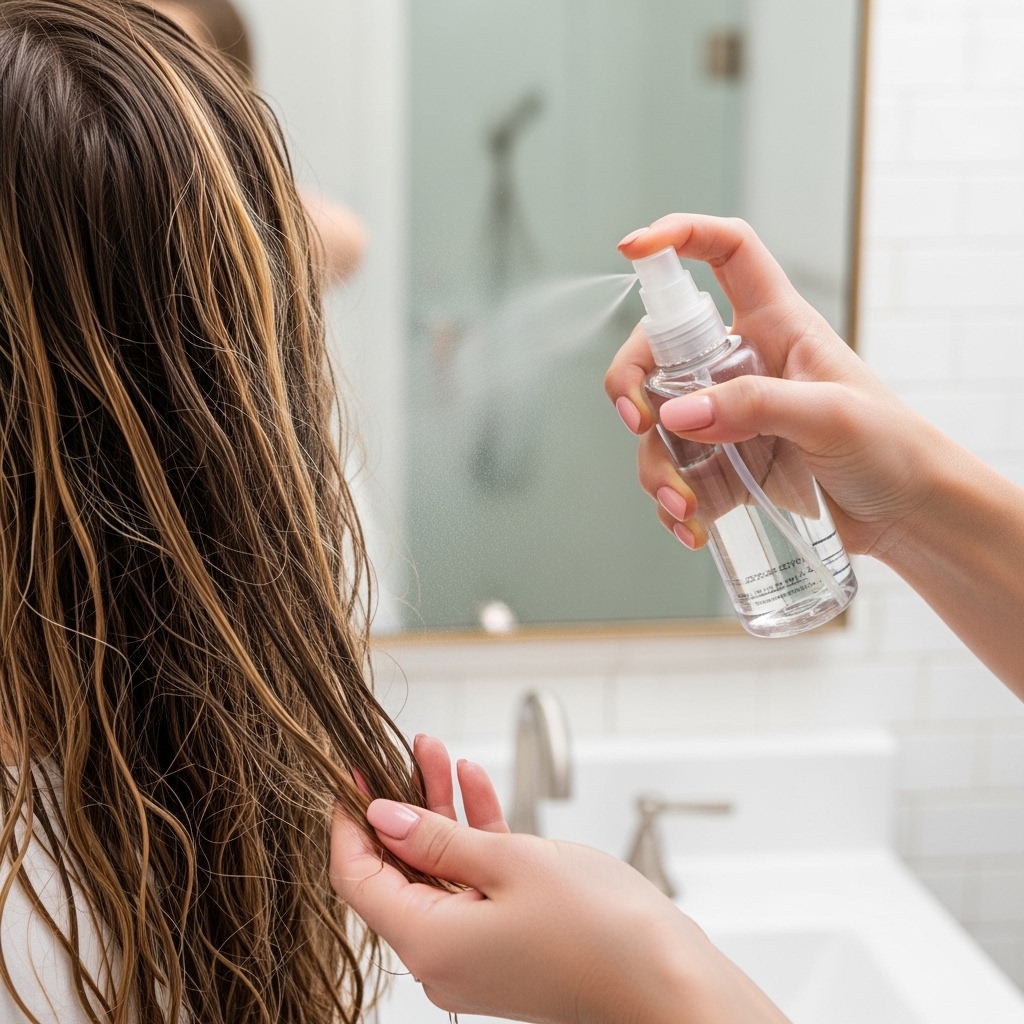
Start With The Right Hair State
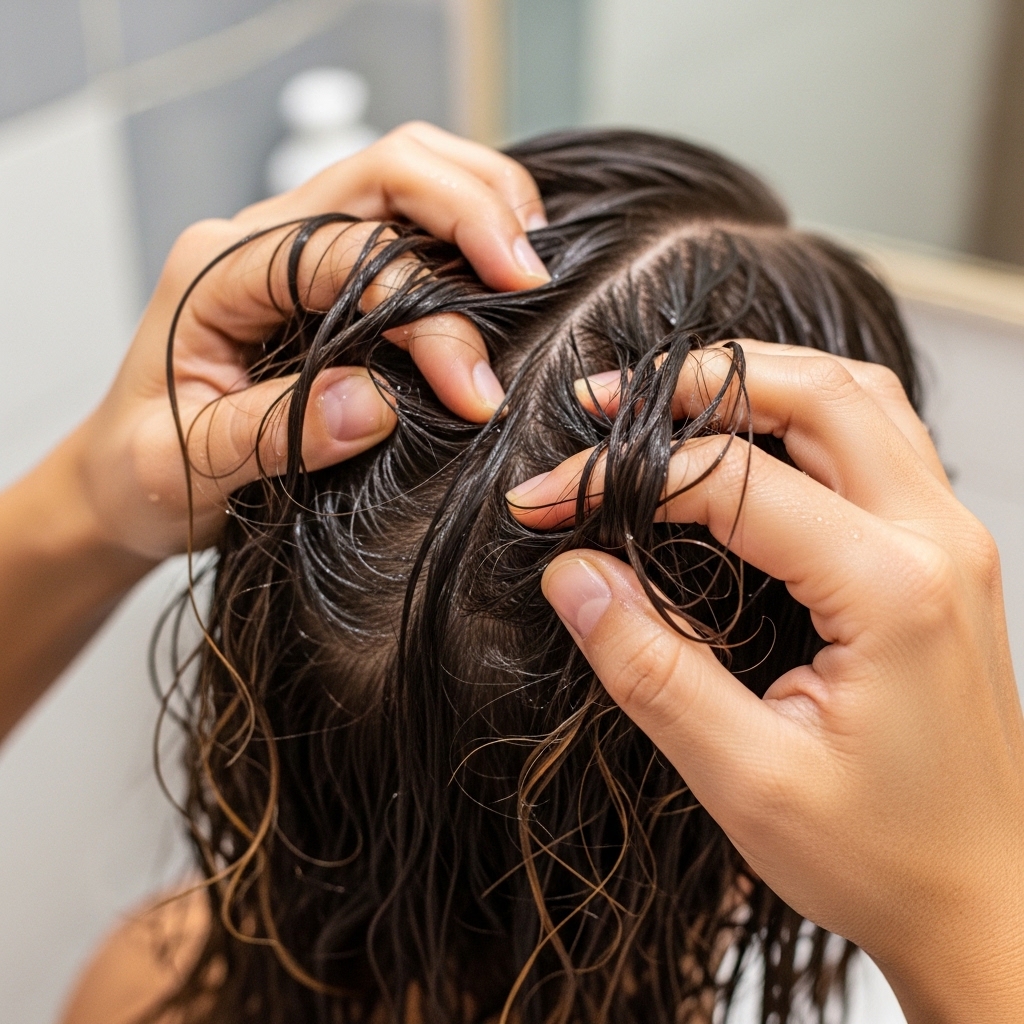
Always, always cut your hair when it’s damp. Not soaking wet, and definitely not bone dry. Towel-dried hair is perfect. Wet hair clumps together and can look longer, leading to cutting off too much.
Dry hair, on the other hand, is harder to control and you can’t see the true texture. Mist your hair evenly with your spray bottle until it’s uniformly damp. This gives you the most accurate canvas to work on.
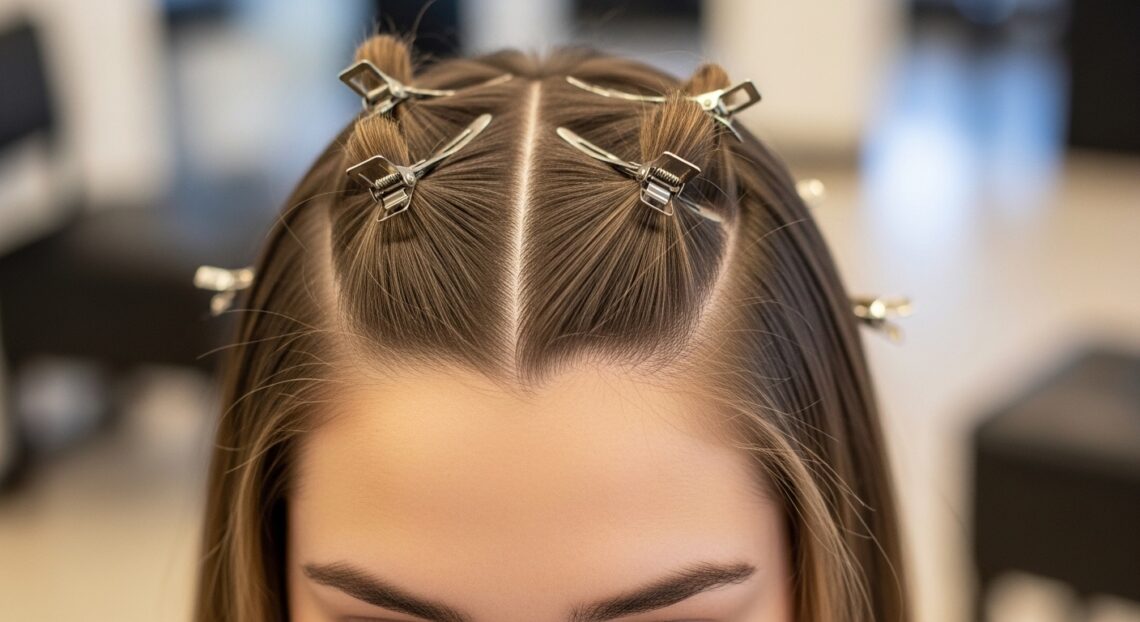
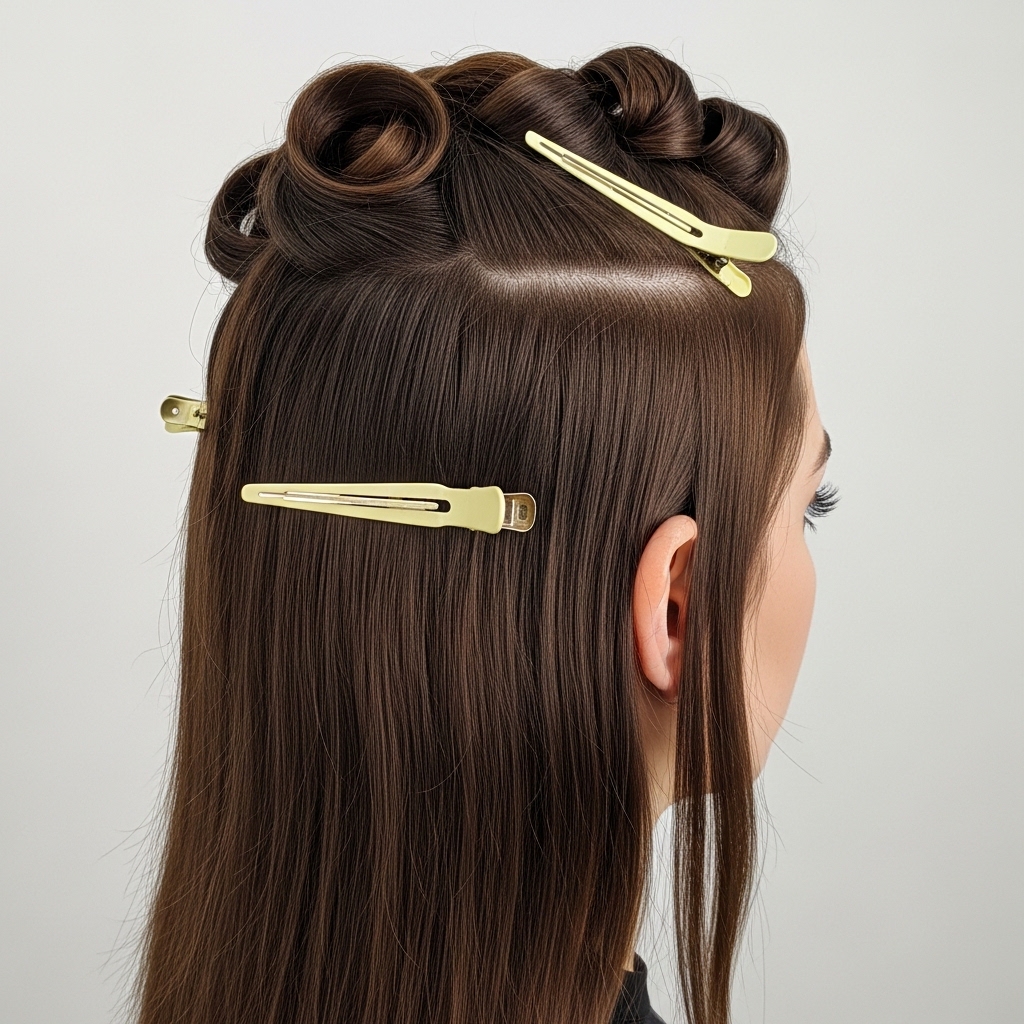
Sectioning Is Your Secret Weapon
This is the most important step for control. Part your hair down the middle from forehead to nape. Then, clip one side completely away. We will work on one half at a time.
On the side you’re working on, create a horizontal part from the top of your ear back. Clip the top section up. You should now have a lower back section free. This method keeps everything organized and manageable.
Step 1: Establishing Your Guide Length
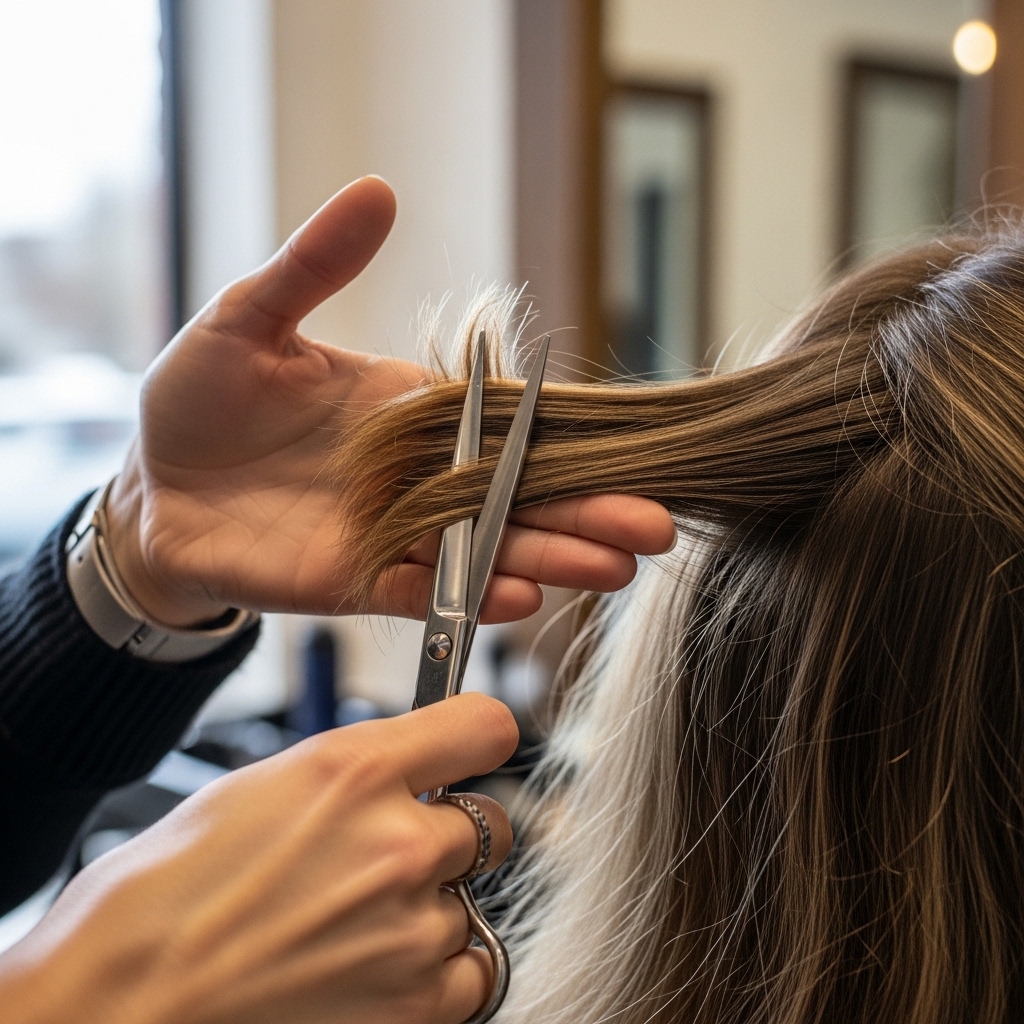
Let’s start with the back. Unclip the very bottom section at the nape of your neck. Take a small, horizontal subsection about half an inch thick. Comb it straight down.
Decide how short you want the overall back to be. This first cut is your guide—every other cut will match this length. Snip straight across. Go slow. You can always cut more, but you can’t add hair back.
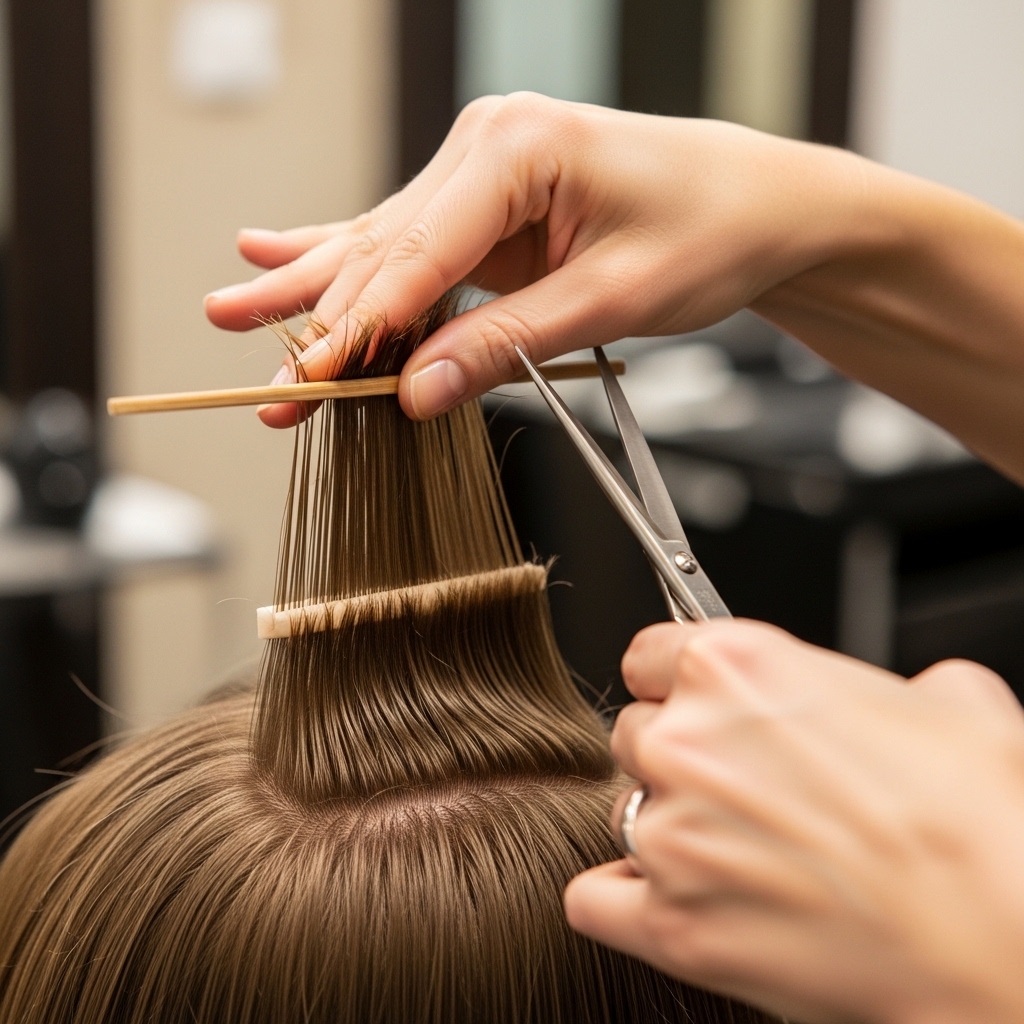
Step 2: Cutting The Back Sections
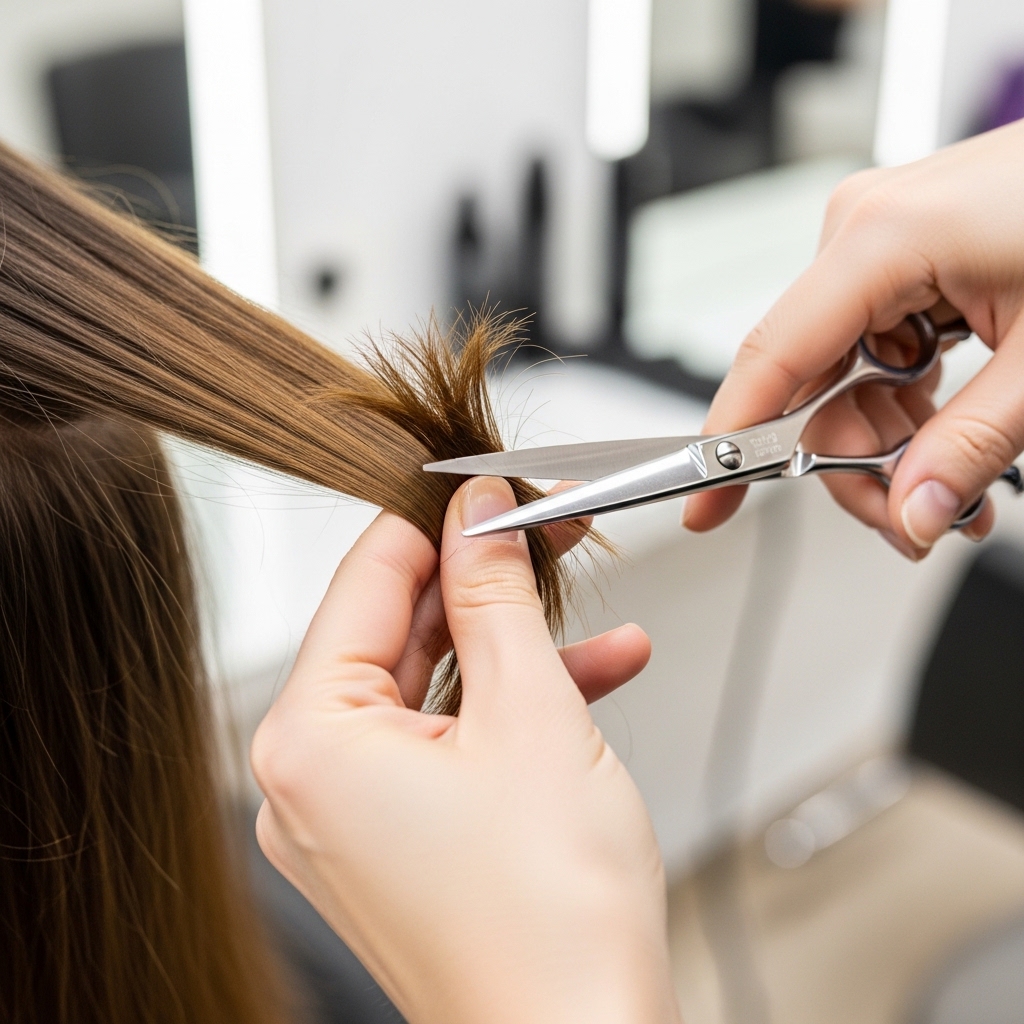
Now, use that first cut piece as your ruler. Take another horizontal subsection right above it. Comb it down, and carefully cut it to match the length of your guide.
Work your way up the back of your head this way, one small subsection at a time. Always use the previously cut hair as your guide. This technique, called “vertical graduation,” builds a solid, even foundation.
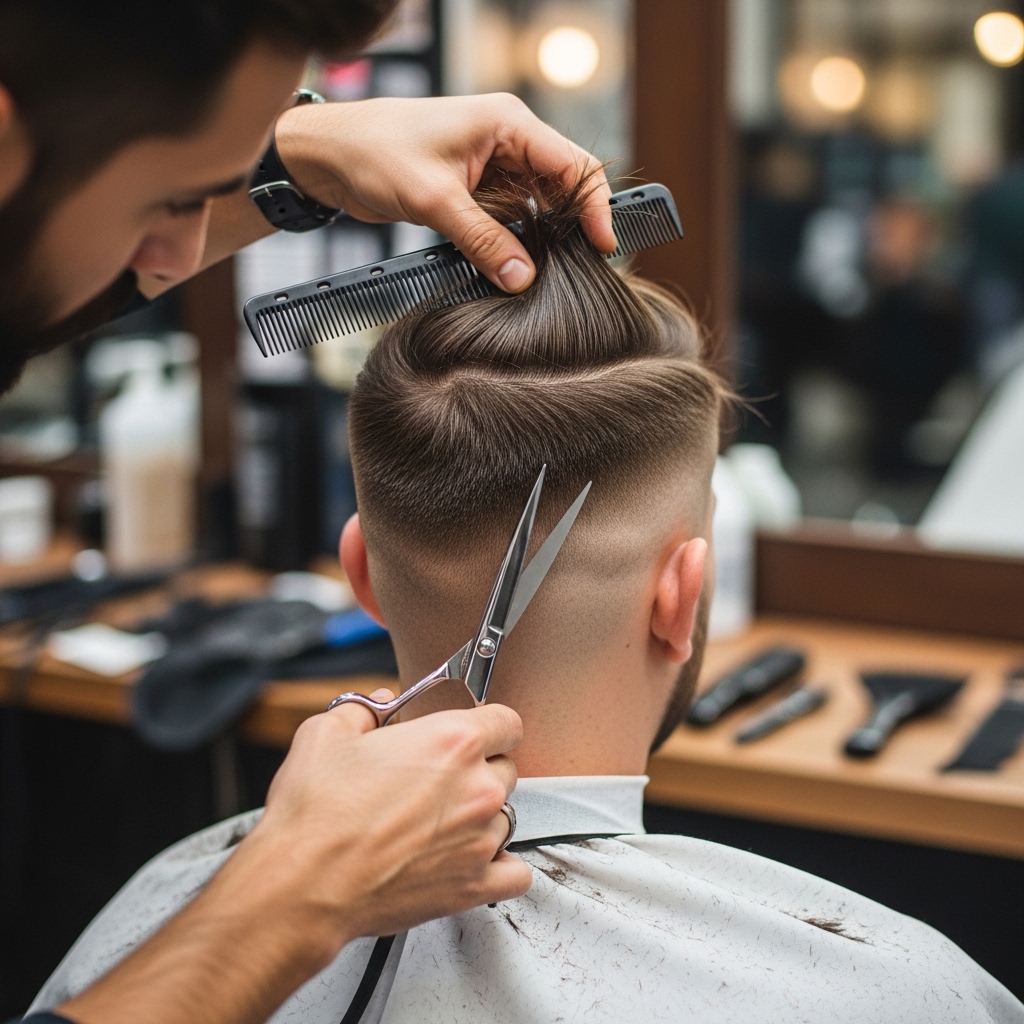
Step 3: Bringing In The Sides
Once the back is done, unclip the side section above your ear. Comb it straight down towards your shoulder. You need to connect this side hair to the length you just created in the back.
Gently pull the side section back until it lines up with your back hair. Trim any longer pieces so they blend seamlessly. This creates the shape of your asymmetrical lob or wolf cut base.
Step 4: Repeating On The Other Side
Unclip the entire other half of your hair. Repeat the exact same process. Section off the back, use your already-cut side as a loose guide for length, and work your way up.
Check for balance by pulling both front sections forward. Look in the mirror. Do the sides look roughly even? Make any small adjustments now by trimming slightly into the longer side.

Step 5: Crafting The Face-Framing Layers
This is where the vampire personality comes in! Unclip the top front sections. Take a triangular section from the front, from about the middle of your eyebrow back.
Point-cut (cutting vertically into the ends with the tips of your shears) into this section to create soft, broken edges. Start shorter around the face and gradually get longer as you go back. This is key for that glitchy glam hair effect.
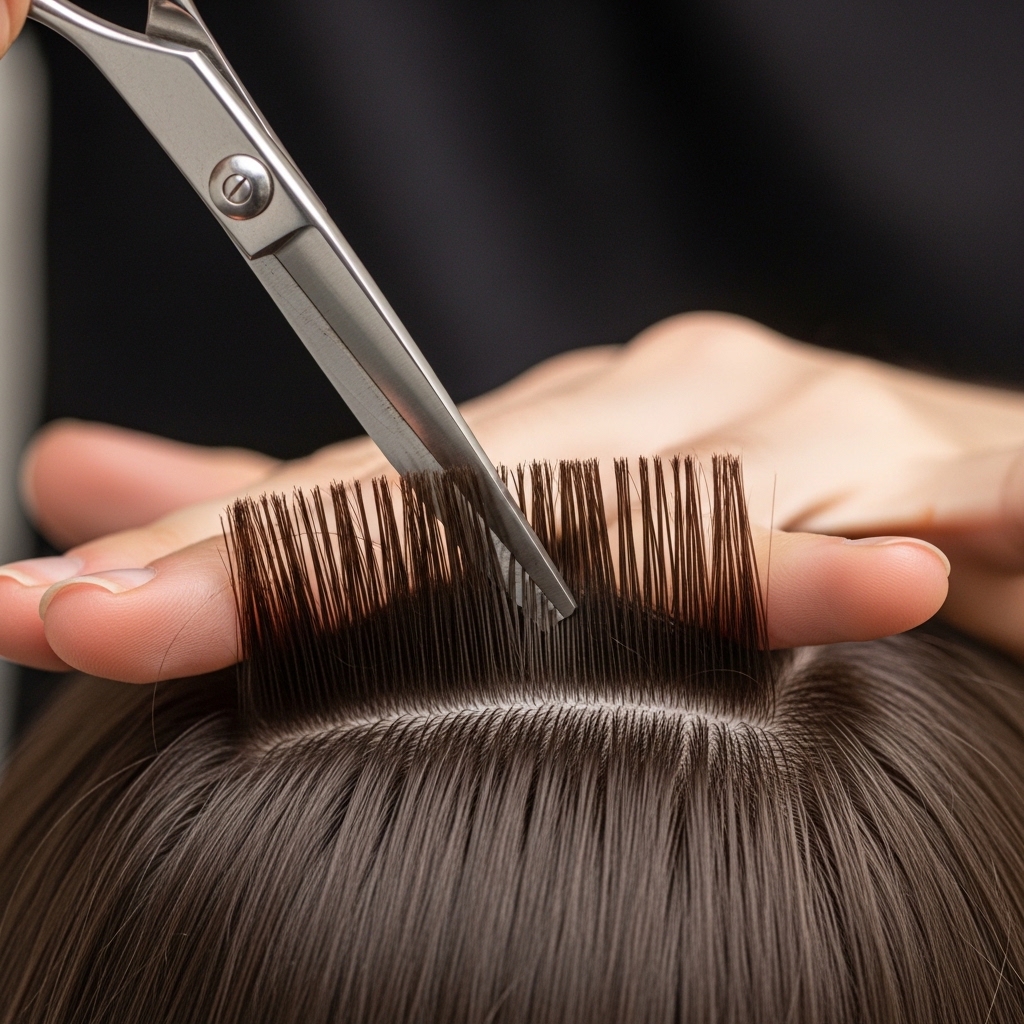
Step 6: Creating The Signature Choppy Texture
Now, we add the “lived-in” texture. Take random vertical sections of hair throughout your head. Twist them lightly and point-cut into the ends and the mid-lengths.
This technique removes bulk and creates those intentional, piece-y gaps. Don’t overdo it—you can always add more texture later. Focus on the areas around your face and the ends of your hair.
Step 7: Styling For Maximum Vampire Vibe
The cut is done! Now, let’s style it. Rough dry your hair with a towel, then use a blow dryer with a diffuser or just let it air dry. Scrunch your hair as it dries to enhance the texture.
Avoid heavy, sleek products. You want separation and movement. A texturizing spray or a light sea salt mist is your best friend here. It will define all those cool layers you just created.
How To Style A Vampire Fringe (Hime Style)
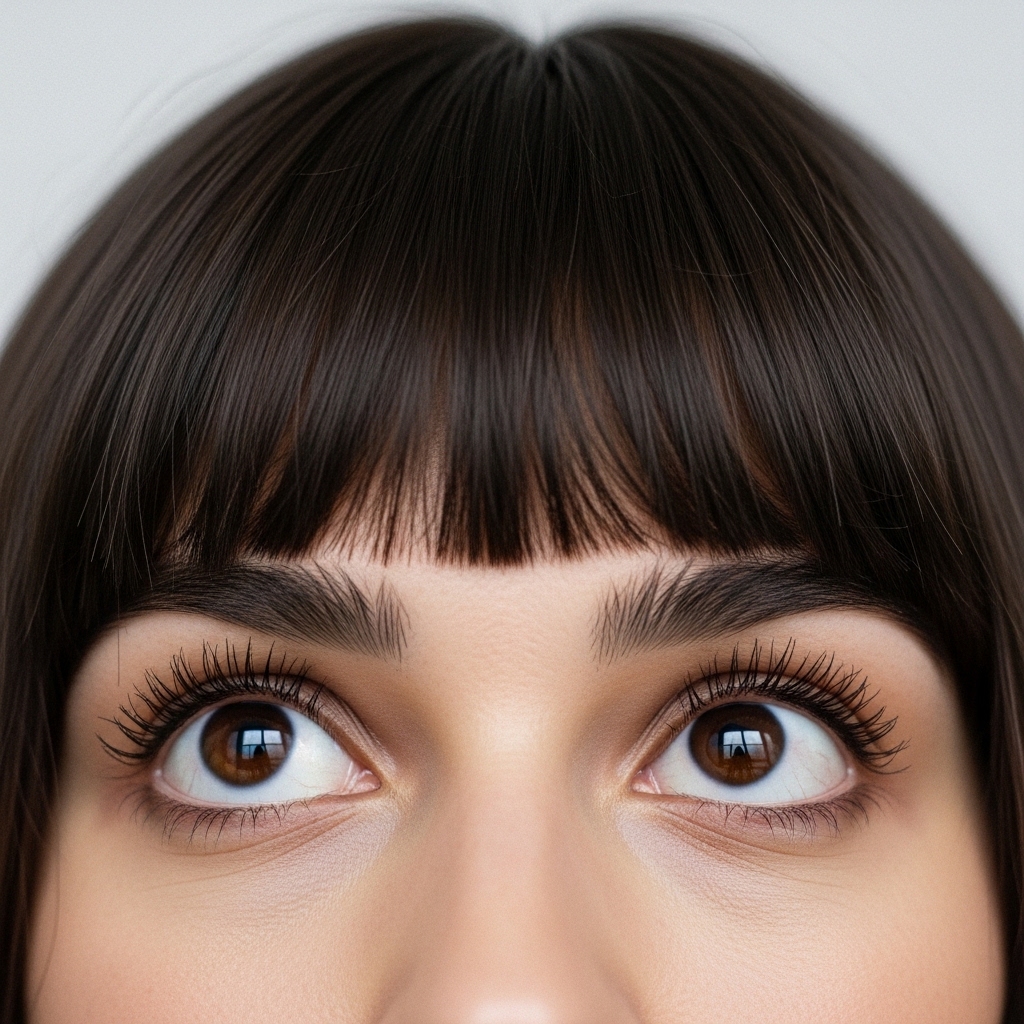
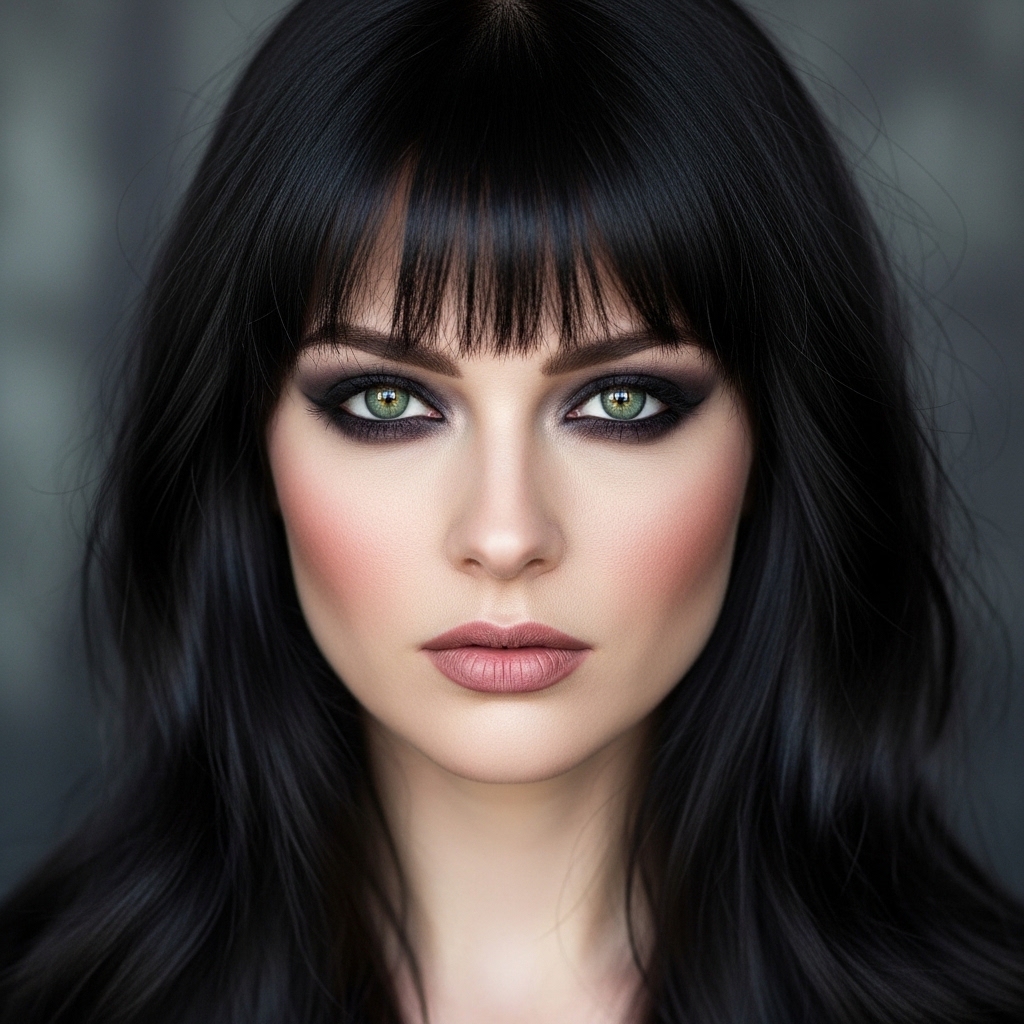
If you want a stronger, hime cut influence, focus on the fringe. Create a deep side part or a strong blunt fringe section. Keep it heavy and straight across, or point-cut it for a softer, more shattered look.
This bold fringe instantly gives off those romantic goth hairstyles energy. Pair it with the textured lengths you just cut, and the look is complete. It frames the face dramatically.
Adding Color For Extra Drama
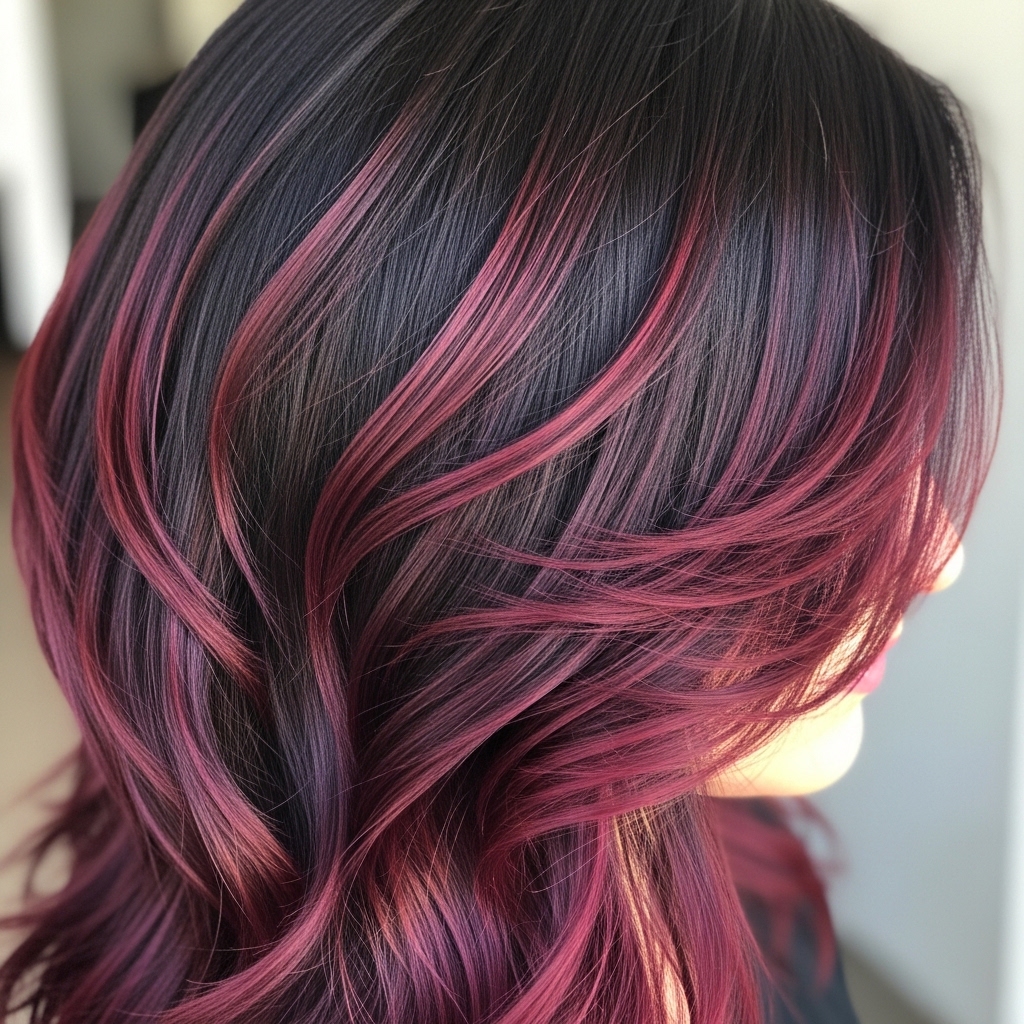
While not necessary, color can take this cut to the next level. Think of dark roots melting into burgundy or plum ends. Or, for a subtler take on old money hair, rich, dimensional brunette tones.
Face-framing highlights or money pieces in silver or platinum also look incredible with this cut, adding to that glitchy glam hair aesthetic. It’s all about personal expression.
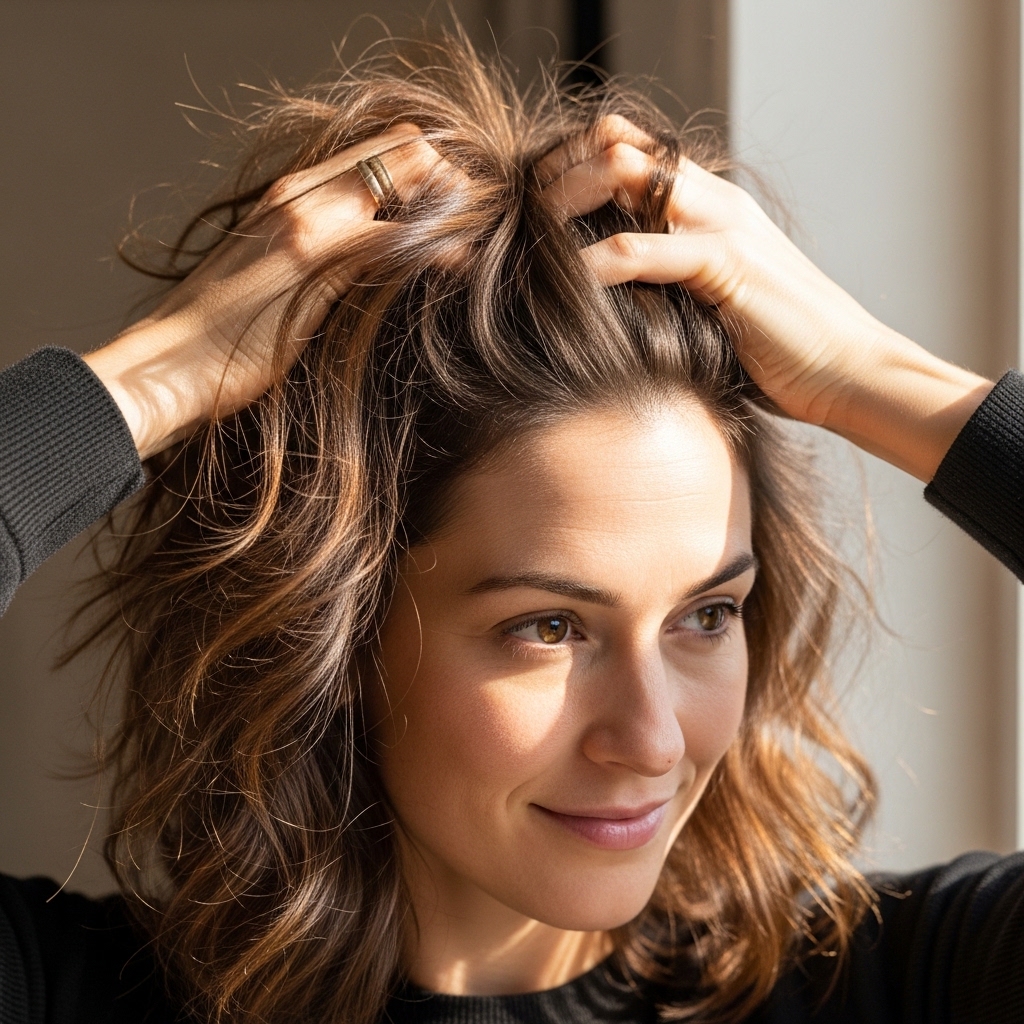
Daily Maintenance Is A Breeze
The beauty of this cut is that it looks better the next day. Sleep on it, wake up, shake it out. Use dry shampoo at the roots for volume and to absorb any oil.
To refresh, just dampen your hands with water and a tiny bit of styling cream, and re-scrunch the pieces. The texture is built-in, so you don’t have to fight for it every morning.
Common Mistakes To Avoid
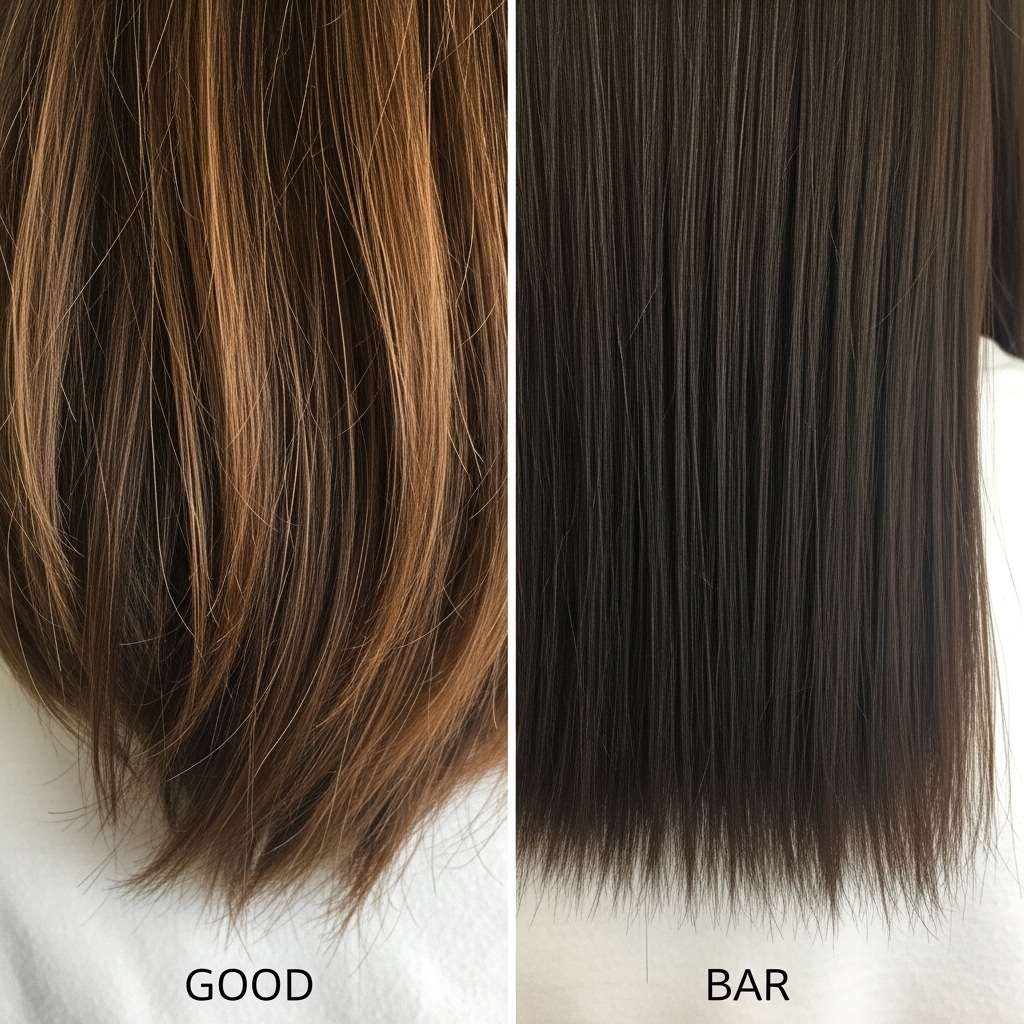
- Cutting Too Much at Once: Take tiny sections. You can always go shorter.
- Using Dull Scissors: This will damage your ends and give a ragged, not textured, look.
- Skipping Sectioning: It leads to uneven, uncontrolled results.
- Forgetting to Point-Cut: Blunt cuts all over will look like a helmet, not a vampire cut.
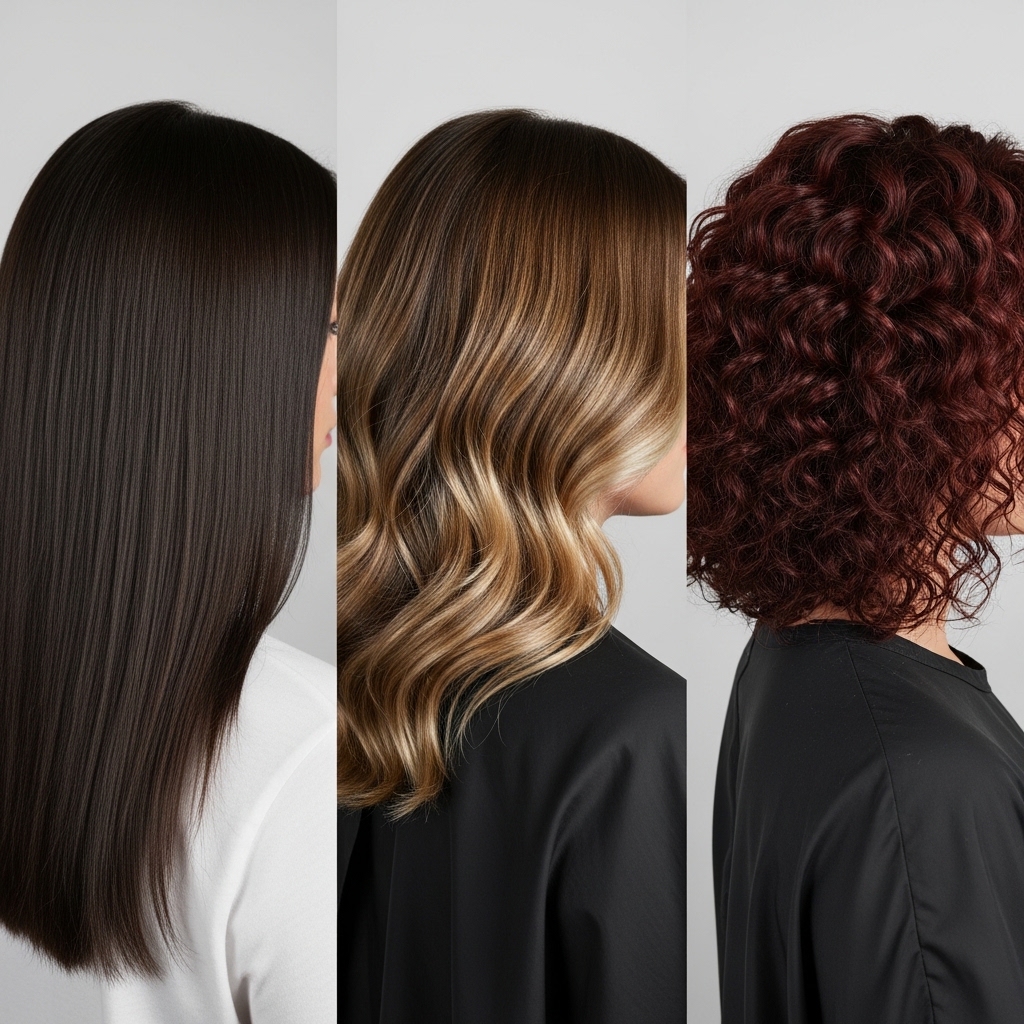
Adapting The Cut For Different Hair Types
If you have fine hair, this cut adds amazing volume and body. Focus on internal layers to remove weight. If you have thick hair, the cut is perfect for removing bulk and creating shape.
For curly hair, cut it dry or damp (not wet) so you can see the true curl pattern. Use the same point-cutting techniques on each curl clump for definition. The vampire cut works for everyone.
When To See A Professional
If you’re feeling truly nervous, there’s no shame in taking this tutorial to a stylist! It gives them a clear picture of what you want. A pro can perfect the shape and give you a great base.
Then, as it grows out, you can use these steps to maintain the texture and choppy layers yourself. It’s a great way to get the best of both worlds.
Pairing With Modern Makeup Looks
This haircut begs for cool makeup. Think smoky eyes, bold liner, or a stark contrast with clean, fresh skin. It’s the ideal match for the “clean girl” makeup trend with an edge.
Your hair is already making a statement, so your makeup can either complement it or go minimalist. Both ways look incredibly chic and modern.
Why This Is More Than A Trend
This cut taps into something bigger than just 2026 hairstyles. It’s about effortless confidence. It’s the messy bun’s cooler, more sophisticated older sister. It has that “I woke up like this” energy but with clear intention.
It blends the edge of romantic goth hairstyles with the ease of an asymmetrical lob. It’s personal, it’s expressive, and it’s incredibly fun to wear. That’s why it’s sticking around.
Your Final Check-List
- Hair is damp, not wet or dry.
- Sections are clipped neatly.
- First guide cut is set conservatively.
- Used point-cutting for texture.
- Blended sides into the back.
- Styled with texturizing product, not heavy gel.
- Embraced the imperfect, piece-y finish!
And there you have it! Your very own vampire haircut, done by you. I hope you feel empowered and totally in love with your new texture. Remember, hair grows, and the best part of this style is its flexibility.
Wear it sleek one day, wild the next. Grow out the bangs, chop them again. It’s a cut that evolves with your mood. That’s the real magic of it—it’s not just a style, it’s an attitude.
Did you try it? I would love to see your results! Tag me on social or send me a DM. And if you want to save this guide for your next trim session, be sure to save this post to Pinterest so you can find it easily. Now, go rock that new ‘do!

