

Okay, let’s be real. Sometimes you want that dark romantic vibe, but you don’t want to spend an hour with a curling iron and a can of hairspray. I get it. You’re drawn to those soft, textured, romantic goth hairstyles you see everywhere, but the effort feels like a lot for a Tuesday.
That’s why I’m obsessed with this trick. It’s my secret for adding instant, lived-in texture that looks cool, not perfect. We’re talking about finger coils. And before you think “afro coils,” stay with me—this is a softer, looser, romantic take on the technique.
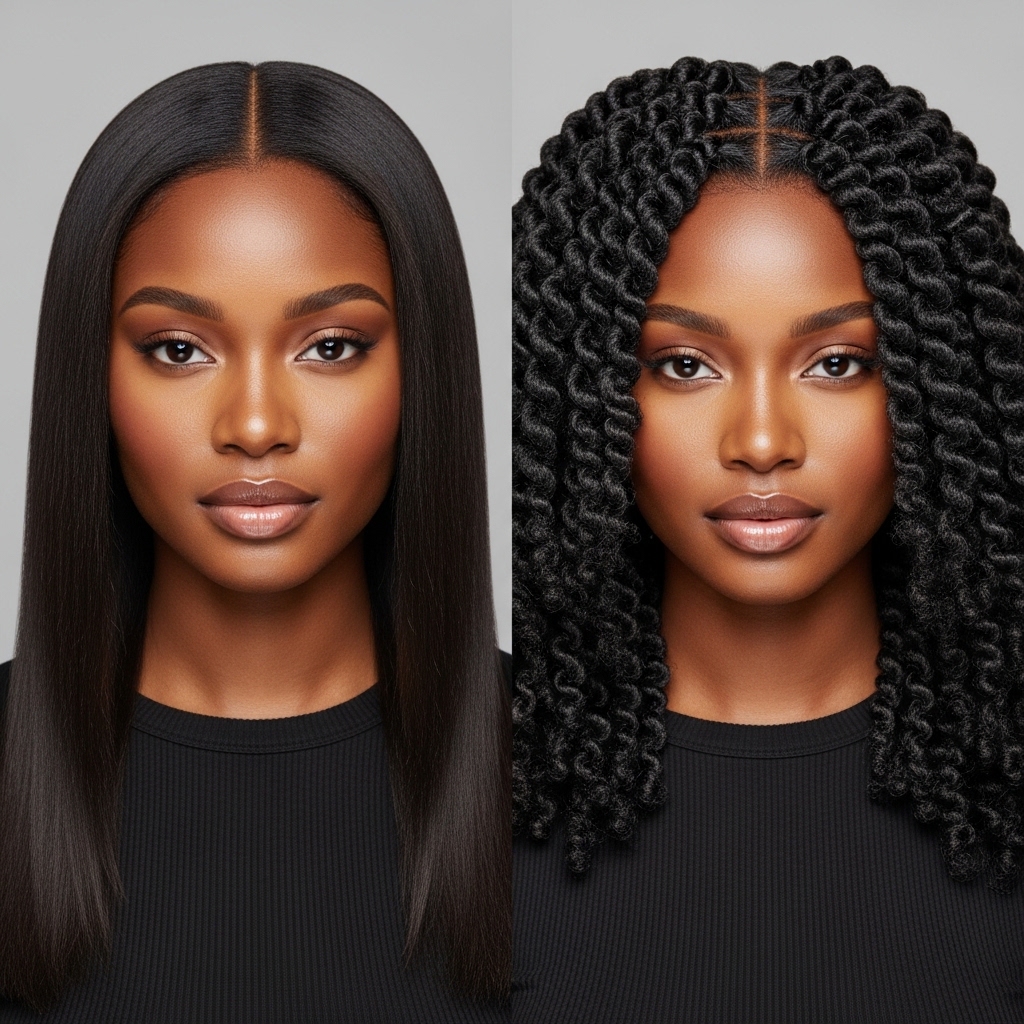
It works on almost any hair type and length, from a sleek quiet luxury bob to longer layers. It gives you that “glitchy glam hair” texture—undone, artistic, and deeply cool. The best part? It takes about 10 minutes, uses zero heat, and the results are stunning.
Let me walk you through exactly how I do it, what you need, and how to make it last. This is the easiest way to tap into that 2026 hairstyles trend of effortless, artistic texture.
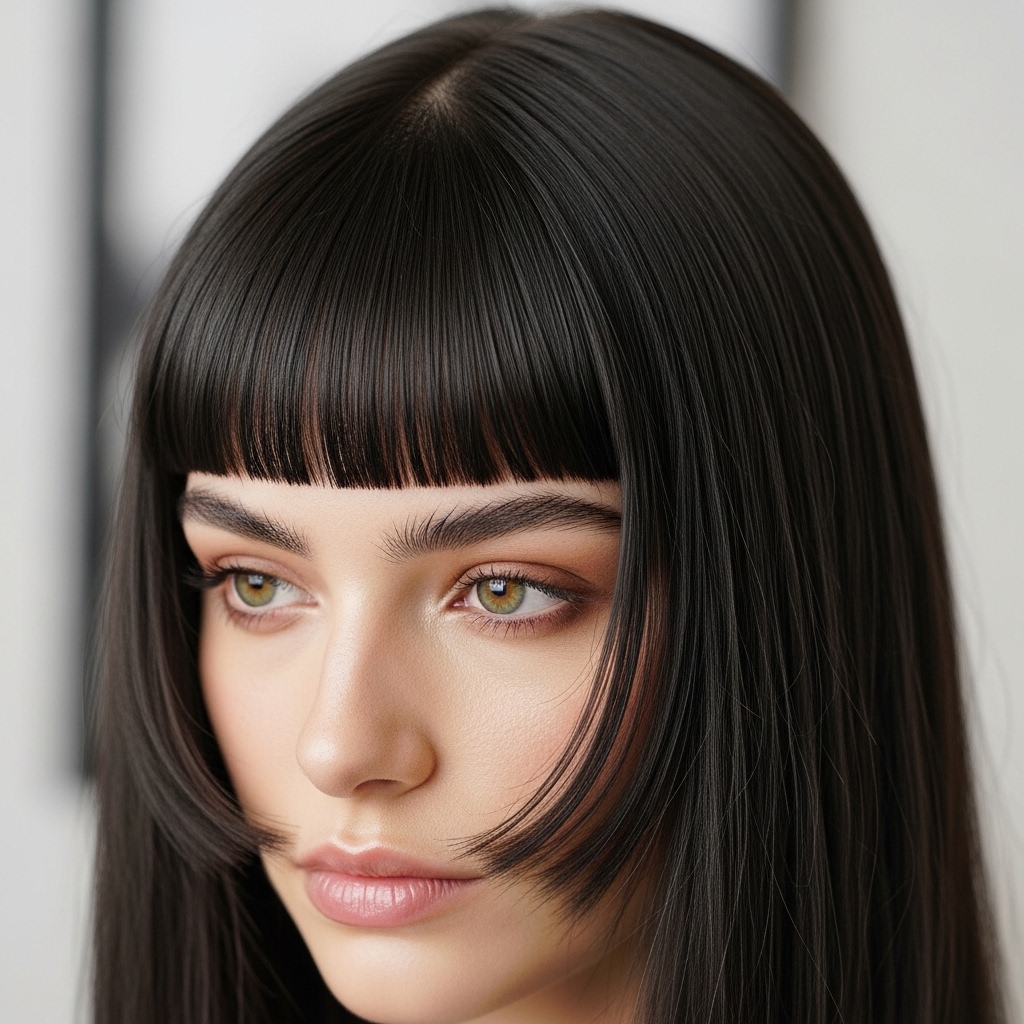
What Are Romantic Goth Finger Coils?
Think of this as the chill, romantic cousin of defined coiling techniques. Instead of tight, uniform spirals, we’re creating soft, irregular bends and waves in small sections of hair. The goal is texture, not definition.
It mimics that “just-undone” look, like you ran your fingers through your hair after it air-dried. It adds volume, movement, and that signature “vampire haircut” edge—softly tousled and deeply personal. It’s a perfect match for the quiet luxury hair trend, where the focus is on texture and health over stiff styling.
Why This Technique is a Game-Changer
First, it’s fast. We’re talking ten minutes tops once you get the hang of it. Second, it’s heat-free. You’re giving your hair a break while still looking styled. That’s a major win for hair health.
Third, it’s incredibly versatile. This texture works with a sharp asymmetrical lob, a classic hime cut with blunt bangs, or even waist-length hair. It’s less about the cut and more about adding that artistic, romantic goth touch. It’s the ultimate lazy-girl hack for looking put-together.
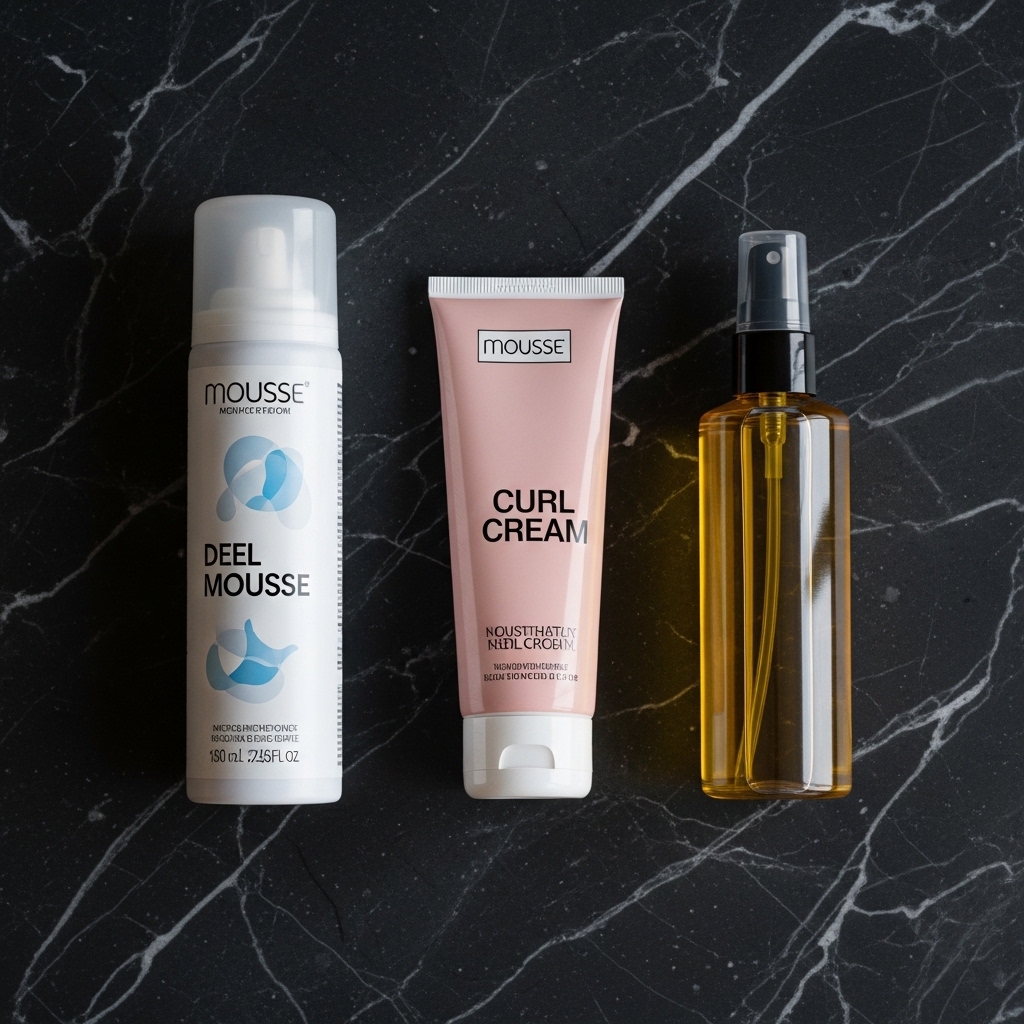
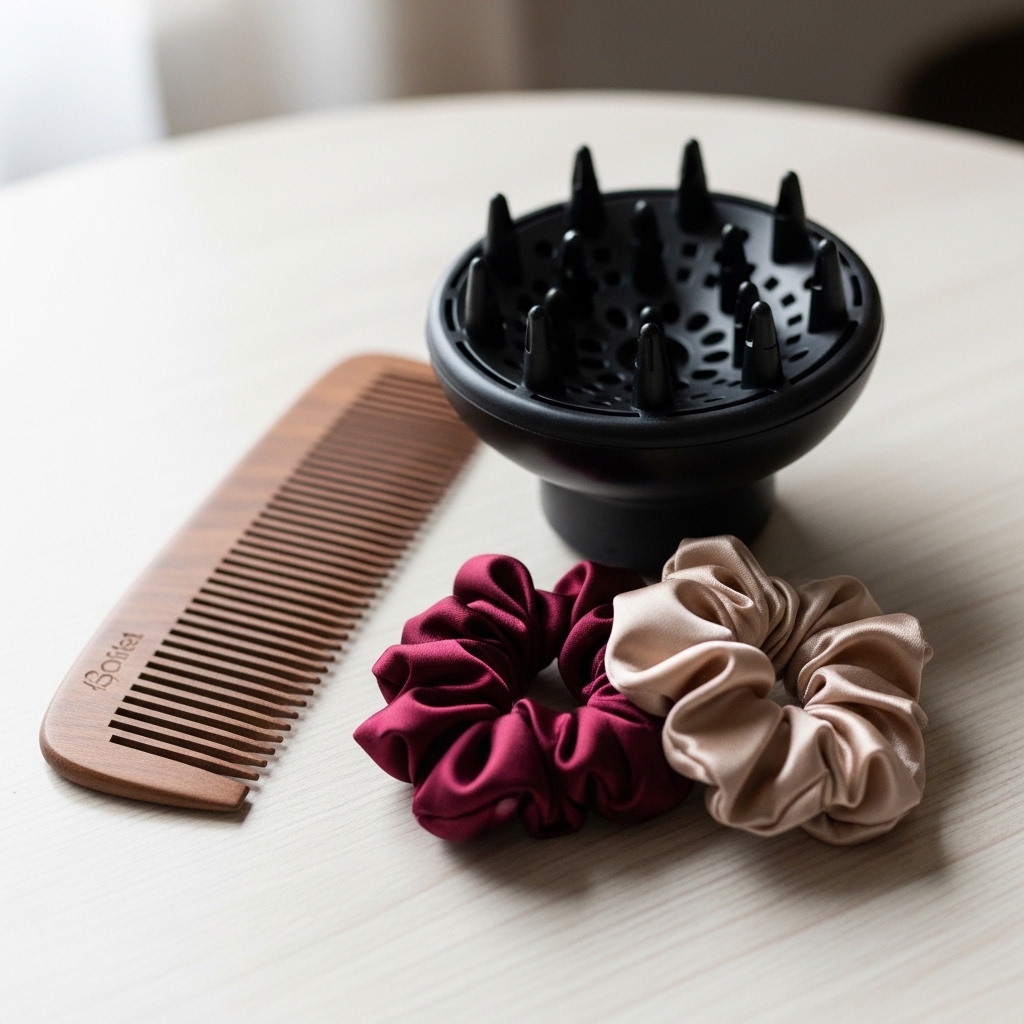
The Only 3 Products You Actually Need
Don’t overcomplicate it. You likely have these already. A light-hold mousse or texture spray is your base. It gives the hair a tiny bit of grip. A defining cream or curl cream is your star—it smooths and encourages the shape to hold.
Finally, a light oil or serum for your ends. This keeps the finished look soft and touchable, not crunchy. The goal is “lived-in,” not “stiff.” Avoid heavy gels for this specific romantic look.
- Texture Spray or Mousse
- Defining/Curl Cream
- Lightweight Hair Oil
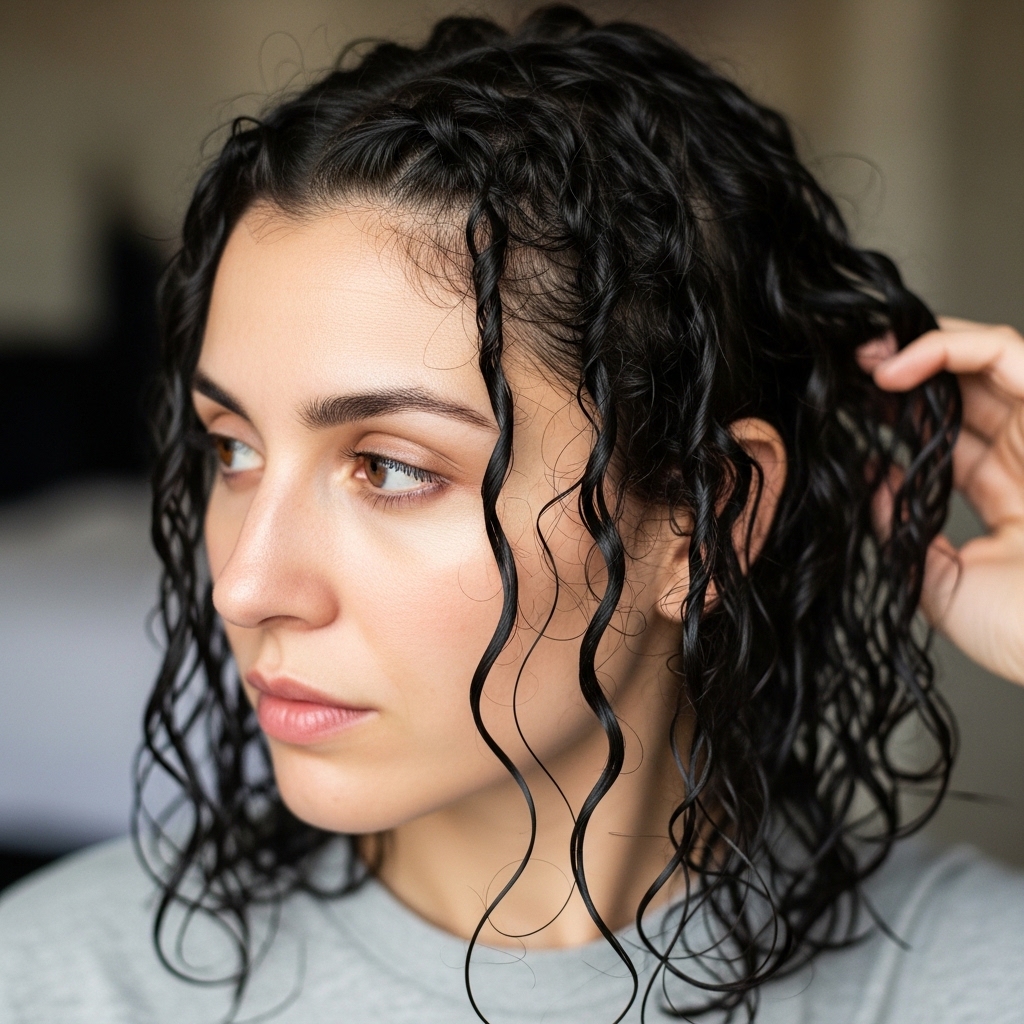
Starting Point: Hair Texture & Dampness
This works best on damp hair, not soaking wet and not fully dry. Towel-dry your hair so it’s just damp to the touch. If your hair is fine, you might want it a bit drier. If your hair is thick or coarse, keep it damper.
The dampness helps the product distribute evenly and the shape to set as it dries. If you have pin-straight hair, don’t worry. The cream and technique will still create a beautiful, piecey texture that’s more wave than coil, which is totally in line with glitchy glam hair.
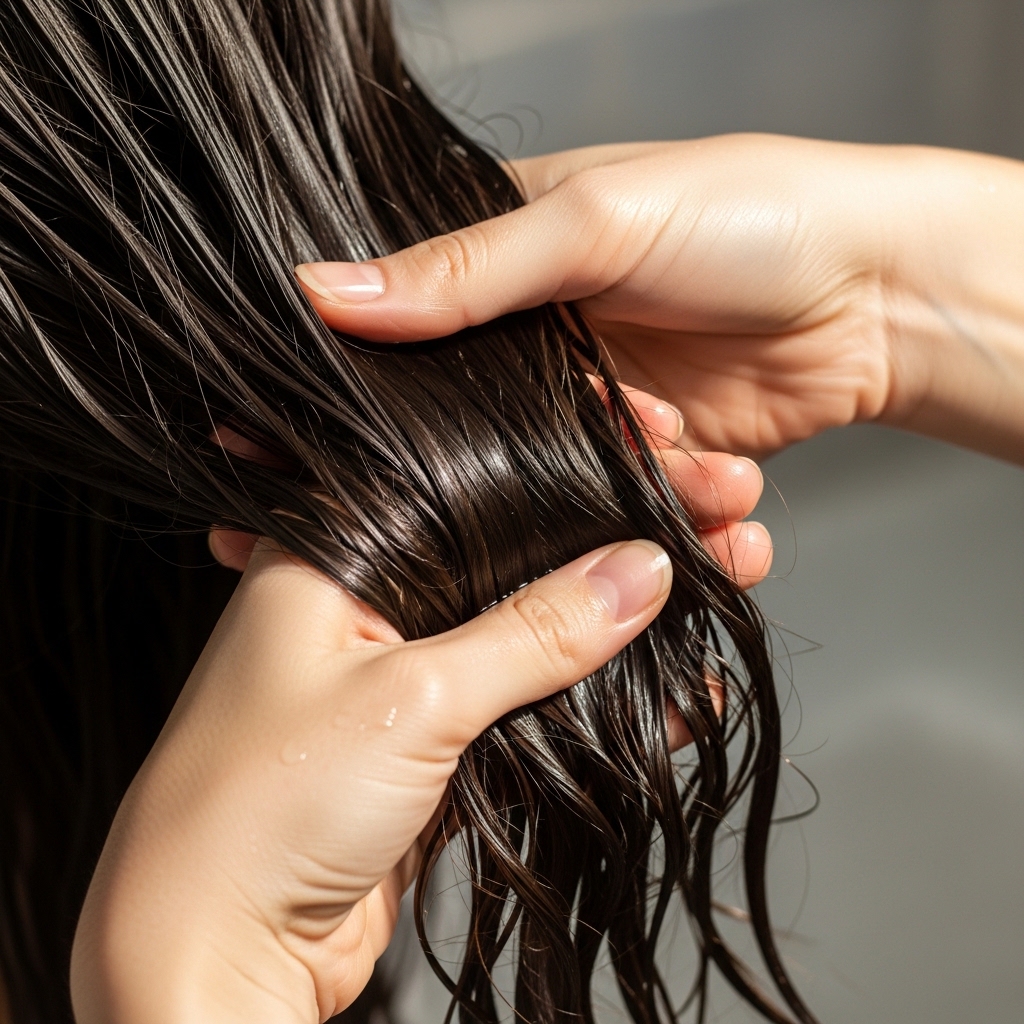
Step 1: Apply Your Base Product
Shake up your mousse or spray your texture spray evenly through damp hair. Focus on your mid-lengths and ends, not so much the roots. Use your hands to rake it through.
This creates a light, even foundation of hold. It helps the next product stick and gives the overall style some longevity. Don’t overdo it—we’re not building a helmet. Just a light, even coating is perfect.
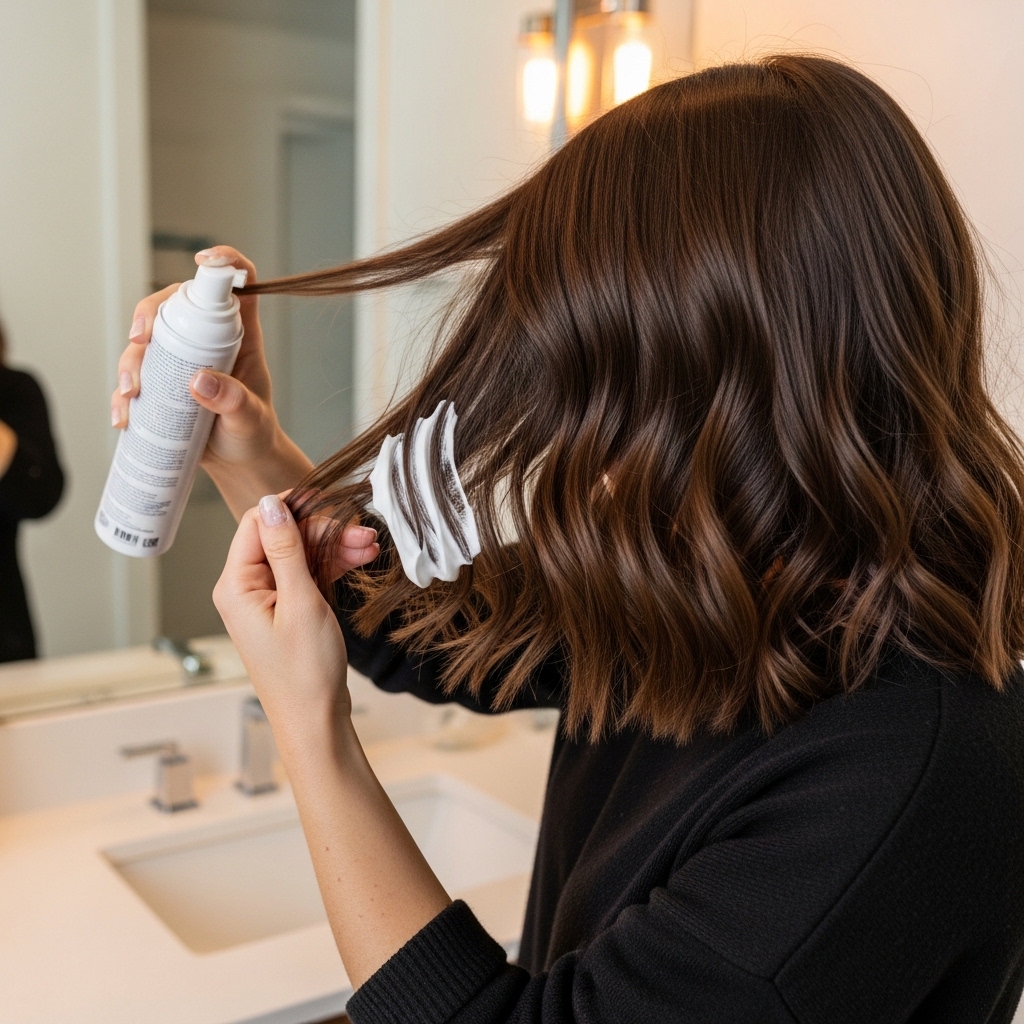
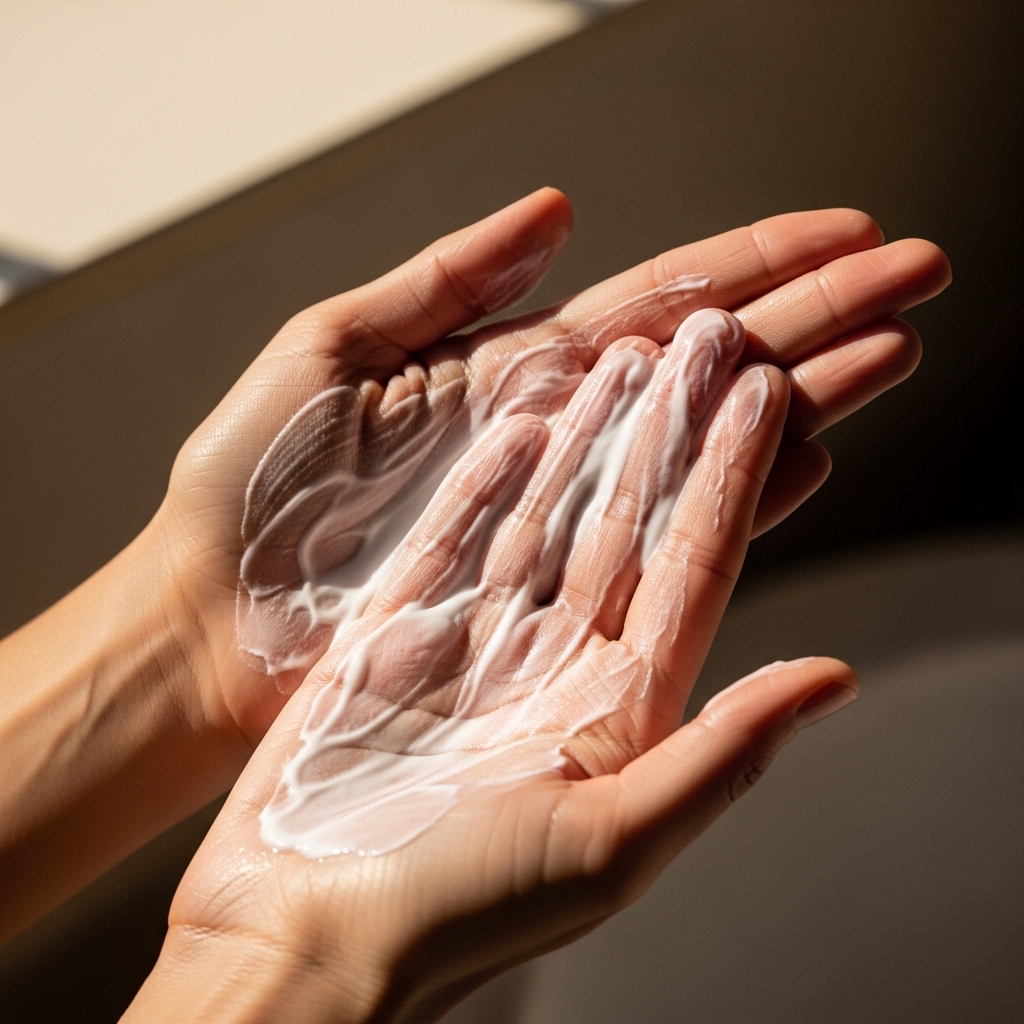
Step 2: The Magic of Defining Cream
Take a quarter-sized amount of curl cream (adjust for your hair length and thickness). Rub it between your palms to warm it up and emulsify it. Then, scrunch it into your hair from the ends upward.
You should hear a light “squelch” sound. This ensures the product is well-distributed. This cream is what’s going to smooth the hair cuticle and help those soft coils form and hold their shape without frizz.
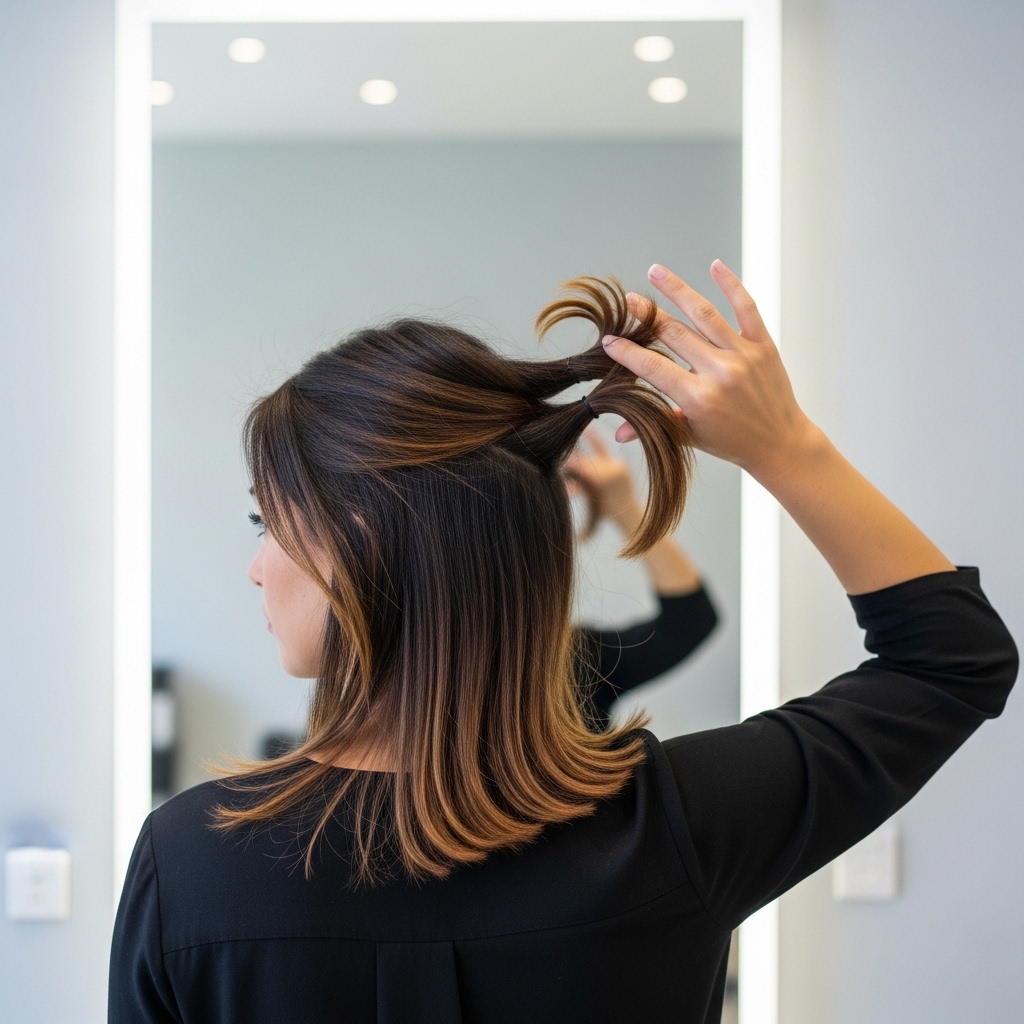
Step 3: Sectioning Made Simple
You don’t need fancy clips. Just mentally divide your hair. Start with the bottom layer at the nape of your neck. We’ll work in small, random sections, not perfect squares.
The size of the section determines the size of the texture. For a finer, more detailed look, take smaller sections (about half an inch wide). For a chunkier, more relaxed wave, take bigger sections. I like to mix it up for a more natural effect.
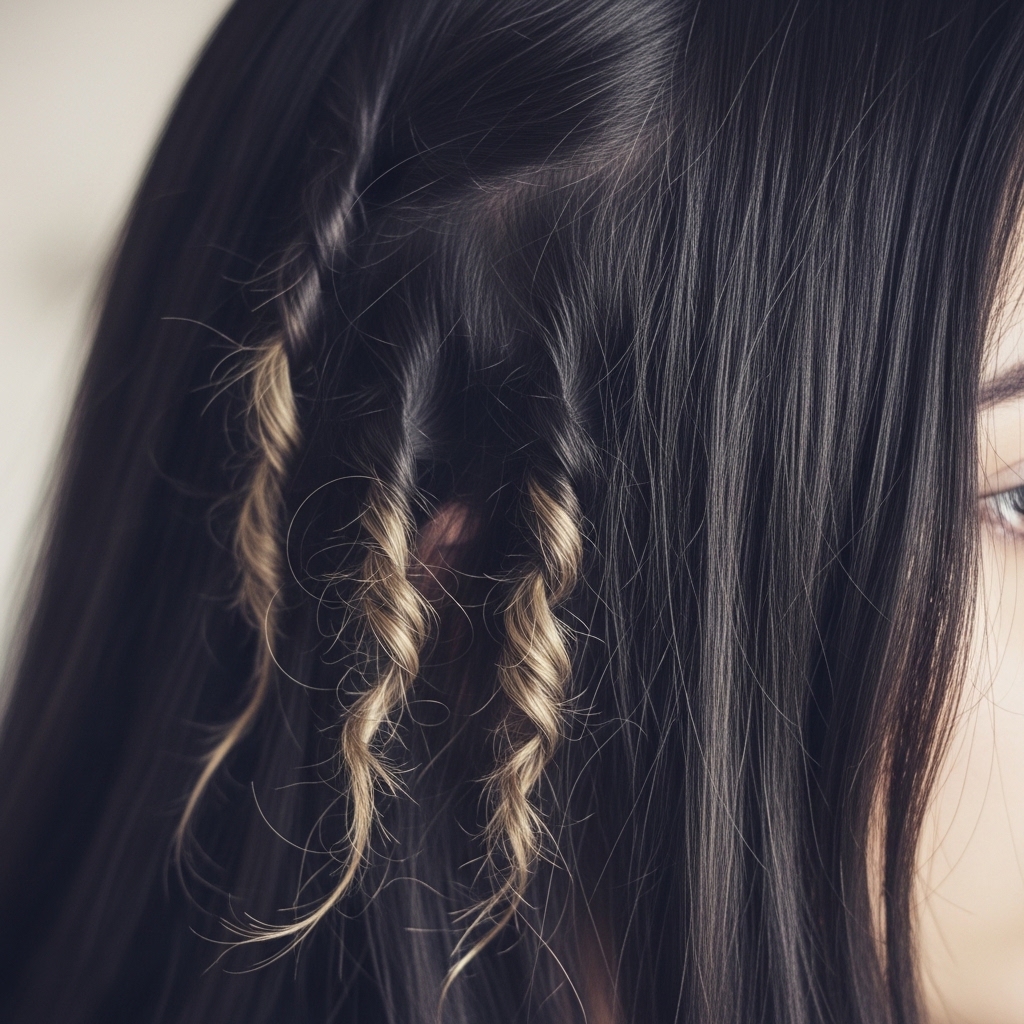
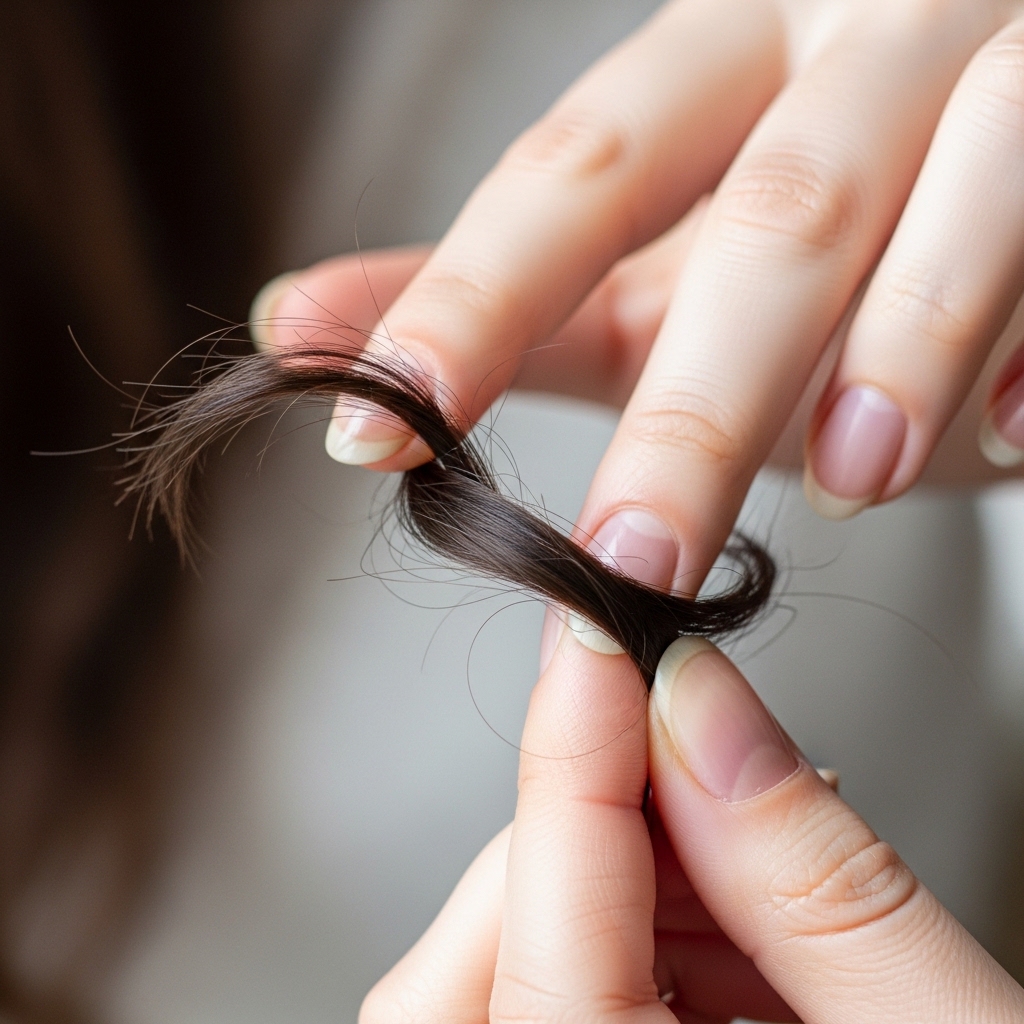
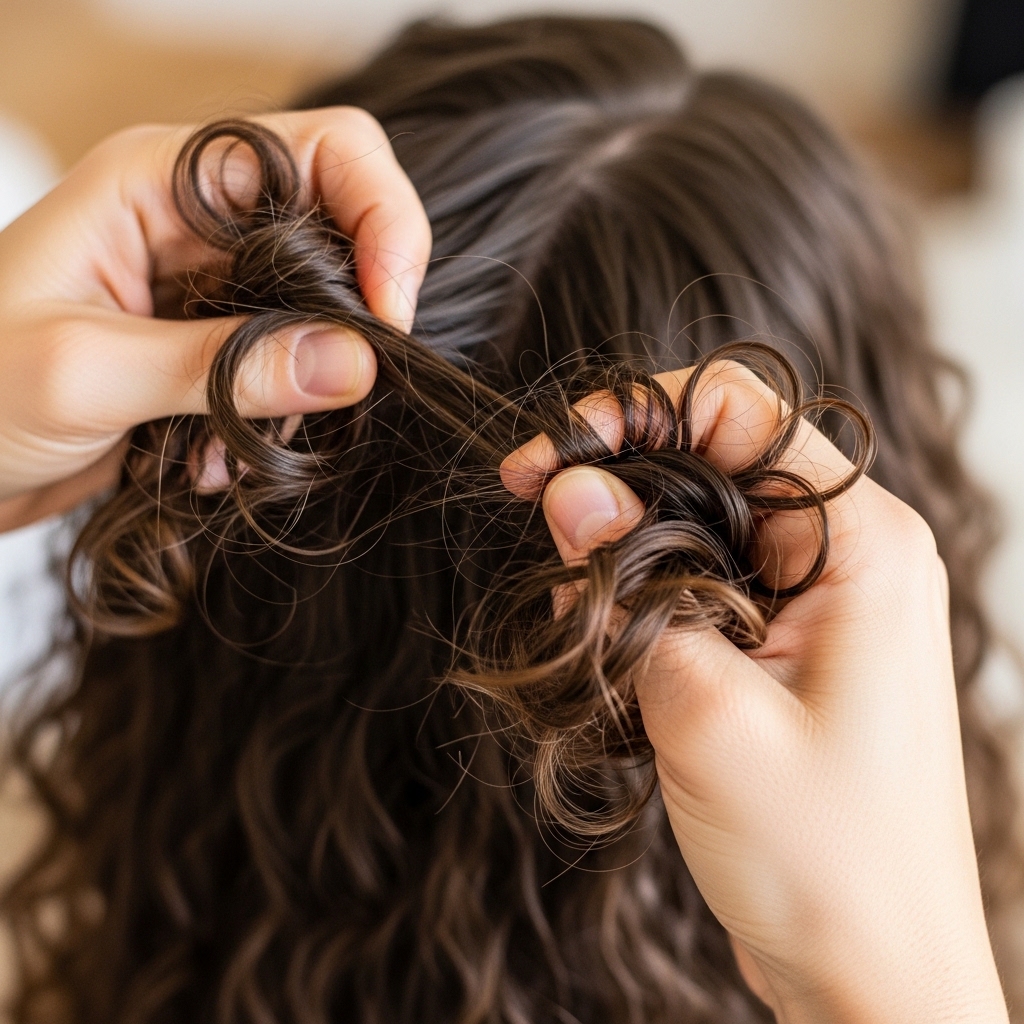
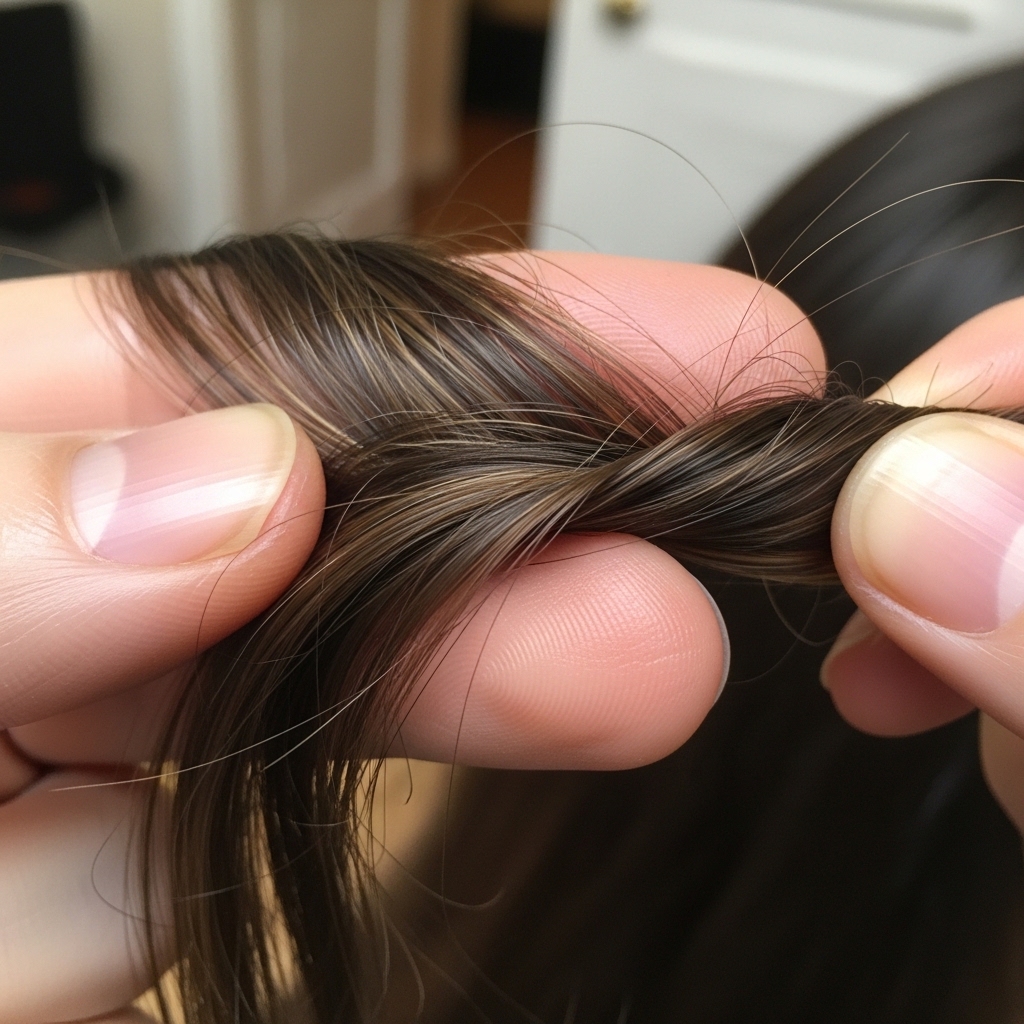
Step 4: The Actual Finger Coiling Motion
Take your first section. Place the strand between your index finger and thumb. Now, gently twist the strand around your index finger. You’re not pulling it tight; you’re just letting it wrap loosely.
Do this from the root down to the end, or just from your mid-lengths down if you want looser roots. The motion is soft and relaxed. The twist will naturally start to coil on itself. Hold it for a second at the end, then gently release.
Step 5: Don’t Touch It While It Dries!
This is the hardest part! Once you’ve coiled a section, let it be. Don’t comb your fingers through it. The goal is to let each coil set as it air-dries. Touching it will break up the pattern and cause frizz.
Move on to the next section. Work your way around your head, focusing on the most visible areas—the front, the crown, and the outer layers. You don’t need to coil every single hair on your head.
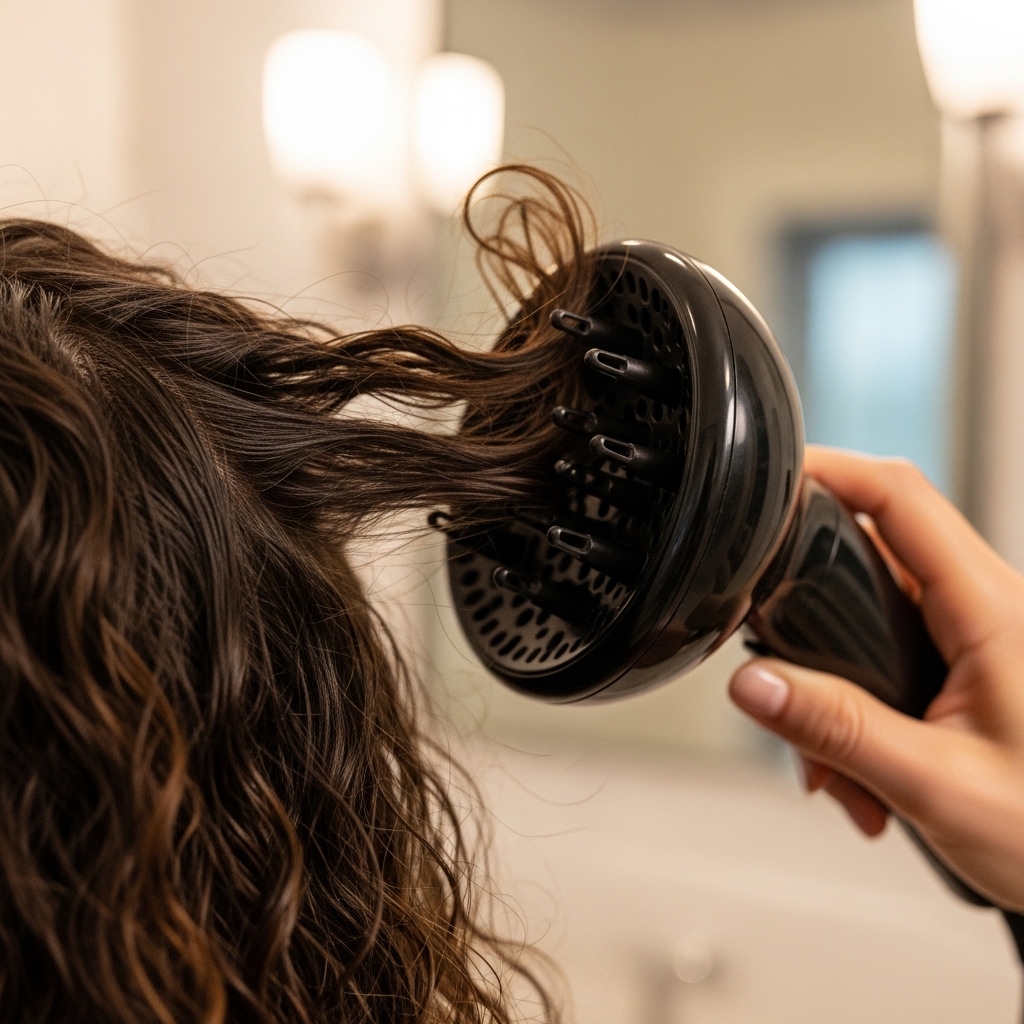
Step 6: Diffusing for Volume & Speed
If you’re impatient like me, use a diffuser. But don’t blast them! Set your dryer to low heat and low speed. Gently cup the coiled sections into the diffuser and hold it there without moving for a minute or two.
This “hover” method sets the shape without causing chaos. It also gives incredible root volume. Once the coils are about 90% dry, you can stop. Let the last bit air-dry to avoid any frizz.
Step 7: The Final Break-Up & Scrunch
Once your hair is completely dry, it’s time for the magic. Your hair will likely feel a bit “cast-y” or formed into distinct clumps. Take a tiny drop of hair oil on your fingertips.
Gently scrunch your hair upward to break that cast. Don’t rake your fingers through! Just scrunch. This separates the coils into soft, romantic waves and texture, making everything look soft and touchable.
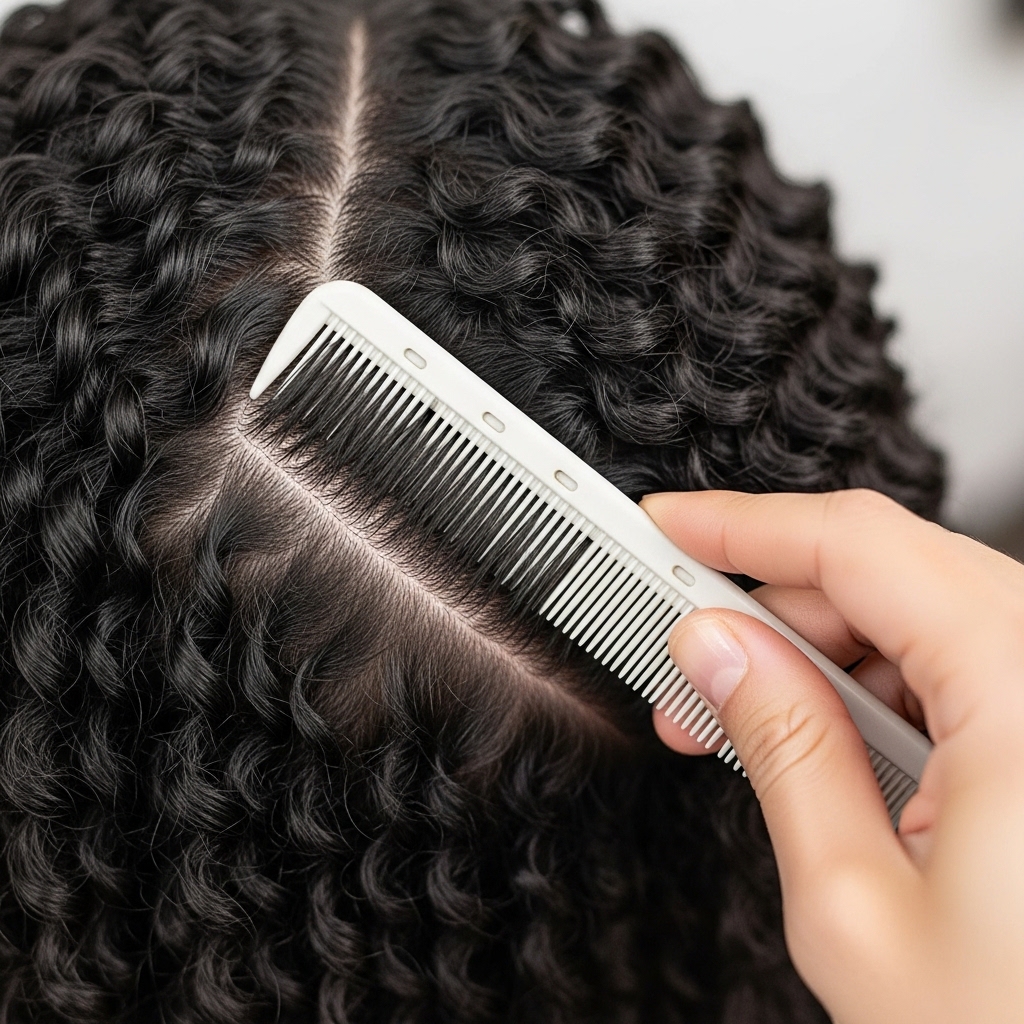
Styling with a Deep Side Part
A deep side part instantly adds drama and fits the romantic goth aesthetic perfectly. Once your coils are dry and scrunched out, use the end of a comb to carve out a deep part.
Gently sweep the hair from one side to the other. This gives great volume at the crown and makes the texture look intentional and chic, like an old money hair style with a dark twist.
Adding a “Glitchy” Piecey Effect
For that glitchy glam hair look, take a few strategic front pieces after scrunching. Gently twist them in the opposite direction of their natural coil, then pull them apart slightly.
This creates intentional, artistic pieces that frame the face. It breaks up the pattern just enough to look editorial and cool, not like a uniform hairstyle.
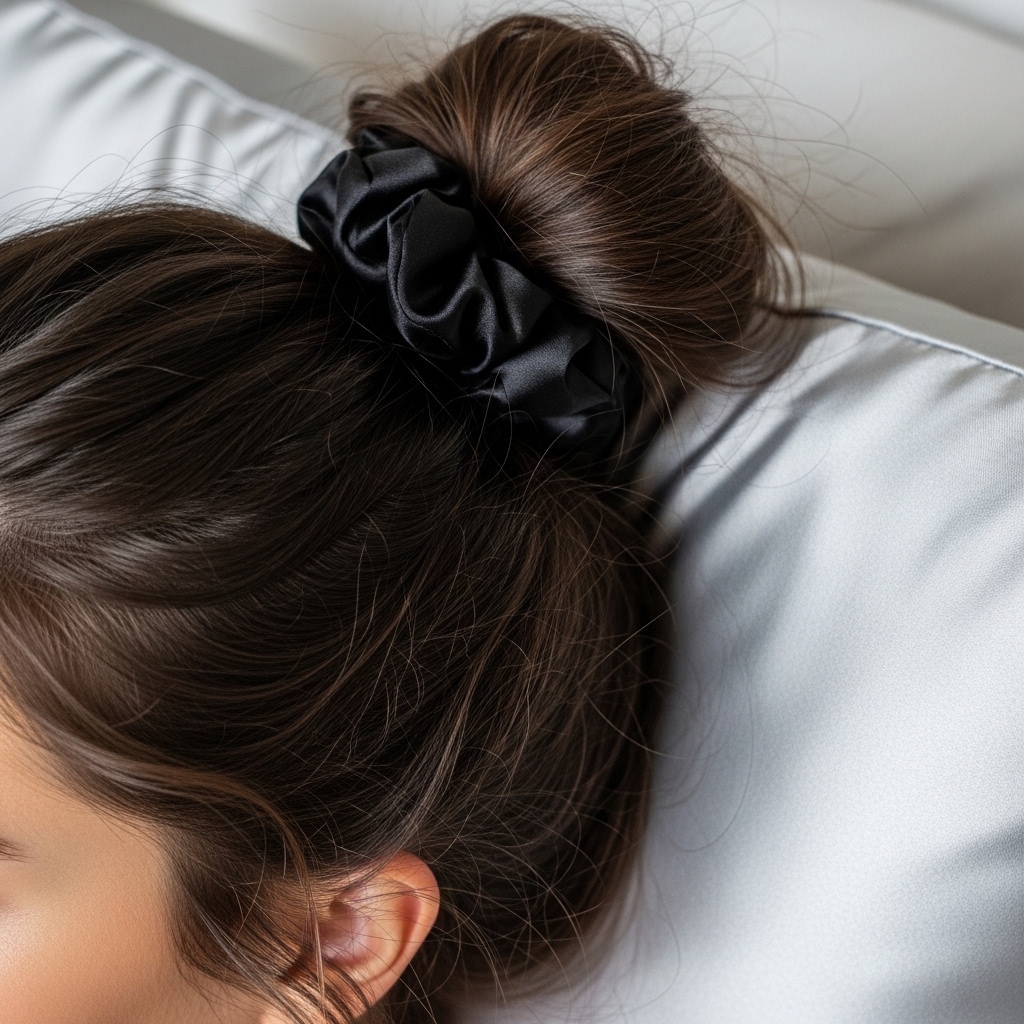
How to Make It Last Overnight
To preserve this style, sleep on a satin pillowcase. Before bed, gather your hair very loosely at the crown of your head in a satin scrunchie—a “pineapple.” Don’t make it tight.
In the morning, take it down, flip your head over, and give the roots a light shake. You might need to re-scrunch a few pieces with a dab of water and cream, but the texture should still be beautifully intact.
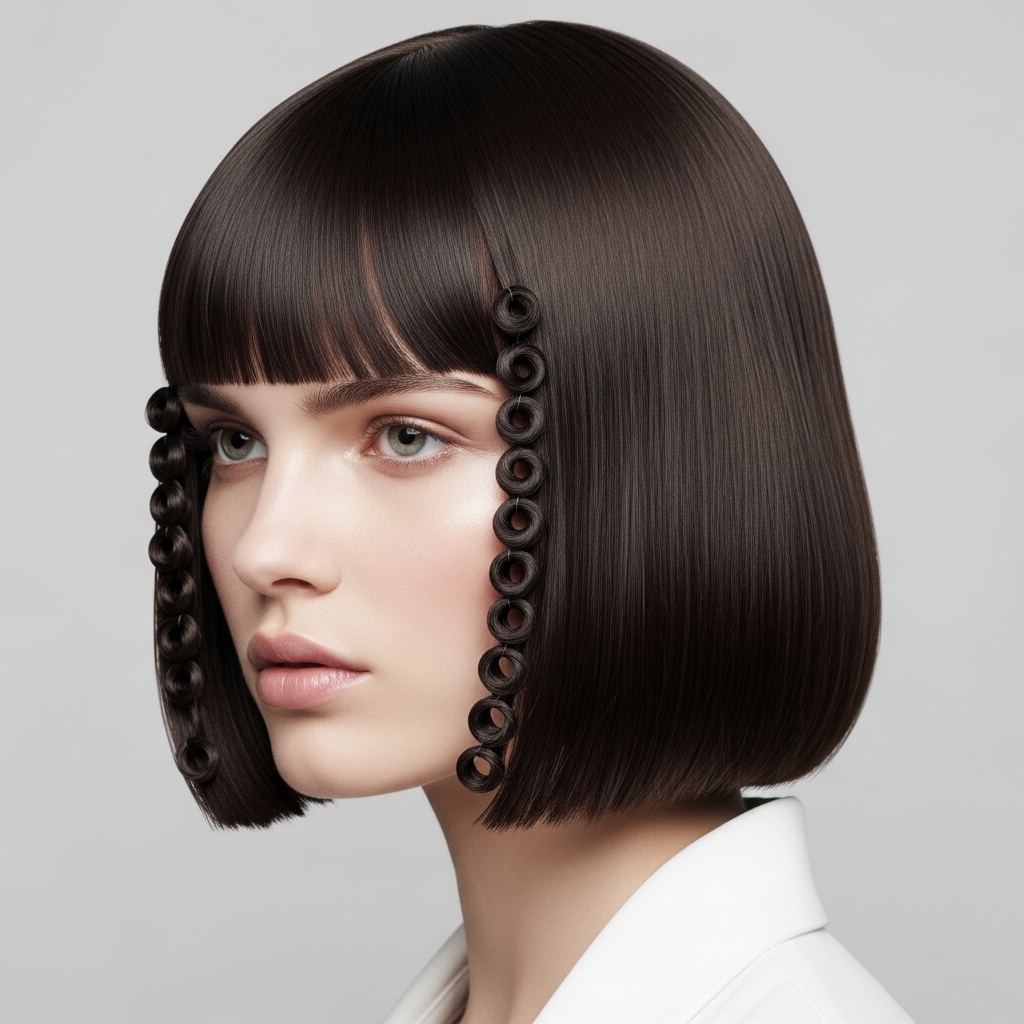
Adapting It for a Quiet Luxury Bob
This technique is stunning on a quiet luxury bob. The key is to take smaller sections and focus the coiling just on the ends. Don’t coil all the way to the roots on a blunt bob.
This gives you that expensive, textured-end look that’s so chic right now. It adds movement to a sharp cut without losing its sleek, sophisticated shape. It’s the perfect blend of edgy and elegant.
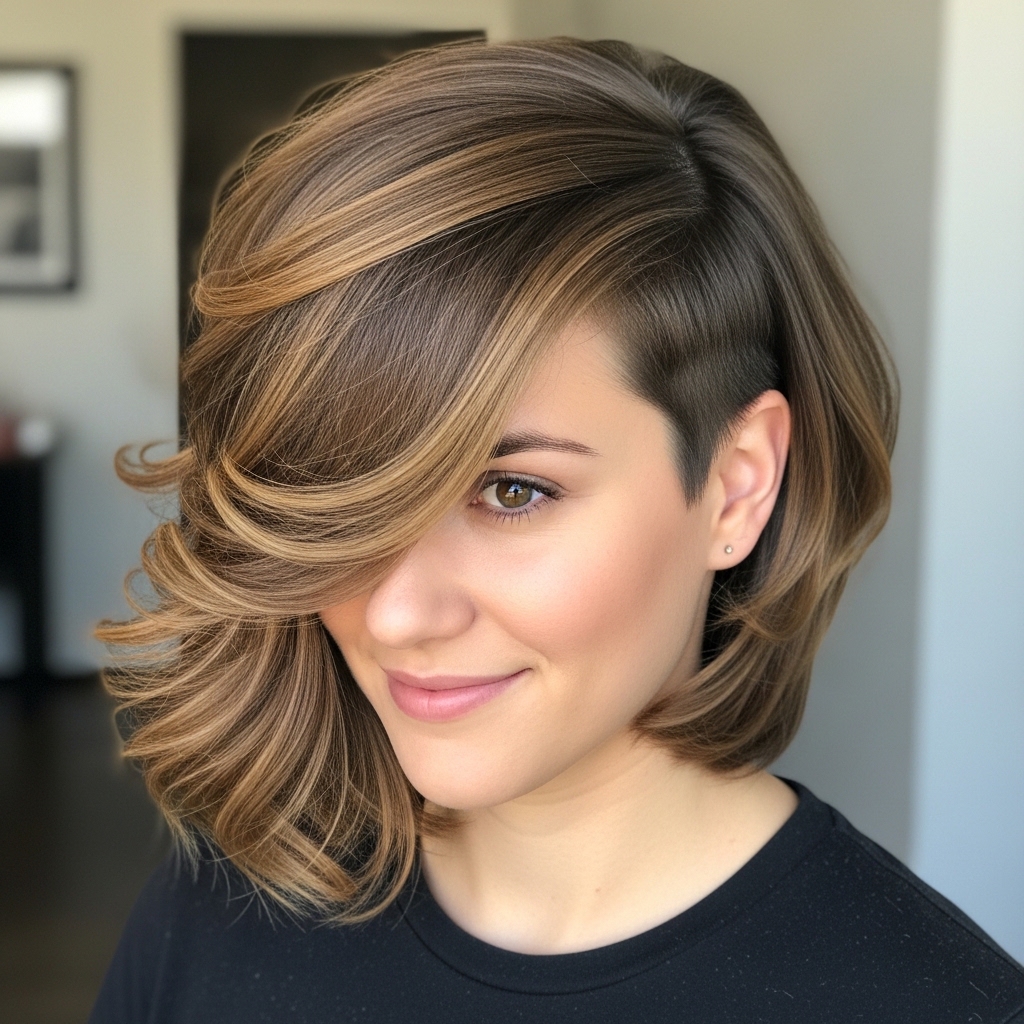
Trying It on an Asymmetrical Lob
An asymmetrical lob already has drama. Enhance it by focusing the tightest coils or most defined texture on the longer side. Keep the shorter side a bit more subdued.
This emphasizes the cut’s dynamic shape and adds a rock-and-roll edge. It makes the style look custom and artistic, far from a basic blowout.
Pairing with Hime Cut Bangs
If you have a hime cut with blunt bangs, treat the bangs separately. Style them straight and smooth. Then, apply the finger coil technique only to the long, trailing side pieces and the back.
This beautiful contrast between the severe, straight bangs and the soft, textured lengths is incredibly striking and deeply aligns with romantic goth and alt aesthetics.
Common Mistakes & How to Fix Them
The biggest mistake is using too much product. Start with less—you can always add more. Too much leads to crunch and weighed-down hair. Another error is twisting too tightly. Keep the pressure light.
If your coils look too tight or “zingy” when dry, don’t panic. Just take a tiny bit of hair oil, rub it on your hands, and gently smooth and pull the coil downward to relax it.

My Favorite Tools for the Job
You really only need your hands! But a few tools help. A wide-tooth comb for distributing product on damp hair. A diffuser attachment for your dryer. Satin scrunchies and a satin pillowcase for protection.
I avoid brushes during this process. Fingers are your best tool for creating soft, irregular texture that doesn’t look too done or perfect.
- Wide-Tooth Comb
- Diffuser Attachment
- Satin Scrunchies
Why This Fits the 2026 Hairscape
Looking ahead to 2026 hairstyles, the focus is on individuality, hair health, and artistic texture over perfection. This technique hits all those notes. It’s customizable, heat-free, and creates a unique pattern every time.
It blends the romantic goth vibe with the quiet luxury emphasis on quality and care. It’s a style that says you know what you’re doing, but you didn’t try too hard. And that’s always the goal, right?
Your Quick-Start Cheat Sheet
- Start with damp, towel-dried hair.
- Apply a light mousse and scrunch in curl cream.
- Take small, random sections.
- Loosely twist hair around your finger from mid-lengths to ends.
- Let dry completely without touching.
- Scrunch out with a drop of oil.
- Break up and style as desired!
And that’s it, my friend. The secret to looking like you spent an hour on your hair when you really just had a ten-minute conversation with your damp hair and some cream. This technique has saved me on so many “I-have-nothing-to-wear” days, adding just enough drama and texture to make me feel put-together and cool.
The beauty of it is in its imperfection. No two coils are the same, and that’s what makes it so special and personal. It’s your texture, your vibe, amplified. It works whether you’re fully embracing the romantic goth aesthetic or just want to add a little something extra to your everyday look.
I’d love to hear how it goes for you! Did you try it? Did you adapt it for your specific cut? Leave a comment below and tell me all about it. And if you found this guide helpful, save this post to Pinterest so you can easily find it next time you need a texture refresh. You’ve got this!

